Here is the full, detailed recipe for your mom’s famous cream puffs, complete with every section you requested. 🍰✨
—
Introduction
There are some recipes that carry more than just flour and sugar—they carry memories. My mom’s cream puffs are exactly that. For as long as I can remember, the smell of choux pastry baking in the oven meant celebration, comfort, and love. These golden, airy puffs, filled with silky vanilla pastry cream and topped with a glossy chocolate glaze, have been the star of every birthday, holiday, and family gathering. They look like they came from a French patisserie, but they are surprisingly simple to make. Today, I’m honored to share this treasured family recipe with you. Get ready to impress your family and friends with these delicate, melt-in-your-mouth delights!
—
History of Cream Puffs
The cream puff, or profiterole, has a rich history dating back to the 16th century. It was created by an Italian chef named Pantanelli, who served a similar pastry to Catherine de’ Medici’s court. The technique was later perfected by French pastry chefs, who named it pâte à choux (cabbage pastry) because the baked puffs resemble small cabbages. Traditionally filled with whipped cream or custard, they became a symbol of French elegance. Today, they are enjoyed worldwide—from street vendors to Michelin-starred restaurants—but nothing beats a homemade version made with love.
—
Benefits of Homemade Cream Puffs
· No Preservatives: You control every ingredient, avoiding artificial flavors and stabilizers.
· Customizable: Fill them with cream, custard, ice cream, or even savory fillings.
· Budget-Friendly: Made with basic pantry staples—eggs, butter, flour, and milk.
· Stress-Relief: Baking is therapeutic, and the reward is a stunning dessert.
· Crowd-Pleaser: Perfect for parties, tea time, or a sweet treat after dinner.
—
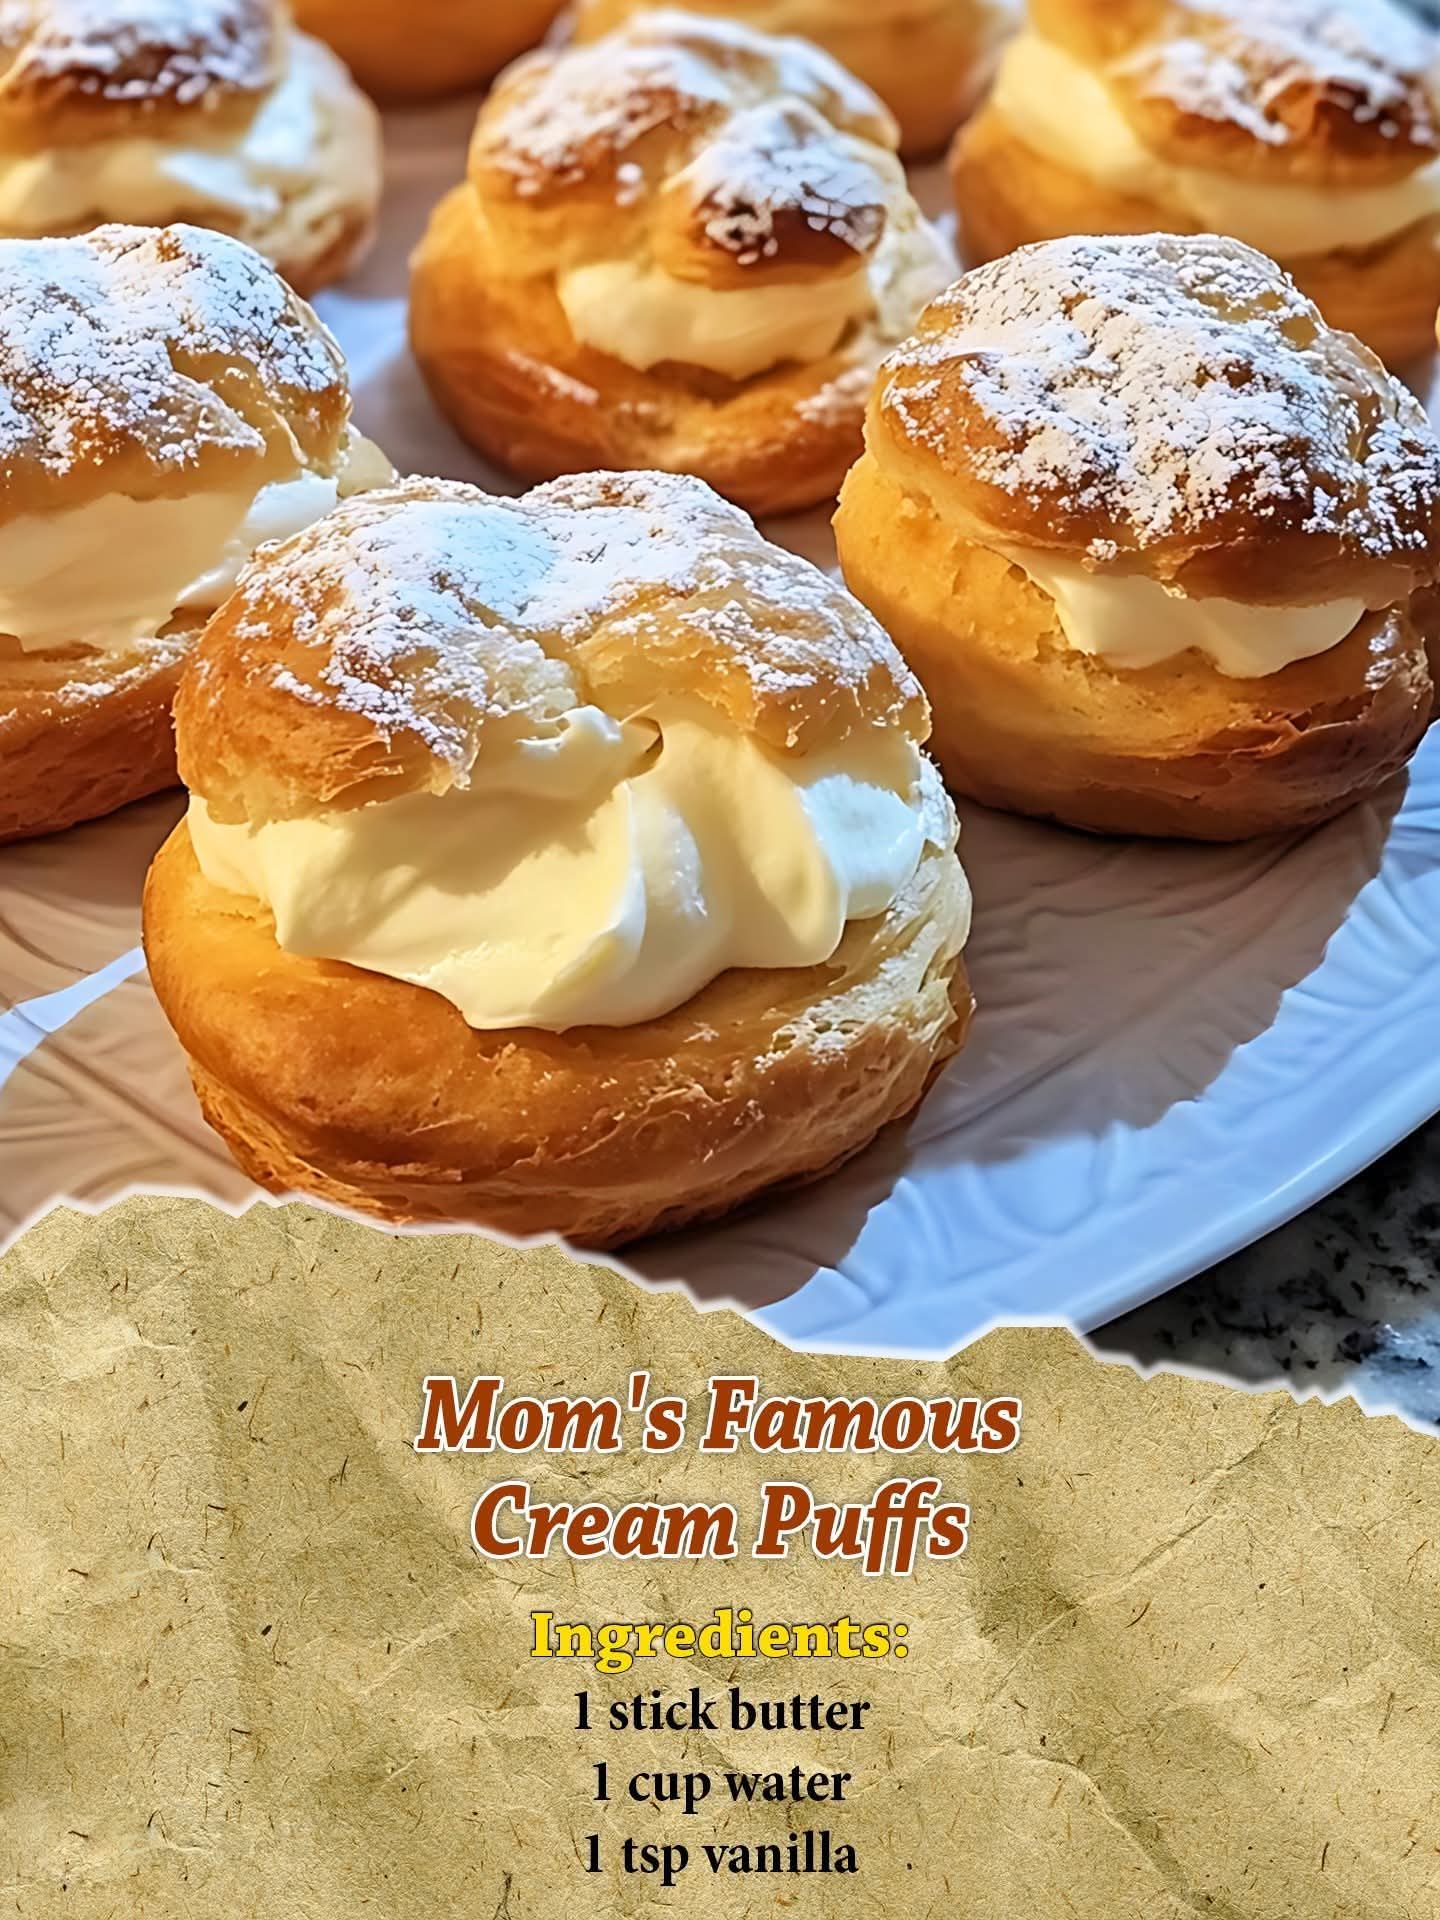
Ingredients
For the Choux Pastry (Pâte à Choux):
· 1 cup (240 ml) water
· ½ cup (115 g) unsalted butter, cut into pieces
· 1 tablespoon granulated sugar
· ¼ teaspoon salt
· 1 cup (125 g) all-purpose flour, sifted
· 4 large eggs (room temperature)
For the Vanilla Pastry Cream:
· 2 cups (480 ml) whole milk
· ½ cup (100 g) granulated sugar
· 4 large egg yolks
· ¼ cup (30 g) cornstarch
· 2 teaspoons vanilla extract (or 1 vanilla bean pod)
· 2 tablespoons unsalted butter (optional, for extra richness)
For the Chocolate Glaze (Optional):
· ½ cup (90 g) semi-sweet chocolate chips
· 2 tablespoons unsalted butter
· 1 tablespoon light corn syrup (or honey)
—
Instructions
Step 1: Make the Choux Pastry
1. Preheat your oven to 400°F (200°C). Line a baking sheet with parchment paper.
2. In a medium saucepan, combine water, butter, sugar, and salt. Bring to a rolling boil over medium heat.
3. Remove from heat and add the flour all at once. Stir vigorously with a wooden spoon until the mixture forms a ball and pulls away from the sides.
4. Return to low heat and cook for 1-2 minutes, stirring constantly, to dry out the dough.
5. Transfer to a mixing bowl and let cool for 5 minutes.
6. Add eggs one at a time, beating well after each addition until the dough is smooth, glossy, and forms a “V” shape when lifted with a spoon.
Step 2: Bake
1. Drop spoonfuls (or pipe) of dough onto the prepared sheet, spacing 2 inches apart.
2. Bake for 15 minutes, then reduce heat to 350°F (175°C) and bake for another 20–25 minutes until golden brown and puffed.
3. Turn off the oven, poke a small hole in each puff to release steam, and leave them inside with the door cracked for 10 minutes. Cool completely on a wire rack.
Step 3: Make the Pastry Cream
1. Heat milk in a saucepan until just simmering.
2. In a bowl, whisk egg yolks, sugar, and cornstarch until pale and thick.
3. Slowly pour half the hot milk into the yolk mixture while whisking, then pour everything back into the saucepan.
4. Cook over medium heat, whisking constantly, until thickened and bubbly. Remove from heat.
5. Stir in vanilla and butter (if using). Transfer to a bowl, cover with plastic wrap (pressed onto the surface), and refrigerate until cold.
Step 4: Assemble & Glaze
1. Cut each puff in half or pipe cream into the bottom.
2. Fill generously with pastry cream.
3. For the glaze, melt chocolate, butter, and corn syrup together until smooth. Dip the tops of the filled puffs into the glaze and let set.
—
Formation (Shaping Tips)
· Use a piping bag with a large round tip for uniform, round puffs.
· For a classic “swirl” top, pipe in a circular motion starting from the center.
· If you don’t have a piping bag, use two spoons to drop rounded mounds of dough.
· For mini cream puffs (profiteroles), pipe smaller 1-inch mounds and reduce baking time by 5–7 minutes.
—
Nutrition (Per Cream Puff – Approx.)
· Calories: ~210
· Protein: 5g
· Carbohydrates: 22g
· Fat: 12g
· Saturated Fat: 7g
· Cholesterol: 95mg
· Sodium: 80mg
· Sugar: 12g
(Nutritional values vary based on filling and glaze.)
—
Lovers of Cream Puffs
Who loves these cream puffs? Absolutely everyone!
· Kids adore the sweet, creamy center.
· Adults appreciate the delicate pastry and elegant presentation.
· Chocoholics can’t resist the glossy glaze.
· Coffee lovers enjoy them as a perfect pairing with espresso or cappuccino.
· Home bakers love how impressive they look with minimal effort.
· Holiday hosts make them a staple for Christmas, Easter, and birthdays.
—
Methods (Pro Tips for Success)
· Room temperature eggs are key—they incorporate better and prevent lumpy dough.
· Do not open the oven during baking—sudden temperature changes cause deflation.
· Pierce puffs after baking to release steam—this keeps them crisp, not soggy.
· Chill the pastry cream completely before filling to keep the puff crisp.
· Fill just before serving for the best texture (unfilled puffs can be stored in an airtight container for 2 days).
—
Conclusion
My mom’s famous cream puffs are more than a dessert—they are a labor of love that brings people together. With their crisp, airy shells and velvety vanilla cream, they truly are little bites of heaven. Whether you’re baking for a special occasion or just because, this recipe will never let you down. I hope you enjoy making them as much as we have enjoyed eating them for generations.
—
💬 Now it’s your turn! Type “YES” in the comments if you want more of my family’s secret recipes!
And don’t forget to save this post and tag me when you make them!
Happy baking! 🥰👩🍳