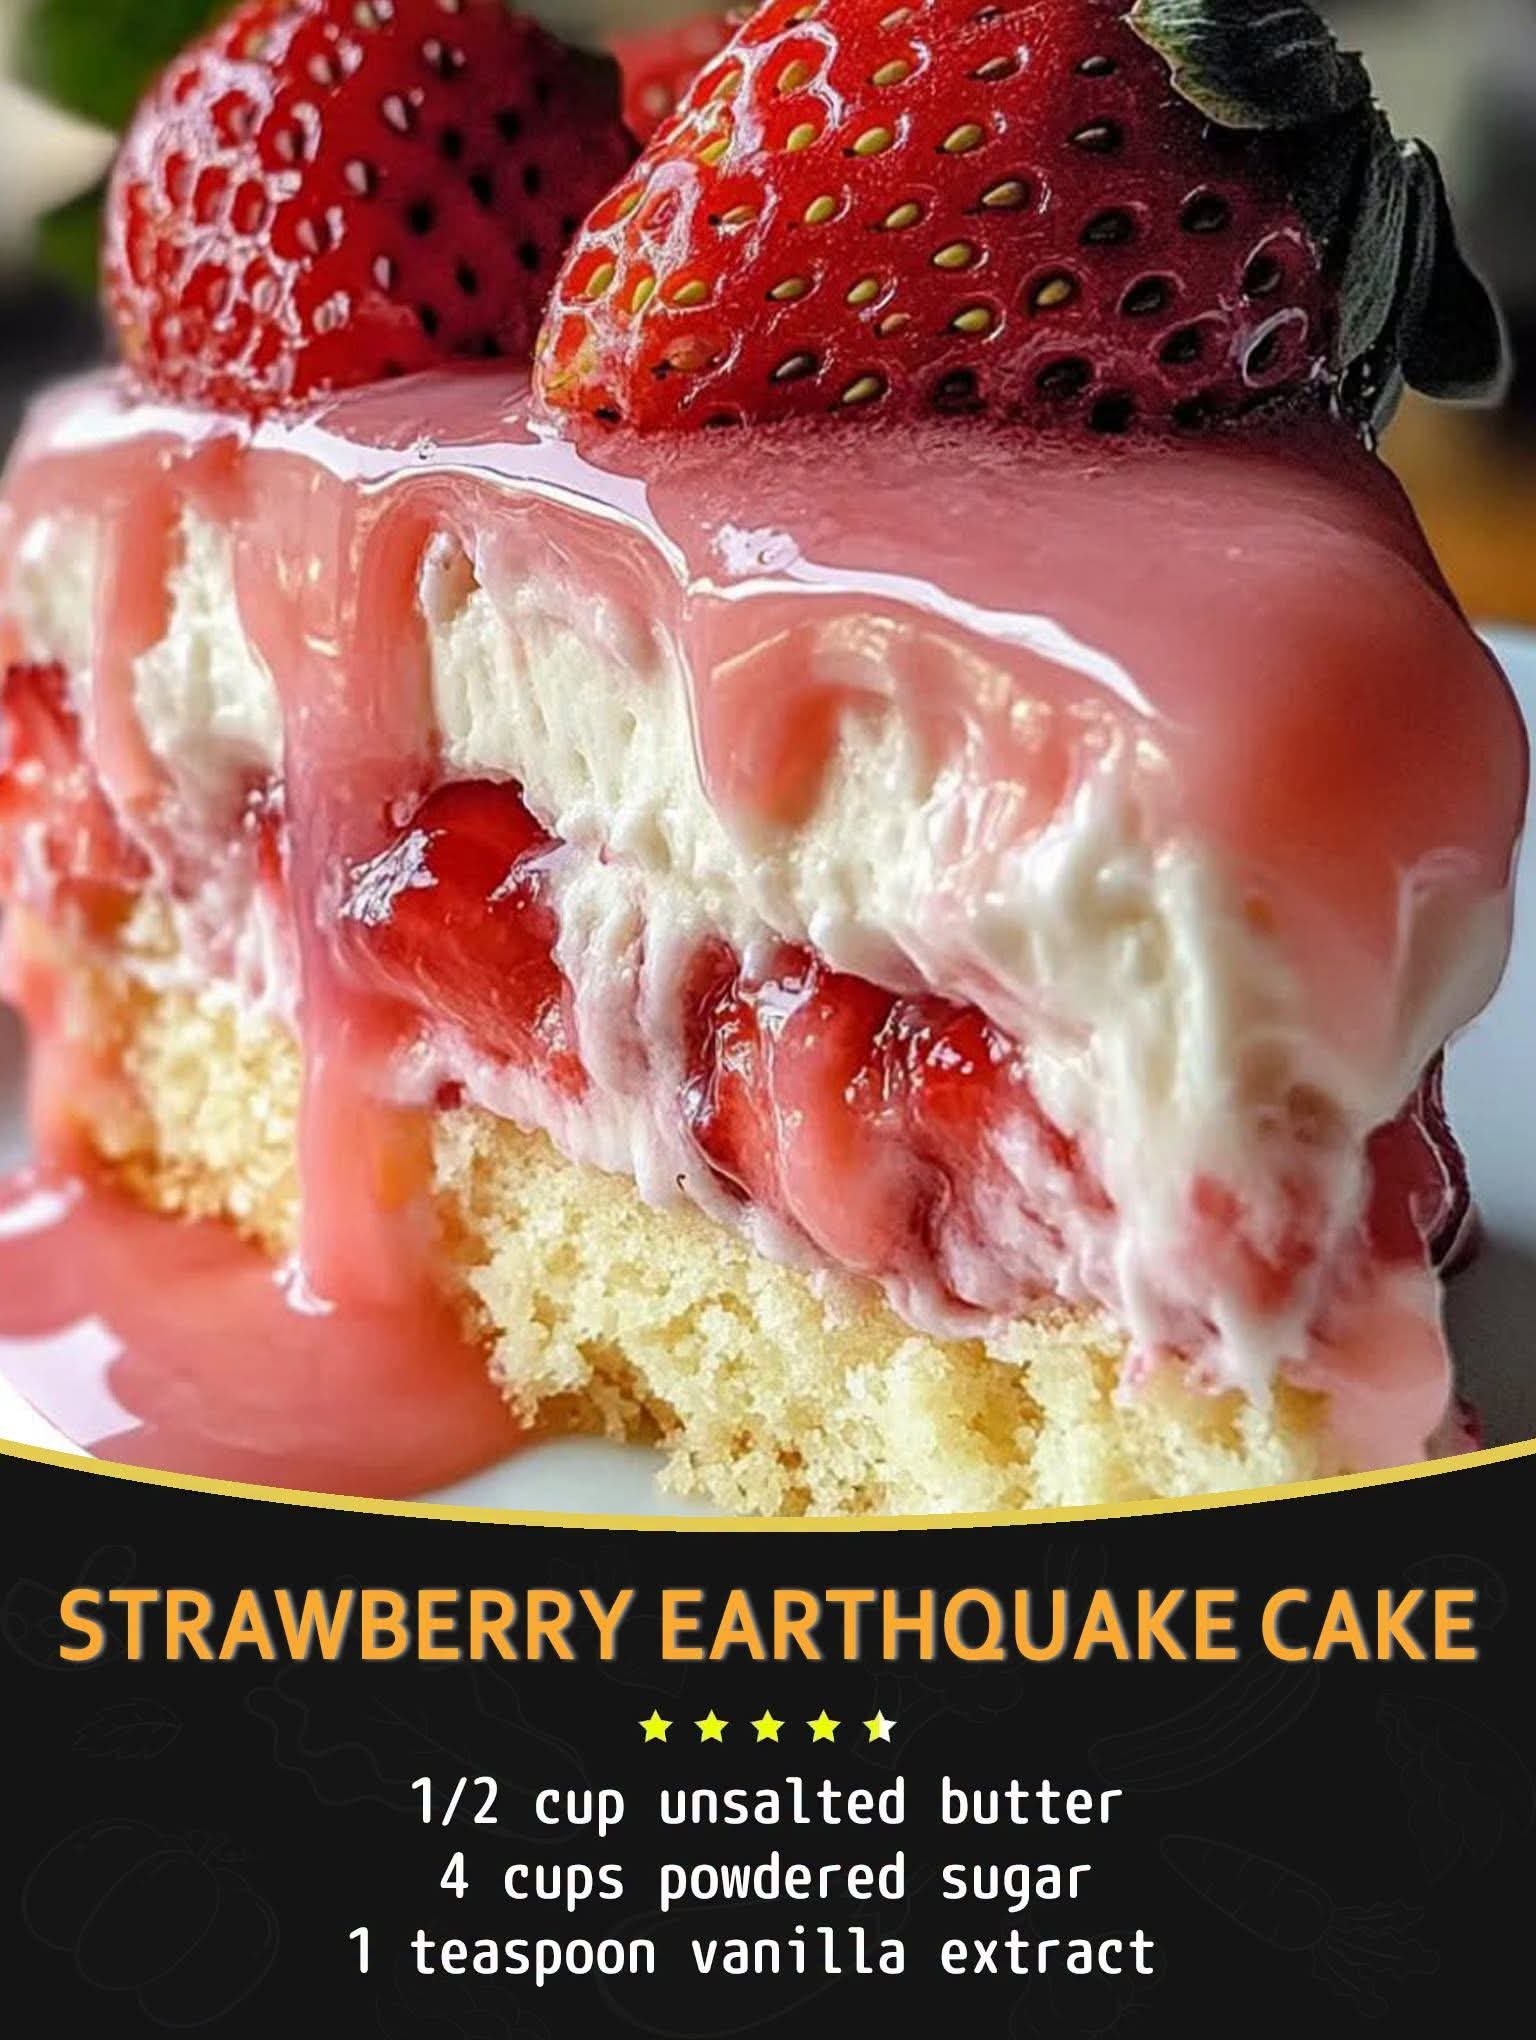
🍓🤍 Strawberry Earthquake Cake
A Creamy, Cracked, Strawberry-Filled Dessert with Coconut & White Chocolate
🌸 Introduction
Strawberry Earthquake Cake is a wonderfully indulgent dessert that combines the softness of a strawberry-studded white cake with a rich, creamy cheesecake-like layer. As it bakes, the cream cheese mixture sinks and moves through the cake batter, creating beautiful cracks, valleys, and swirls across the surface—giving the dessert its charming “earthquake” appearance.
The combination of sweet strawberries, tangy cream cheese, buttery powdered sugar, coconut, and white chocolate makes every bite rich and satisfying. It is an especially lovely dessert for spring and summer gatherings, Valentine’s Day, birthdays, family dinners, potlucks, or simply when you want something special without making a cake completely from scratch.
🍓 Ingredients
For the Strawberry Cake Base
- 1 box white cake mix
- Ingredients required according to the cake-mix package, usually:
- Water
- Vegetable oil
- Eggs
- 1 cup fresh strawberries, finely chopped
Tip: Fresh strawberries work beautifully because they add natural flavor and little bursts of fruit throughout the cake.
For the Cream Cheese Mixture
- 1 package (8 oz) cream cheese, softened to room temperature
- ½ cup unsalted butter, melted
- 4 cups powdered sugar
- 1 teaspoon vanilla extract
For the Toppings
- ½ cup sweetened or unsweetened coconut flakes
- ½ cup white chocolate chips
Optional Decorations
For an especially beautiful presentation, you can also use:
- Fresh strawberries, sliced
- Extra white chocolate chips
- Toasted coconut
- Powdered sugar
- White chocolate drizzle
- Strawberry sauce
- Whipped cream
- Small mint leaves for decoration
🍰 Required Equipment
- 9 × 13-inch baking dish
- Mixing bowls
- Electric mixer or hand whisk
- Rubber spatula
- Measuring cups and spoons
- Knife and cutting board
- Spoon or cookie scoop
- Cooling rack
- Serving spatula
🌷 Preparation
Before beginning, take the cream cheese out of the refrigerator and allow it to soften. Softened cream cheese blends much more easily and produces a smoother filling.
Wash the strawberries thoroughly, remove the green tops, and pat them dry. Chop them into small pieces. Avoid leaving them excessively wet because extra moisture can make the cake batter too loose.
Preheat the oven to 175°C (350°F).
Grease a 9 × 13-inch baking dish thoroughly with butter or nonstick cooking spray.
🥣 Method 1: Prepare the Strawberry Cake Batter
Prepare the white cake mix according to the directions on the package.
Usually, this means combining the cake mix with the specified amount of water, oil, and eggs.
Beat the mixture until the batter is smooth and evenly combined, but avoid excessive mixing.
Add the chopped strawberries.
Using a rubber spatula, gently fold the strawberries into the batter. Folding rather than aggressively stirring helps prevent the strawberries from breaking apart and releasing too much liquid.
Pour the strawberry cake batter into the prepared baking dish.
Spread it gently into an even layer.
🤍 Method 2: Make the Cream Cheese Mixture
Place the softened cream cheese into a medium mixing bowl.
Beat the cream cheese until smooth.
Slowly add the melted butter and continue mixing until the mixture becomes creamy.
Add the powdered sugar gradually, about ½ to 1 cup at a time.
Mix well after each addition.
Finally, add the vanilla extract.
Continue beating until you have a thick, smooth, creamy mixture without visible lumps.
Important Tip
Make sure the cream cheese is genuinely softened before mixing. Cold cream cheese can remain lumpy, which makes the finished cream cheese layer less smooth.
🌋 Method 3: Create the “Earthquake” Effect
Now comes the most fun part!
Using a spoon or cookie scoop, place generous spoonfuls of the cream cheese mixture across the surface of the strawberry cake batter.
Do not spread the cream cheese mixture into one perfectly smooth layer.
Instead, distribute it unevenly.
Some areas should have more cream cheese while other areas should have less.
Use the back of a spoon or a butter knife to gently swirl some of the cream cheese mixture into the cake batter.
Do not completely mix the two layers.
The goal is to create pockets and ribbons of cream cheese that can move through the cake as it bakes.
🥥 Method 4: Add the Toppings
Sprinkle the coconut flakes evenly over the top.
Then distribute the white chocolate chips across the surface.
For an even more luxurious dessert, you can add a few extra white chocolate chips around the edges.
If you love strawberries, a few thinly sliced strawberries can also be arranged on top after baking rather than before.
🔥 Method 5: Bake the Cake
Place the baking dish into the preheated 175°C (350°F) oven.
Bake for approximately 40–45 minutes.
Keep an eye on the cake toward the end of the baking time.
The edges should become lightly golden brown, while the center should look set but still soft and creamy.
Do not expect the cake to look perfectly smooth.
The cracks and valleys are part of its character!
How to Check for Doneness
Gently shake the baking dish.
The center should have only a slight movement rather than looking completely liquid.
You can also insert a toothpick into an area containing mostly cake rather than cream cheese. It should come out with moist crumbs rather than wet batter.
❄️ Method 6: Cool Completely
Remove the cake from the oven and place the dish on a cooling rack.
Allow it to cool completely before cutting.
This step is important because the cream cheese mixture needs time to firm up.
If you cut the cake while it is extremely hot, the creamy layer can be very soft and may spread.
Once cooled, admire the beautiful cracked surface.
Every cake will develop its own unique pattern—just like an earthquake creates its own unique landscape.
🍓 Optional Strawberry Finish
For a beautiful bakery-style presentation, decorate the cooled cake with fresh strawberries.
Slice several strawberries thinly and arrange them over individual pieces.
You can also drizzle a little strawberry sauce over each serving.
A small spoonful of whipped cream makes the dessert even more luxurious.
For a dramatic finish, drizzle melted white chocolate over the top and sprinkle with a little toasted coconut.
🌋 Why Is It Called “Earthquake Cake”?
The name comes from the way the dessert changes during baking.
Unlike a traditional layered cake that remains relatively uniform, an earthquake cake contains contrasting mixtures with different textures and densities.
As the cake heats in the oven, the cake batter rises and sets while the rich cream cheese mixture moves and settles into different areas.
This creates cracks, pockets, valleys, and swirls across the surface.
The result looks almost as though the cake has experienced a tiny culinary earthquake!
The irregular appearance is actually part of the charm.
You don’t need to worry about getting perfectly straight layers or a flawless surface.
The messier it looks, the more authentic the “earthquake” effect becomes.
📖 A Little History
Earthquake-style cakes belong to a family of American home-baking desserts known for their dramatic appearance and simple preparation.
They became especially popular among home bakers because they could be assembled without complicated decorating techniques.
The basic concept is wonderfully practical: combine cake batter with a rich cream cheese mixture, add flavorful toppings, and let the oven transform the ingredients into a dessert full of cracks and swirls.
Different versions can include chocolate cake, coconut, nuts, caramel, cherries, pineapple, or other fruits.
This strawberry version takes the classic idea in a bright, fruity direction.
The addition of fresh strawberries gives the cake a naturally sweet fruit flavor and beautiful pops of color.
🧁 Formation of the Cake
The cake develops its distinctive texture in several stages.
1. The Cake Batter
The white cake batter forms the soft, fluffy foundation.
2. The Strawberries
The chopped strawberries become tender during baking and distribute little pockets of fruity flavor throughout the cake.
3. The Cream Cheese Mixture
The cream cheese, butter, and powdered sugar create rich, sweet pockets that contrast with the lighter cake.
4. The Coconut
The coconut adds chewiness and a subtle tropical flavor.
5. The White Chocolate
The white chocolate chips become soft and creamy in the oven, adding little bursts of sweetness.
6. The Earthquake Effect
As everything heats, the different mixtures shift and settle, creating the characteristic cracks and uneven surface.
🍓 Texture & Flavor
The finished Strawberry Earthquake Cake should have several textures in one dessert.
The cake itself is soft and tender.
The strawberries provide juicy fruitiness.
The cream cheese mixture creates rich, sweet, cheesecake-like pockets.
The coconut adds a gentle chew.
The white chocolate contributes creamy sweetness.
Together, these ingredients create a dessert that is:
Soft + creamy + fruity + buttery + sweet + slightly chewy + wonderfully indulgent.
💕 Tips for the Best Strawberry Earthquake Cake
Use room-temperature cream cheese
This is one of the most important tips. Soft cream cheese blends much more smoothly.
Don’t overmix the cake batter
Mix just until the ingredients are combined.
Chop strawberries fairly small
Large strawberry pieces can release too much moisture and make portions of the cake wetter.
Don’t try to make the top perfect
The cracks are the whole point!
Don’t overbake
The cake should remain moist and rich. Overbaking can make the cake dry and cause the cream cheese layer to lose its luscious texture.
Let it cool
Cooling allows the cream cheese mixture to set and makes the cake much easier to slice.
Refrigerate leftovers
Because of the cream cheese layer, store leftover cake covered in the refrigerator.
🍽️ Serving Suggestions
Cut the cooled cake into squares and serve chilled or slightly cool.
For an elegant dessert plate, add:
- One square of Strawberry Earthquake Cake
- A few fresh strawberry slices
- A spoonful of whipped cream
- A drizzle of strawberry sauce
- A little white chocolate
- A sprinkle of coconut
For an extra-special dessert, serve each piece with a scoop of vanilla ice cream.
The cold, creamy ice cream pairs beautifully with the rich strawberry and cream cheese cake.
❤️ Perfect Occasions for This Cake
This cake is perfect for:
- Valentine’s Day ❤️
- Mother’s Day 🌷
- Easter 🐣
- Birthday celebrations 🎂
- Baby showers
- Bridal showers
- Summer gatherings
- Family dinners
- Potlucks
- Afternoon tea
- Weekend baking
- Strawberry season
- Romantic dessert nights 🍓
💕 For the Lovers of Strawberries
If you are a true strawberry lover, this cake is a dream.
The strawberries aren’t simply placed on top as decoration—they become part of the cake itself.
Every forkful can contain soft white cake, juicy strawberry pieces, creamy cheesecake-like filling, coconut, and sweet white chocolate.
It’s the kind of dessert that makes people go back for “just one more little piece.”
And before you know it, half the baking dish has disappeared!
🌟 Conclusion
Strawberry Earthquake Cake is proof that a dessert doesn’t have to look perfectly neat to be absolutely beautiful.
Its cracked surface, creamy pockets, fruity strawberry pieces, coconut flakes, and melted white chocolate create a dessert that is both visually exciting and incredibly delicious.
The best part is how easy it is to prepare. A simple white cake mix becomes something much more special when combined with fresh strawberries and a rich cream cheese mixture.
So embrace the cracks, celebrate the swirls, and don’t worry about making every piece identical.
The beauty of an earthquake cake is that every slice is a little different. 🍓🤍🌋
Serve it to your family, share it with friends, or keep a secret piece for yourself.
Because some desserts are meant to be shared…
but this one is also very easy to fall in love with. ❤️🍰