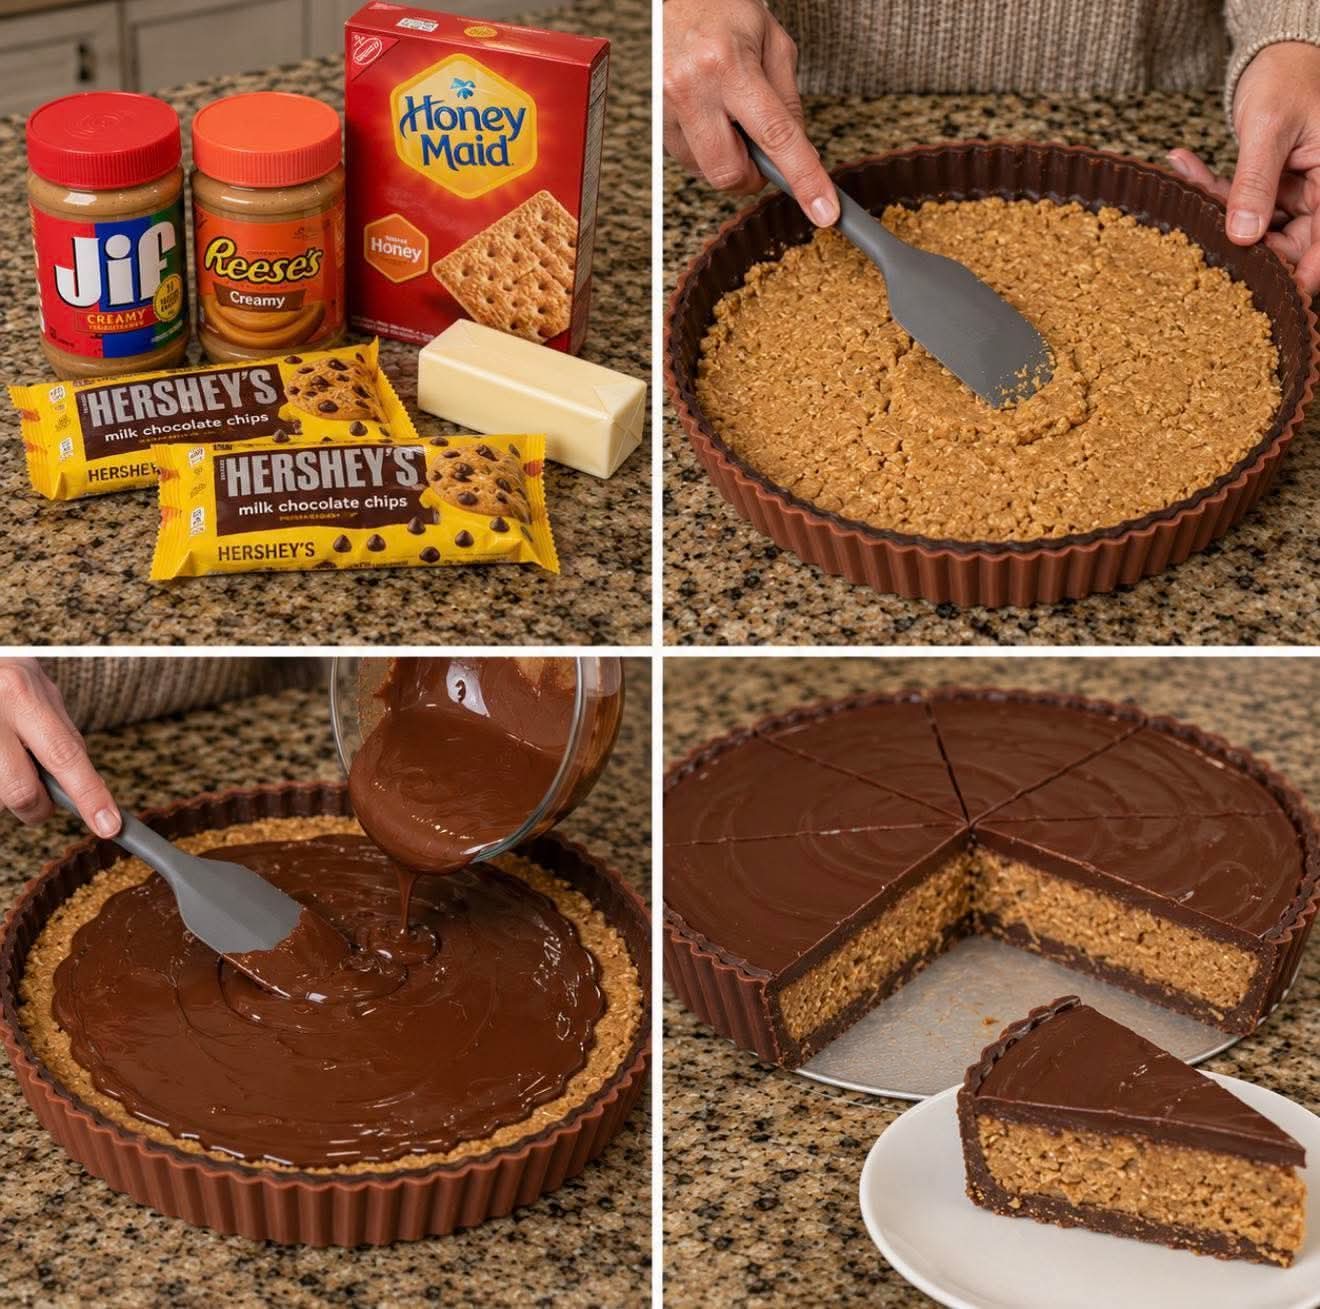
GIANT NO-BAKE PEANUT BUTTER CUP 🍫🥜😍
A bakery-style, oversized Reese’s-inspired dessert you don’t even need an oven for.
This giant peanut butter cup is what happens when a classic candy bar decides to become a full dessert pie. It has a thick, snappy chocolate shell on the outside and a rich, slightly crunchy peanut butter filling inside. The result is cold, creamy, and intensely satisfying—like a frozen candy cheesecake hybrid, but simpler.
It’s the kind of dessert you make once… and suddenly everyone expects you to bring it to every gathering.
🥜 INGREDIENTS
🍫 Chocolate Shell
- 2 cups (350 g) semi-sweet chocolate chips
- 1 cup (180 g) milk chocolate chips (for a softer bite)
- 2 tablespoons coconut oil or unsalted butter
- Pinch of salt
🥜 Peanut Butter Filling
- 2 cups (500 g) creamy peanut butter
- 1 cup (120 g) powdered sugar
- 1/2 cup (120 g) crushed graham crackers or digestive biscuits
- 1/4 cup (60 g) melted butter
- 1 teaspoon vanilla extract
- Pinch of salt
- Optional: 1/2 cup chopped peanuts (for crunch)
✨ Optional Topping
- Melted chocolate drizzle
- Flaky sea salt
- Mini peanut butter cups (for decoration)
👨🍳 INSTRUCTIONS
1. Prepare the Pan
Line a 9-inch springform pan or deep pie dish with parchment paper. This helps you lift the giant cup out easily later.
2. Make the Chocolate Shell
- Melt chocolate chips with coconut oil (microwave in 30-second bursts or use a double boiler).
- Stir until smooth and glossy.
- Pour half into the pan and tilt to coat the bottom and sides.
- Freeze for 10–15 minutes until firm.
3. Make the Peanut Butter Filling
- In a bowl, mix peanut butter, powdered sugar, melted butter, vanilla, and salt.
- Stir in crushed biscuits and optional chopped peanuts.
- Mix until thick, slightly crumbly but moldable.
4. Assemble the Giant Cup
- Spoon peanut butter filling into the chilled chocolate shell.
- Press down firmly so it’s compact and even.
- Leave a small gap at the top for the final chocolate layer.
5. Seal with Chocolate
- Pour remaining melted chocolate over the top.
- Smooth with a spatula so it fully covers the filling.
- Tap the pan gently to remove air bubbles.
6. Chill
Refrigerate for at least 3–4 hours (overnight is best).
This step gives it that perfect “snap + cream” texture.
🔬 METHOD EXPLAINED (WHY IT WORKS)
- Chocolate + coconut oil = creates a firm but sliceable shell
- Powdered sugar in filling = stabilizes peanut butter so it doesn’t ooze
- Crushed biscuits = adds structure so it feels like a candy bar, not a dip
- Chilling time = allows fats to set, giving that Reese’s-style bite
📜 A LITTLE HISTORY
The original peanut butter cup was popularized in the early 20th century in the United States, becoming a signature candy combining chocolate and peanut butter—a pairing that became iconic worldwide. Over time, home bakers started recreating oversized versions as “giant cups,” turning a small treat into a shareable dessert centerpiece.
This no-bake version follows that same idea: maximum flavor, minimum effort, and a dramatic presentation.
💛 FORMATION (TEXTURE & EXPERIENCE)
When sliced, you get:
- A thin chocolate “crack” on top
- A dense peanut butter center that holds shape
- A melt-in-your-mouth contrast between sweet chocolate and salty nut butter
It’s rich, but not heavy in a greasy way—it’s structured like candy but eaten like cake.
🍽️ SERVING & “LOVERS” EDITION 😄
Best served:
- Slightly chilled (not frozen solid)
- With coffee, milk, or hot chocolate
- Cut into thin wedges (it’s very rich!)
Romantic idea:
- Drizzle chocolate on top in a heart pattern
- Serve two slices on one plate
- Add strawberries or banana slices on the side
Because yes—this is the kind of dessert people “share”… until someone quietly takes the last slice.
🍫 CONCLUSION
This giant no-bake peanut butter cup is simple, dramatic, and dangerously addictive. It doesn’t need baking skills—just layering, chilling, and patience while it sets.
Once you cut into it, the only real problem is pretending you’ll “just have one slice.”
Spoiler: you won’t.