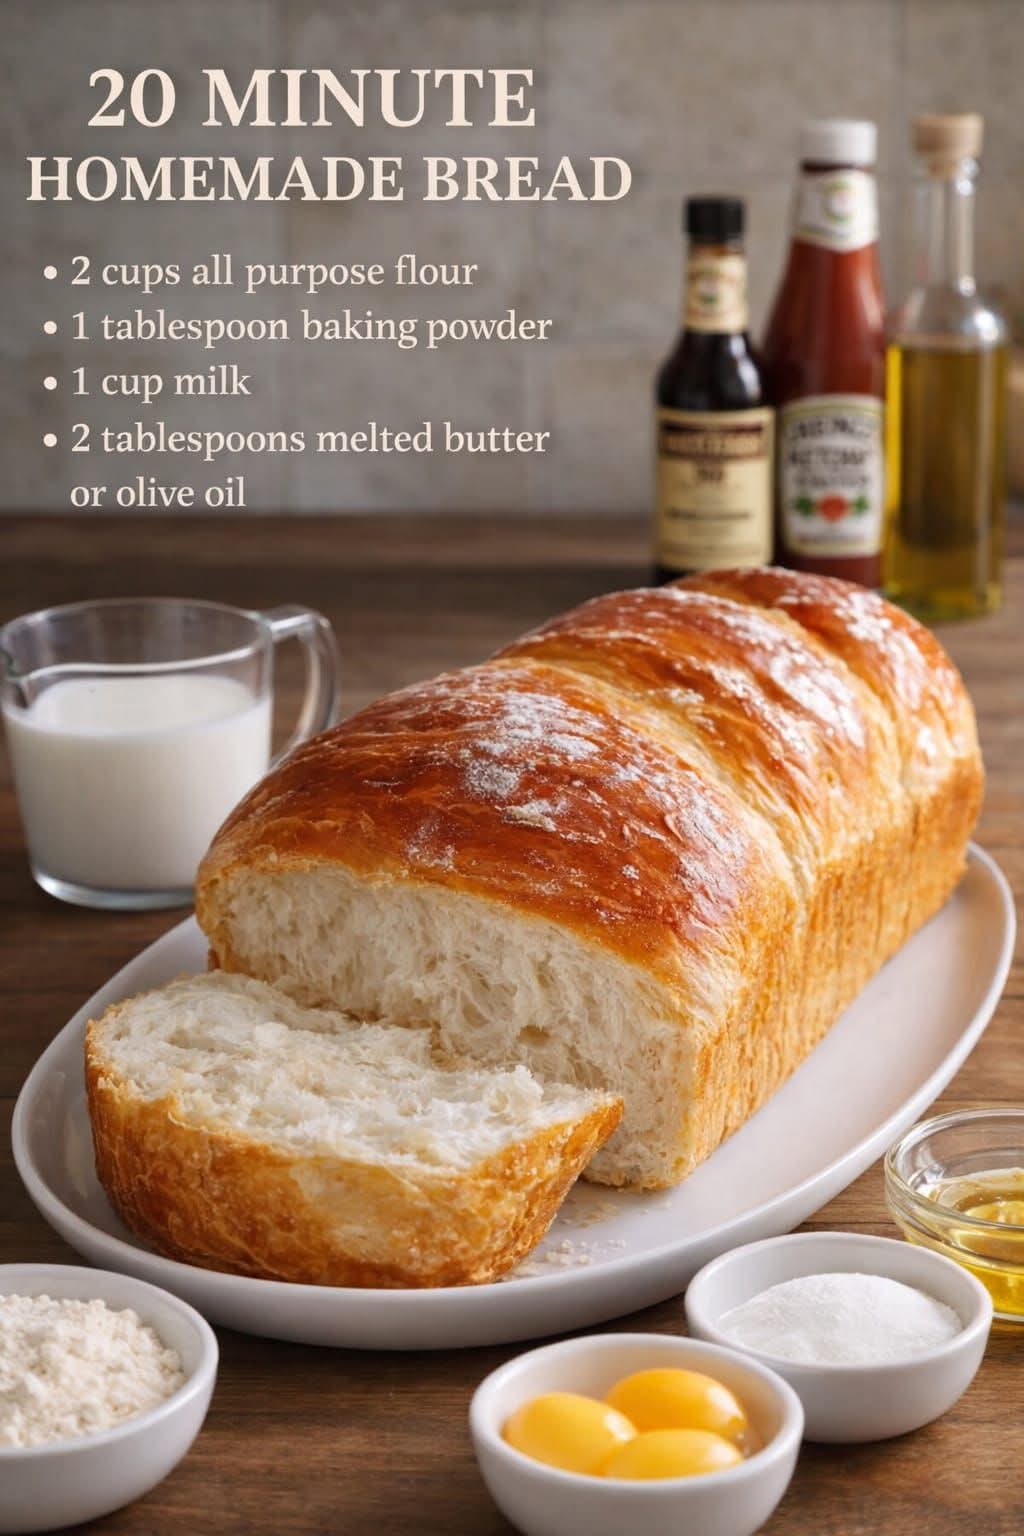
20-Minute Homemade Bread
Introduction
There is something wonderfully comforting about homemade bread, especially when it can be prepared and baked in about 20 minutes. This simple recipe is designed for busy days when you want fresh, warm bread without waiting for yeast to rise or spending hours in the kitchen.
The result is a tender, lightly golden bread with a soft center and a delicious buttery flavor. It uses basic pantry ingredients and requires no yeast, no complicated equipment, and no long fermentation. It is perfect alongside soups, stews, eggs, roasted vegetables, or simply served warm with butter.
Ingredients
- 2 cups all-purpose flour
- 1 tablespoon baking powder
- 1 cup milk
- 2 tablespoons melted butter or olive oil
- 1/2 teaspoon salt, optional but recommended
- 1 teaspoon sugar, optional, for a slightly softer and more balanced flavor
For serving:
- Butter
- Honey or jam
- Cheese
- Garlic butter
- Fresh herbs, optional
Instructions
1. Prepare the oven
Preheat your oven to 425°F (220°C). Lightly grease a baking pan, small cast-iron skillet, or baking sheet.
2. Combine the dry ingredients
Place the flour, baking powder, salt, and optional sugar in a large mixing bowl. Whisk everything together thoroughly so the baking powder is evenly distributed throughout the flour.
3. Add the wet ingredients
Make a small well in the center of the dry ingredients. Pour in the milk and melted butter or olive oil.
Using a wooden spoon or spatula, gently mix until a soft dough forms. Do not overmix. The dough should come together without being excessively sticky.
4. Shape the bread
Transfer the dough to a lightly floured surface. Gently knead it only a few times, just enough to bring everything together.
Shape it into a round loaf approximately 1 to 1 1/2 inches thick. Place it on the prepared baking pan.
For a beautiful finish, brush the top with a little additional melted butter or milk.
5. Bake
Place the bread in the preheated oven and bake for approximately 12 to 16 minutes, or until the top is lightly golden and the bread feels firm when gently pressed.
Because ovens vary, begin checking the bread around the 12-minute mark.
6. Rest and serve
Remove the bread from the oven and allow it to rest for a few minutes. Brush the top with additional melted butter while it is still warm if desired.
Slice and serve immediately.
Method
The secret to this quick bread is the use of baking powder instead of yeast. Baking powder creates bubbles in the dough as it heats, allowing the bread to rise quickly in the oven. Since there is no yeast involved, there is no need for proofing or a lengthy resting period.
The most important technique is to avoid overmixing. Once the flour and liquid come together, stop mixing. Excessive kneading can make quick bread dense and tough instead of tender.
The milk provides moisture and helps create a soft crumb, while melted butter contributes richness and flavor. Olive oil can be substituted when you prefer a lighter or more savory taste.
History of Quick Homemade Bread
Quick breads have a long history in home cooking because they provide an alternative to traditional yeast breads. Before modern conveniences, families often relied on breads that could be prepared quickly when there was little time for lengthy fermentation.
The development and widespread use of chemical leaveners such as baking powder made it possible to prepare breads without waiting for yeast to ferment. This eventually led to many styles of biscuits, soda breads, muffins, skillet breads, and other quick breads.
This 20-minute version follows that same practical tradition: simple ingredients, minimal preparation, and fresh bread on the table in a short amount of time.
Formation and Texture
The dough should be soft and cohesive rather than runny. When shaped correctly, it should hold its form while remaining slightly tender.
After baking, the outside should be lightly golden and pleasantly firm, while the inside should remain soft and tender. The bread will not have the large airy holes associated with yeast bread, but it should have a comforting, biscuit-like crumb that is excellent when served warm.
Helpful Tips
For a softer loaf, use whole milk rather than low-fat milk.
Do not add too much flour while shaping the dough. Extra flour can make the finished bread dry.
Do not overmix or over-knead the dough. A few gentle turns are enough.
For a richer flavor, use melted butter rather than olive oil.
For savory bread, add dried rosemary, garlic powder, black pepper, grated cheese, or chopped fresh herbs.
For a slightly sweeter version, add a little more sugar and serve the finished bread with butter and honey.
For an attractive crust, brush the top with melted butter immediately after baking.
Variations
Garlic Herb Bread
Add 1 teaspoon garlic powder and 1 teaspoon dried herbs such as rosemary, thyme, or parsley to the flour mixture. Brush the finished loaf with garlic butter.
Cheddar Bread
Fold approximately 1/2 cup shredded cheddar cheese into the dough before shaping. Sprinkle a little additional cheese on top before baking.
Honey Butter Bread
Add 1 tablespoon honey to the milk and use melted butter in the dough. Serve the warm bread with honey butter.
Herb and Olive Oil Bread
Use olive oil instead of butter and add rosemary, thyme, oregano, or parsley. This version pairs especially well with soups and roasted vegetables.
How to Store It
This bread is best eaten warm and fresh on the day it is made. If you have leftovers, allow them to cool completely before storing them in an airtight container or wrapped tightly.
At room temperature, it is best consumed within a day or two. To refresh leftover slices, warm them briefly in the oven or toaster.
The bread can also be frozen. Wrap individual portions well and freeze them for convenient serving later.
Conclusion
This 20-minute homemade bread is a wonderful recipe for anyone who wants fresh bread without yeast, complicated techniques, or a long waiting period. With only a handful of everyday ingredients, you can create a warm, tender loaf that is perfect for breakfast, lunch, dinner, or an afternoon snack.
It is simple enough for beginners but versatile enough to become a regular family favorite. Serve it warm with butter, use it alongside your favorite soup, or customize it with herbs, garlic, cheese, or honey.
For Bread Lovers
If you love homemade bread but do not always have time for traditional yeast recipes, this is an excellent recipe to keep close at hand. Its simplicity makes it especially useful when unexpected guests arrive or when you suddenly want something warm and homemade.
A good homemade bread recipe does not always need to be complicated. Sometimes the best recipes are the ones that bring something fresh and comforting to the table with very little effort.