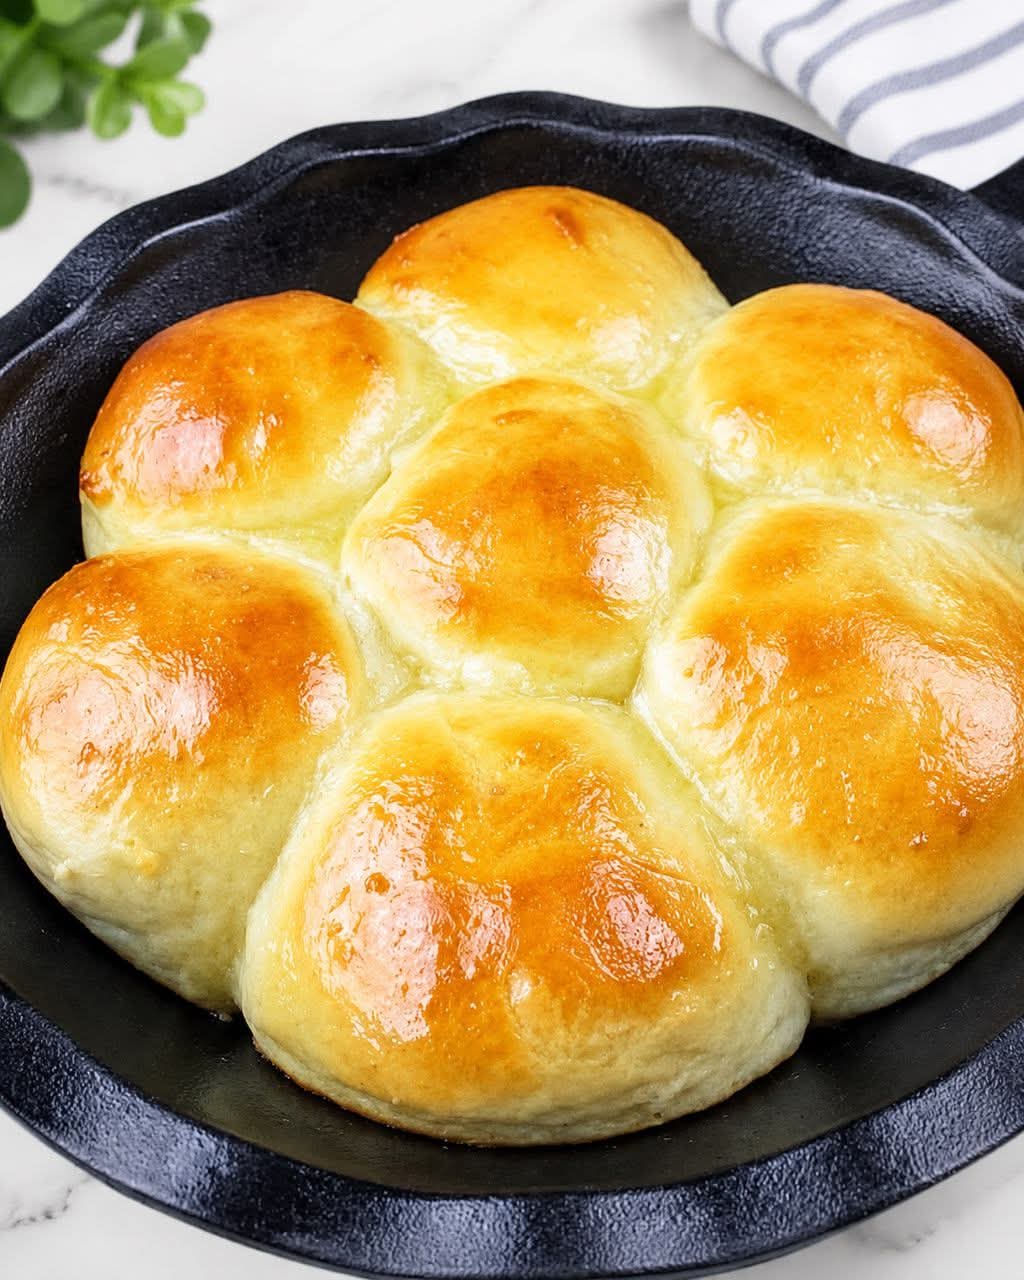
Here is a complete, big recipe for those cherished family rolls—just like your mother made them. I’ve included everything from the history and science to the step-by-step method, nutrition, and even the love that goes into every batch.
—
🥖 My Mother’s Legendary Fluffy Dinner Rolls
The Rolls That Taste Like Home
There are some recipes that are more than just food; they are edible memories. For me, these rolls are exactly that. My mother has been making them for as long as I can remember. The scent of yeast and butter wafting from the kitchen was the signal that something special was happening—a holiday, a birthday, or simply a Sunday when family gathered around the table. She would roll out the dough with her hands, never using a machine, and the kitchen would fill with warmth and laughter. Everyone who tried them fell in love. They are impossibly light, pillowy-soft, and have that unmistakable, comforting taste that only a homemade roll can deliver. This recipe is my treasure, and I’m so happy to share it with you.
—
📜 The History & Heritage
The dinner roll as we know it is a descendant of ancient bread-making. While modern dinner rolls gained popularity in the 19th century with the introduction of commercial yeast, the true magic lies in the “enriched dough”—meaning it contains milk, butter, and eggs. This technique originated in Europe, where bakers sought to create a softer, richer bread for celebrations. These rolls are a testament to that tradition, turning simple ingredients into a golden, buttery symbol of hospitality and love.
—
✨ The Formation (The Science of Softness)
Why are these rolls so incredibly fluffy? It’s all about the “tangzhong” (or water roux) method, though my mother never called it that! By cooking a small portion of the flour and milk into a paste, you pre-gelatinize the starches. This allows the dough to hold more moisture, resulting in a softer, springier crumb that stays fresh for days. The butter adds tenderness by coating the gluten strands, preventing them from becoming tough.
—
🥣 Ingredients
For the Tangzhong (Flour & Milk Paste):
· ½ cup (120 ml) whole milk
· 3 tbsp (25 g) all-purpose flour
For the Dough:
· 3 ½ cups (440 g) all-purpose flour or bread flour (plus extra for dusting)
· ¼ cup (50 g) granulated sugar
· 1 tsp salt
· 2 ¼ tsp (1 packet) instant dry yeast
· ½ cup (120 ml) whole milk, warmed (about 110°F/43°C)
· 1 large egg, at room temperature
· 4 tbsp (56 g) unsalted butter, softened and cut into cubes
· 1 tsp vanilla extract (optional, but my mother’s secret touch)
For the Topping:
· 2 tbsp unsalted butter, melted (for brushing after baking)
—
👩🍳 Step-by-Step Instructions
1. Make the Tangzhong: In a small saucepan, whisk together the ½ cup milk and 3 tbsp flour. Cook over medium-low heat, stirring constantly, until it thickens to a paste (about 2 minutes). Remove from heat and let it cool completely to room temperature.
2. Activate the Yeast: In a large mixing bowl, combine the warm milk, sugar, and yeast. Let it sit for 5–10 minutes until it becomes foamy.
3. Mix the Dough: Add the cooled tangzhong, egg, vanilla, salt, and 2 cups of flour to the yeast mixture. Stir until combined. Gradually add the remaining flour, ½ cup at a time, mixing until a shaggy dough forms.
4. Knead in the Butter: Turn the dough onto a lightly floured surface. Knead for about 5 minutes, then add the softened butter cubes. Knead for another 8–10 minutes until the dough is smooth, elastic, and slightly tacky. (It will be very soft and sticky at first—keep kneading!)
5. First Rise: Place the dough in a greased bowl, turning once to coat. Cover with a damp cloth and let it rise in a warm place for 1 to 1.5 hours, or until doubled in size.
6. Shape the Rolls: Punch down the dough. Divide it into 15 equal portions (about 50g each). Shape each portion into a smooth ball by tucking the edges underneath. Place them in a greased 9×13-inch baking dish, close together but not touching.
7. Second Rise: Cover the dish and let them rise again for 45 minutes, until they are puffy and touching each other.
8. Bake: Preheat your oven to 350°F (175°C). Bake for 18–22 minutes, or until the tops are golden brown.
9. Finish: Immediately brush the hot rolls with melted butter. Let them cool in the pan for 10 minutes before transferring to a wire rack.
—
💪 Nutritional Information (Per Roll, Approx.)
· Calories: ~180
· Fat: 7g
· Carbohydrates: 25g
· Protein: 5g
· Fiber: 1g
(Note: These are a treat! Rich in carbohydrates for energy and a source of calcium from the milk and butter.)
—
🌟 Benefits & Why You’ll Love Them
· Stress-Free: No fancy mixer required—just your hands!
· Versatile: Perfect for Thanksgiving, Easter, or a simple weeknight soup.
· Freezer-Friendly: They freeze beautifully. Just reheat in the oven.
· Comfort Food: The aroma alone is therapy for the soul.
—
👩❤️👨 For the Lovers
This recipe is for the bread lovers, the family gatherers, and the ones who know that a warm roll shared with someone is a hug on a plate. My mother always said, “The secret ingredient isn’t butter; it’s making them for someone you love.” Whether you’re a seasoned baker or a novice, these rolls will earn you adoration from everyone who takes a bite.
—
✅ Conclusion
These rolls are more than just a side dish; they are a tradition waiting to be started in your home. They embody the warmth of my mother’s kitchen and the joy of gathering people together. Simple, foolproof, and utterly delicious, this recipe is a gift. I hope that when you pull a golden, butter-brushed roll from your oven, you feel the same love and pride that has filled my family for generations. Go ahead—make them, share them, and watch them disappear. ❤️
—
Would you like a variation (e.g., garlic-herb, cinnamon-sugar, or whole wheat) added to the recipe?