Cinnamon Roll Bliss Bars
Introduction
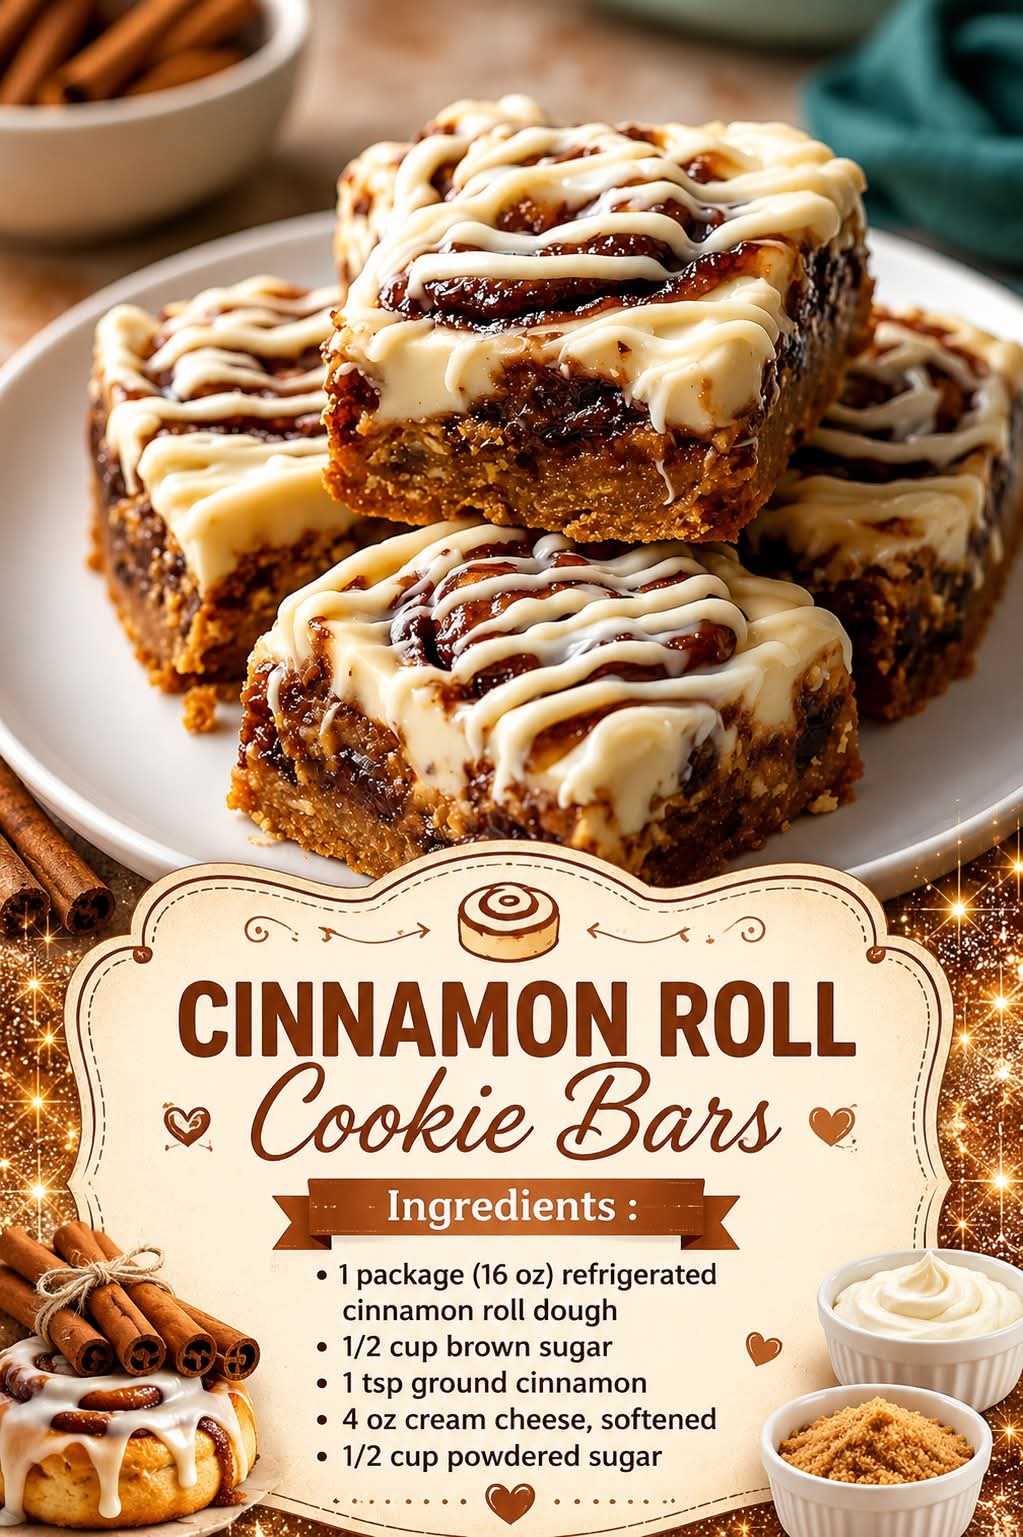
If you love the warm, comforting flavor of homemade cinnamon rolls but want something easier and faster to prepare, these Cinnamon Roll Bliss Bars are the perfect dessert for you. Soft, buttery, and layered with sweet cinnamon goodness, these bars combine the classic taste of cinnamon rolls with the convenience of a simple dessert bar. Every bite is rich, tender, and topped with a luscious glaze that melts into the warm layers.
These bars are perfect for breakfast treats, afternoon coffee breaks, holiday gatherings, bake sales, or cozy family desserts. The sweet aroma of cinnamon and butter filling your kitchen makes this recipe feel like a warm hug on a chilly day. Whether served fresh from the oven or chilled the next day, these bars are guaranteed to become a favorite among cinnamon lovers everywhere.
—
The History of Cinnamon Desserts
Cinnamon has been treasured for thousands of years and was once considered more valuable than gold in ancient civilizations. Traditional cinnamon rolls originated in Northern Europe, especially Sweden, where “kanelbullar” became a beloved pastry tradition. Over time, bakers around the world created easier versions of cinnamon rolls, including cakes, cookies, and dessert bars.
Cinnamon Roll Bliss Bars are a modern twist on the classic cinnamon roll. Instead of waiting for yeast dough to rise, these bars deliver the same delicious flavor in a quicker and more convenient form. They are ideal for busy bakers who still want the comforting taste of homemade cinnamon pastries.
—
Ingredients
For the Bars
– 2 cups (250g) all-purpose flour
– 1/2 cup (100g) granulated sugar
– 1 teaspoon baking powder
– 1/2 teaspoon salt
– 1 teaspoon ground cinnamon
– 3/4 cup (170g) unsalted butter, melted
– 2 large eggs
– 1 teaspoon vanilla extract
– 1/2 cup milk
For the Cinnamon Swirl
– 1/2 cup brown sugar
– 1 tablespoon ground cinnamon
– 3 tablespoons melted butter
For the Creamy Glaze
– 1 cup powdered sugar
– 2–3 tablespoons milk
– 1/2 teaspoon vanilla extract
—
Kitchen Equipment Needed
– 9×13-inch baking pan
– Mixing bowls
– Whisk
– Spatula
– Measuring cups and spoons
– Butter knife or skewer for swirling
– Cooling rack
—
Preparation Method
Step 1: Prepare the Baking Pan
Preheat your oven to 350°F (175°C). Grease a 9×13-inch baking pan or line it with parchment paper for easier removal.
Step 2: Mix the Dry Ingredients
In a large bowl, whisk together:
– Flour
– Granulated sugar
– Baking powder
– Salt
– Cinnamon
This ensures the ingredients are evenly distributed for a perfectly soft texture.
Step 3: Combine the Wet Ingredients
In another bowl, mix together:
– Melted butter
– Eggs
– Vanilla extract
– Milk
Whisk until smooth and creamy.
Step 4: Create the Batter
Slowly pour the wet mixture into the dry ingredients. Stir gently until combined. Do not overmix, or the bars may become dense.
Step 5: Make the Cinnamon Swirl
In a small bowl, combine:
– Brown sugar
– Cinnamon
– Melted butter
Mix until it forms a thick cinnamon paste.
Step 6: Assemble the Bars
Spread the batter evenly into the prepared baking pan. Spoon the cinnamon mixture over the top in small dollops. Use a knife or skewer to swirl it gently through the batter to create beautiful cinnamon patterns.
Step 7: Bake
Bake for 28–32 minutes or until a toothpick inserted into the center comes out mostly clean.
Your kitchen will smell absolutely heavenly during this step.
Step 8: Prepare the Glaze
While the bars cool slightly, whisk together:
– Powdered sugar
– Milk
– Vanilla extract
until smooth and pourable.
Step 9: Glaze the Bars
Drizzle the glaze generously over the warm bars. Allow it to melt into the cinnamon layers for extra flavor.
—
Special Baking Methods
1. The Swirl Technique
The swirl method creates ribbons of cinnamon flavor throughout the bars. Avoid over-swirling so the cinnamon layers stay visible and distinct.
2. The Soft-Bake Method
Removing the bars when they are slightly soft in the center keeps them moist and tender after cooling.
3. Double Glazing Method
For extra sweetness, add one glaze layer while warm and another after completely cooling.
—
Flavor Variations
Cream Cheese Cinnamon Bars
Add small cubes of cream cheese into the batter before baking.
Apple Cinnamon Bliss Bars
Mix diced apples into the batter for a fruity twist.
Nut Lovers Version
Add chopped pecans or walnuts for crunch and richness.
Chocolate Cinnamon Bars
Drizzle melted chocolate over the glaze for a decadent finish.
—
Formation and Texture
These bars form beautiful golden edges with a soft, buttery center. The cinnamon swirl creates rich caramelized ribbons throughout each square. The glaze settles gently into the warm surface, creating a bakery-style finish that looks elegant and tastes incredible.
—
Serving Suggestions
These bars pair wonderfully with:
– Hot coffee
– Cappuccino
– Chai tea
– Vanilla ice cream
– Warm milk
Serve them warm for the ultimate cinnamon roll experience.
—
Why Dessert Lovers Adore These Bars
Dessert lovers enjoy Cinnamon Roll Bliss Bars because they combine:
– The comfort of cinnamon rolls
– The simplicity of dessert bars
– Soft cake-like texture
– Rich buttery flavor
– Sweet cinnamon aroma
– Quick preparation time
They are ideal for family gatherings, holidays, brunch tables, and cozy evenings at home.
—
Storage Tips
– Store in an airtight container for up to 4 days.
– Refrigerate for longer freshness.
– Warm slightly before serving for the best flavor.
– Freeze individual bars for up to 2 months.
—
Conclusion
Cinnamon Roll Bliss Bars are everything you love about classic cinnamon rolls transformed into an easy, irresistible dessert. Soft, buttery, sweet, and filled with warm cinnamon flavor, these bars bring comfort and joy with every bite. They are simple enough for beginner bakers yet delicious enough to impress guests at any gathering.
Whether you bake them for breakfast, dessert, holidays, or just because you crave something cozy and sweet, these bars are guaranteed to disappear quickly. One bite of the soft cinnamon layers and creamy glaze will make this recipe a treasured favorite in your kitchen for years to come.