Cherry Cheesecake Tacos 🍒🌮🍰
Cherry Cheesecake Tacos are a playful dessert that combines the rich creaminess of cheesecake with the fun crunch of a taco shell. They are sweet, colorful, creamy, and perfect for parties, holidays, birthdays, or late-night dessert cravings. Every bite brings together buttery crunch, fluffy cheesecake filling, and juicy cherries dripping with syrupy goodness. Dessert lovers everywhere adore this creative treat because it feels both nostalgic and exciting at the same time.
These dessert tacos became popular through social media and family kitchens where home bakers wanted something easy, beautiful, and crowd-pleasing without spending hours baking traditional cheesecake. The crispy shell, smooth filling, and bright cherry topping create a dessert that looks bakery-style but is simple enough for beginners.
Ingredients 🛒
For the Taco Shells
- 6 small flour tortillas
- 1 cup graham cracker crumbs
- 1/2 cup granulated sugar
- 1 teaspoon cinnamon
- 1/4 cup melted butter
For the Cheesecake Filling
- 1 package (8 ounces) cream cheese, softened
- 1/3 cup powdered sugar
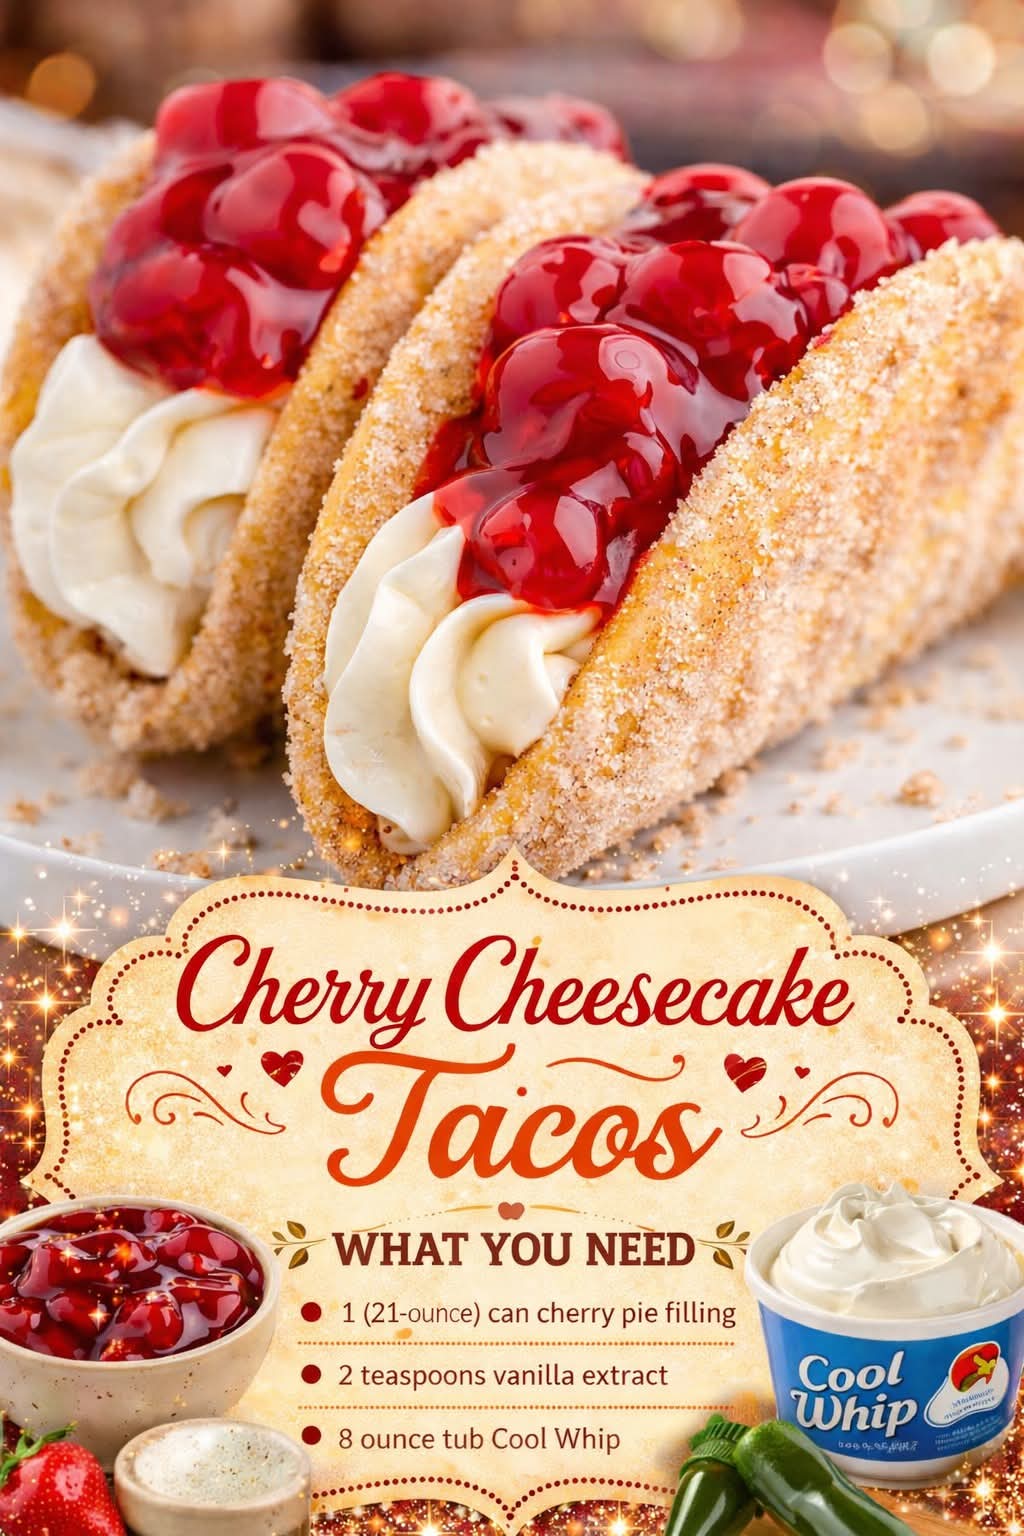
- 1 teaspoon vanilla extract
- 1 tub (8 ounces) Cool Whip
For the Topping
- 1 can (21 ounces) cherry pie filling
Optional Garnishes ✨
- Fresh cherries
- White chocolate drizzle
- Crushed graham crackers
- Powdered sugar
- Mini chocolate chips
Kitchen Tools Needed 🍴
- Mixing bowls
- Electric mixer
- Baking tray
- Spoon or piping bag
- Taco rack or oven-safe cups
- Spatula
Step-by-Step Instructions 👩🍳
Step 1: Prepare the Taco Shell Coating
In a shallow bowl, combine:
- Graham cracker crumbs
- Sugar
- Cinnamon
Mix everything together until evenly blended.
Step 2: Shape the Taco Shells
Brush both sides of each tortilla with melted butter. Coat them generously in the graham cracker mixture.
Carefully fold each tortilla into a taco shape and place them between the bars of an oven rack or inside taco holders so they keep their shape while baking.
Step 3: Bake the Shells
Preheat your oven to 375°F (190°C).
Bake the taco shells for about 8–10 minutes or until golden brown and crispy. Remove and allow them to cool completely.
The cooling process helps the shells become crunchy and sturdy enough to hold the filling.
Making the Cheesecake Filling 🧁
Step 4: Beat the Cream Cheese
In a large mixing bowl, beat the softened cream cheese until smooth and creamy.
Add:
- Powdered sugar
- Vanilla extract
Mix until fluffy.
Step 5: Fold in the Cool Whip
Gently fold the Cool Whip into the cream cheese mixture. Stir slowly so the filling stays light and airy.
The texture should be silky, fluffy, and easy to pipe.
Assembling the Cherry Cheesecake Tacos 🌮
Step 6: Fill the Taco Shells
Using a spoon or piping bag, fill each cooled taco shell with the cheesecake mixture.
Do not overfill or the shells may crack.
Step 7: Add the Cherry Topping
Spoon cherry pie filling over the cheesecake layer.
Let some of the cherry syrup drip naturally for that beautiful bakery-style look.
Decoration Methods 🎨
Method 1: Classic Style
Top with extra graham cracker crumbs and powdered sugar.
Method 2: Fancy Bakery Style
Drizzle melted white chocolate over the cherries.
Method 3: Party Style
Add colorful sprinkles or mini chocolate chips.
Method 4: Fresh Fruit Style
Decorate with sliced strawberries or fresh cherries.
History of Cheesecake Desserts 📖
Cheesecake dates back thousands of years to Ancient Greece, where athletes were served cheesecake during celebrations and sporting events. Over time, cheesecake evolved into many forms across Europe and America.
Dessert tacos are a more modern invention inspired by Mexican taco culture mixed with creative American dessert trends. Bakers began filling crunchy taco-shaped shells with sweet ingredients like cheesecake, fruit, chocolate, and cream to create fun handheld desserts.
Cherry cheesecake became especially popular in the United States during the 1950s and 1960s when canned cherry pie filling became a kitchen favorite. Combining cherries with cheesecake remains one of the most beloved dessert pairings today.
Expert Baking Methods & Tips 👨🍳
Keep Shells Crispy
Allow shells to cool fully before filling them.
Use Softened Cream Cheese
Soft cream cheese creates a lump-free filling.
Chill Before Serving
Refrigerate assembled tacos for 20 minutes for better texture.
Pipe the Filling
Using a piping bag makes the tacos look elegant and professional.
Make Ahead Method
Prepare shells and filling separately, then assemble before serving.
Why Dessert Lovers Adore Cherry Cheesecake Tacos ❤️
Dessert lovers enjoy these tacos because they combine:
- Crunchy texture
- Creamy cheesecake
- Sweet cherries
- Easy preparation
- Beautiful presentation
Kids love the fun taco shape, while adults enjoy the rich cheesecake flavor. They are perfect for family gatherings, summer parties, baby showers, birthdays, and holiday dessert tables.
Serving Ideas 🍽️
Serve Cherry Cheesecake Tacos with:
- Vanilla ice cream
- Hot coffee
- Strawberry milkshakes
- Fresh fruit platters
- Chocolate drizzle sauce
Storage Instructions 🥶
- Store assembled tacos in the refrigerator for up to 2 days.
- Keep shells separate if possible to prevent sogginess.
- Do not freeze fully assembled tacos.
Conclusion 🌟
Cherry Cheesecake Tacos are the perfect combination of fun, elegance, and irresistible flavor. The crispy cinnamon-graham shell, creamy cheesecake filling, and sweet cherry topping create a dessert that feels festive and comforting all at once. Whether you make them for guests or simply to satisfy your sweet tooth, these dessert tacos are guaranteed to impress everyone at the table.
One bite delivers crunch, creaminess, sweetness, and happiness all together — making Cherry Cheesecake Tacos a dessert people fall in love with again and again. 🍒🍰🌮