🍞 Bread in a Bag (No-Mess Homemade Bread)
✨ Introduction
Bread in a Bag is one of those simple, comforting kitchen methods that feels almost magical. Instead of using big bowls and messy countertops, you mix, knead, and shape the dough right inside a sturdy plastic bag. It’s a favorite for beginners, kids, and anyone who wants fresh homemade bread without the cleanup stress. The result is soft, warm, golden bread with a homemade taste that beats store-bought every time.
🧂 Ingredients
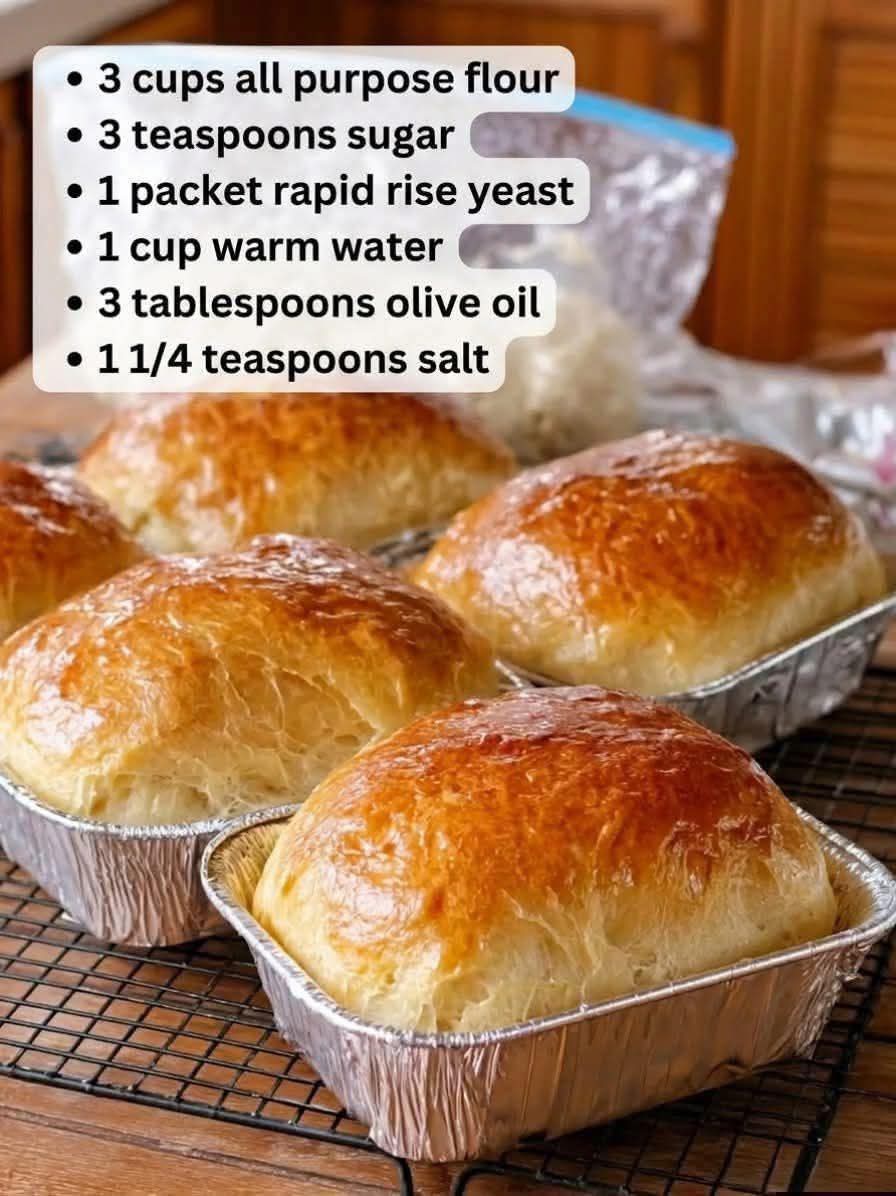
- 3 cups all-purpose flour
- 1 packet (2¼ tsp) active dry yeast
- 1 cup warm water (not hot)
- 2 tbsp sugar
- 1 tsp salt
- 2 tbsp vegetable oil or melted butter
Optional for flavor:
- 1 tbsp milk powder (for softer bread)
- 1 tsp garlic powder or herbs (for savory bread)
👩🍳 Instructions & Methods
1. Activate the yeast
In a small bowl or directly in the bag, mix warm water, sugar, and yeast. Let it sit for 5–10 minutes until foamy. This shows the yeast is alive and ready.
2. Mix in the bag
Pour flour and salt into a large, sturdy zip-top bag. Add the yeast mixture and oil.
Seal the bag and knead it gently from the outside. The dough will start coming together inside the bag, reducing mess completely.
3. Kneading method
Continue kneading for about 8–10 minutes. Press, squeeze, and fold the bag until the dough becomes smooth and elastic.
If sticky, add a little flour. If too dry, add a teaspoon of water.
4. First rise
Leave the dough in the bag, remove excess air, and seal it loosely. Let it rise in a warm place for about 1 hour or until doubled in size.
5. Shape the dough
Open the bag and remove the dough. Lightly shape it into a loaf or small rolls.
6. Second rise
Place shaped dough in a greased pan. Cover and let it rise again for 30–40 minutes.
7. Bake
Bake at 180°C (350°F) for 25–30 minutes until golden brown.
🧠 Method Explanation (Why it works)
The bag traps moisture and warmth, creating a mini-proofing chamber. This helps the yeast grow efficiently while keeping everything contained. Kneading inside the bag also reduces gluten mess on hands and surfaces while still developing elasticity in the dough.
📜 History & Formation
Bread in a Bag became popular in schools and home science activities as a way to teach baking without requiring full kitchen setups. It simplifies traditional bread-making techniques that date back thousands of years. Ancient bread-making involved hand-kneading and natural fermentation; this modern version preserves the same science—yeast fermentation, gluten formation, and heat expansion—but in a cleaner, more accessible way.
🔬 Formation (How the bread structure develops)
- Yeast fermentation produces carbon dioxide bubbles
- Gluten network traps those bubbles
- Heat in the oven expands the gas
- This creates a soft, airy crumb and golden crust
💕 Serving Ideas (“lovers” section)
Bread in a Bag pairs beautifully with simple comforts that make it even more enjoyable:
- Butter and honey for a warm sweet bite
- Jam or fruit preserves for breakfast lovers
- Garlic butter for savory lovers
- Cheese melts for snack lovers
- Soup dipping (especially tomato or chicken soup)
This bread tends to “win hearts” because it’s soft, fresh, and homemade with minimal effort.
🍞 Conclusion
Bread in a Bag proves that baking doesn’t have to be complicated or messy to be rewarding. With just a few ingredients and a simple technique, you get warm, fresh bread that feels like it came straight from a bakery. It’s practical, fun, and perfect for anyone who loves homemade comfort food.
If you want, I can also make a or a .