🍊 Orange Dreamsicle Cake (Creamy Citrus Cloud Cake)
🌟 Introduction
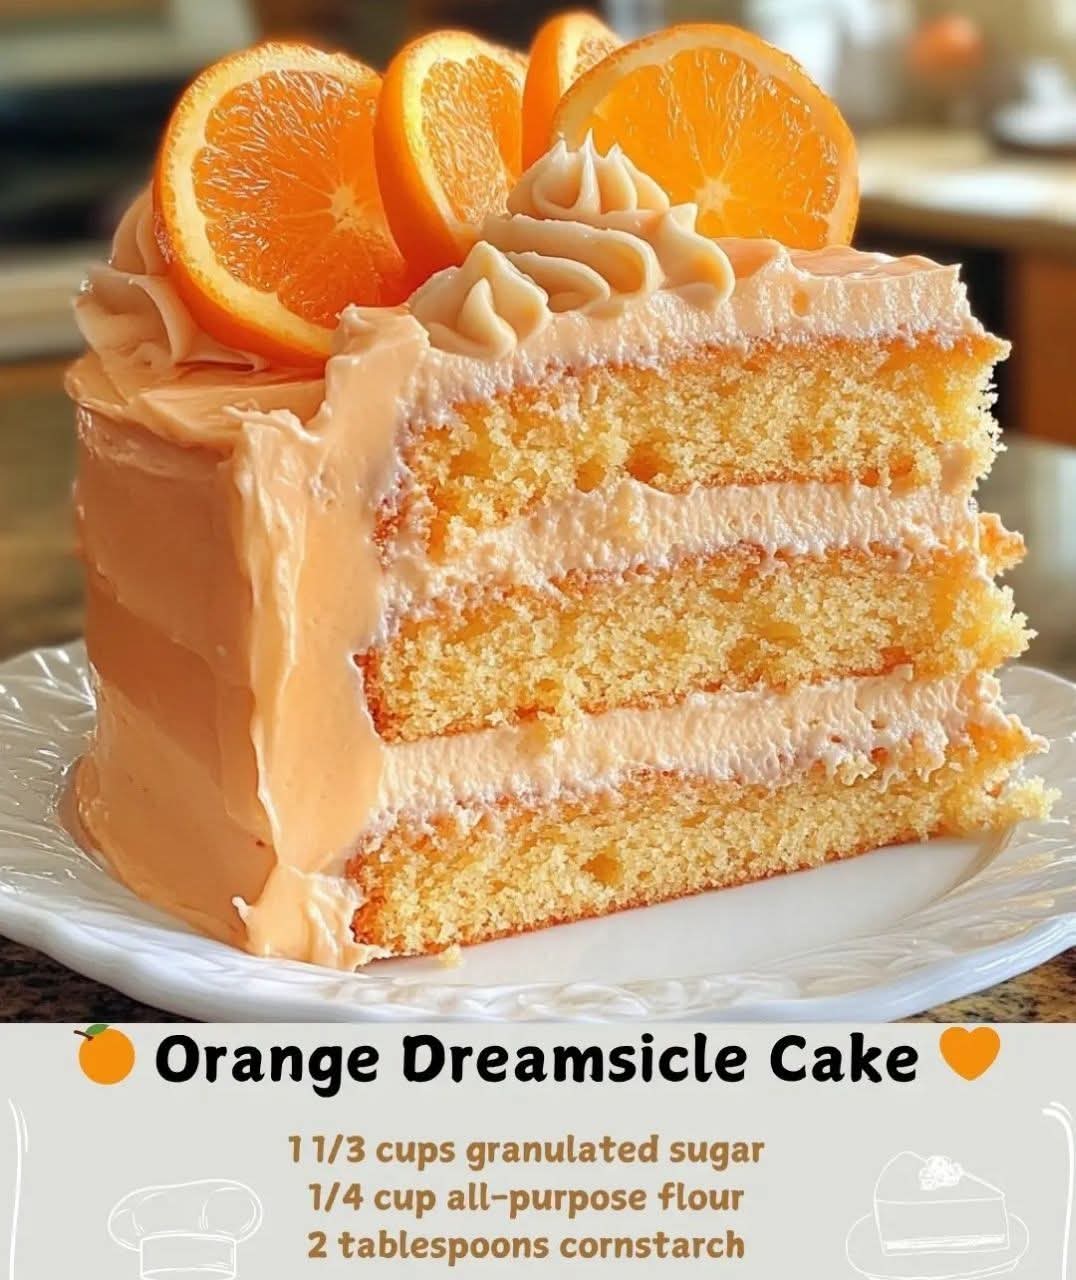
Orange Dreamsicle Cake is a nostalgic dessert inspired by the classic creamsicle ice cream bar—those sunny orange-and-vanilla treats that melt into childhood memories. This cake transforms that flavor into a soft, layered masterpiece: bright citrus filling, fluffy cake, and creamy vanilla notes. It’s the kind of dessert that feels like sunshine on a plate—sweet, tangy, and irresistibly smooth.
🧁 Ingredients
🍊 For the Orange Filling (Custard Style)
- 1 1/3 cups granulated sugar
- 1/4 cup all-purpose flour
- 2 tablespoons cornstarch
- 2 cups fresh orange juice
- 4 large egg yolks
(This filling becomes thick, silky, and pudding-like when cooked.)
🍰 For the Cake Base (Vanilla Orange Sponge)
- 2 1/2 cups all-purpose flour
- 2 1/2 tsp baking powder
- 1/2 tsp salt
- 1 cup unsalted butter (softened)
- 1 3/4 cups sugar
- 4 large eggs
- 1 tbsp orange zest
- 1 cup whole milk
- 2 tsp vanilla extract
- 1/2 cup fresh orange juice
🍦 For the Cream Layer
- 2 cups heavy whipping cream
- 1/2 cup powdered sugar
- 1 tsp vanilla extract
🍊 Optional Garnish
- Orange zest curls
- Whipped cream swirls
- Candied orange slices
👩🍳 Instructions
🍊 Step 1: Make the Orange Filling
- In a saucepan, whisk together sugar, flour, and cornstarch.
- Slowly add orange juice while whisking until smooth.
- In a separate bowl, lightly beat egg yolks.
- Temper the yolks by adding a small amount of hot orange mixture.
- Pour yolks back into the saucepan.
- Cook over medium heat, stirring constantly until thick like custard.
- Remove from heat and cool completely (it will thicken more as it cools).
🍰 Step 2: Bake the Cake
- Preheat oven to 350°F (175°C).
- Grease and line two 9-inch cake pans.
- Whisk flour, baking powder, and salt.
- In another bowl, cream butter and sugar until fluffy.
- Add eggs one at a time.
- Mix in orange zest, vanilla, and orange juice.
- Alternate adding dry ingredients and milk.
- Bake 25–30 minutes or until golden and springy.
- Cool completely.
🍦 Step 3: Prepare the Cream
- Whip heavy cream until soft peaks form.
- Add powdered sugar and vanilla.
- Whip until light and fluffy but not overmixed.
🍊 Step 4: Assemble the Cake
- Place first cake layer on a plate.
- Spread a thick layer of orange filling.
- Add whipped cream layer.
- Place second cake layer on top.
- Cover with remaining whipped cream.
- Decorate with orange zest or candied slices.
🔬 Methods Explained
- Custard Method: The orange filling is thickened using egg yolks and starch, creating a smooth pudding texture.
- Creaming Method: Butter and sugar are beaten to trap air, giving the cake a light sponge.
- Whipping Method: Cream is aerated to form a soft, cloud-like topping.
📜 History & Inspiration
The “dreamsicle” flavor dates back to early 20th-century frozen desserts, inspired by orange ice pops coated in creamy vanilla ice cream. This cake version evolved as bakers tried to recreate that refreshing balance of citrus and cream in layered desserts. It became especially popular in American home baking for spring and summer gatherings.
🧩 Formation (Why It Works)
This cake succeeds because it balances three textures:
- 🍊 Tangy custard (bright citrus punch)
- 🍰 Soft sponge cake (light structure)
- 🍦 Whipped cream (airy sweetness)
Together, they mimic the iconic creamsicle experience in cake form.
💛 Serving & Lovers’ Touch
This dessert is often called a “romantic citrus cake” because of its soft colors and melt-in-your-mouth texture. It’s perfect for sharing—birthdays, picnics, or cozy evenings. Many dessert lovers say it feels like “summer in every bite,” especially when chilled.
🍊 Conclusion
Orange Dreamsicle Cake is more than just a dessert—it’s a sensory memory rebuilt into layers of flavor. Sweet, creamy, citrusy, and light, it brings together comfort and freshness in a way that feels both nostalgic and new. One slice is never enough… and that’s exactly the point.
If you want, I can also turn this into a no-bake version, a cupcake version, or a super easy 5-ingredient shortcut recipe.