✨ Salted Caramel Magic Bars ✨
🍯 Introduction
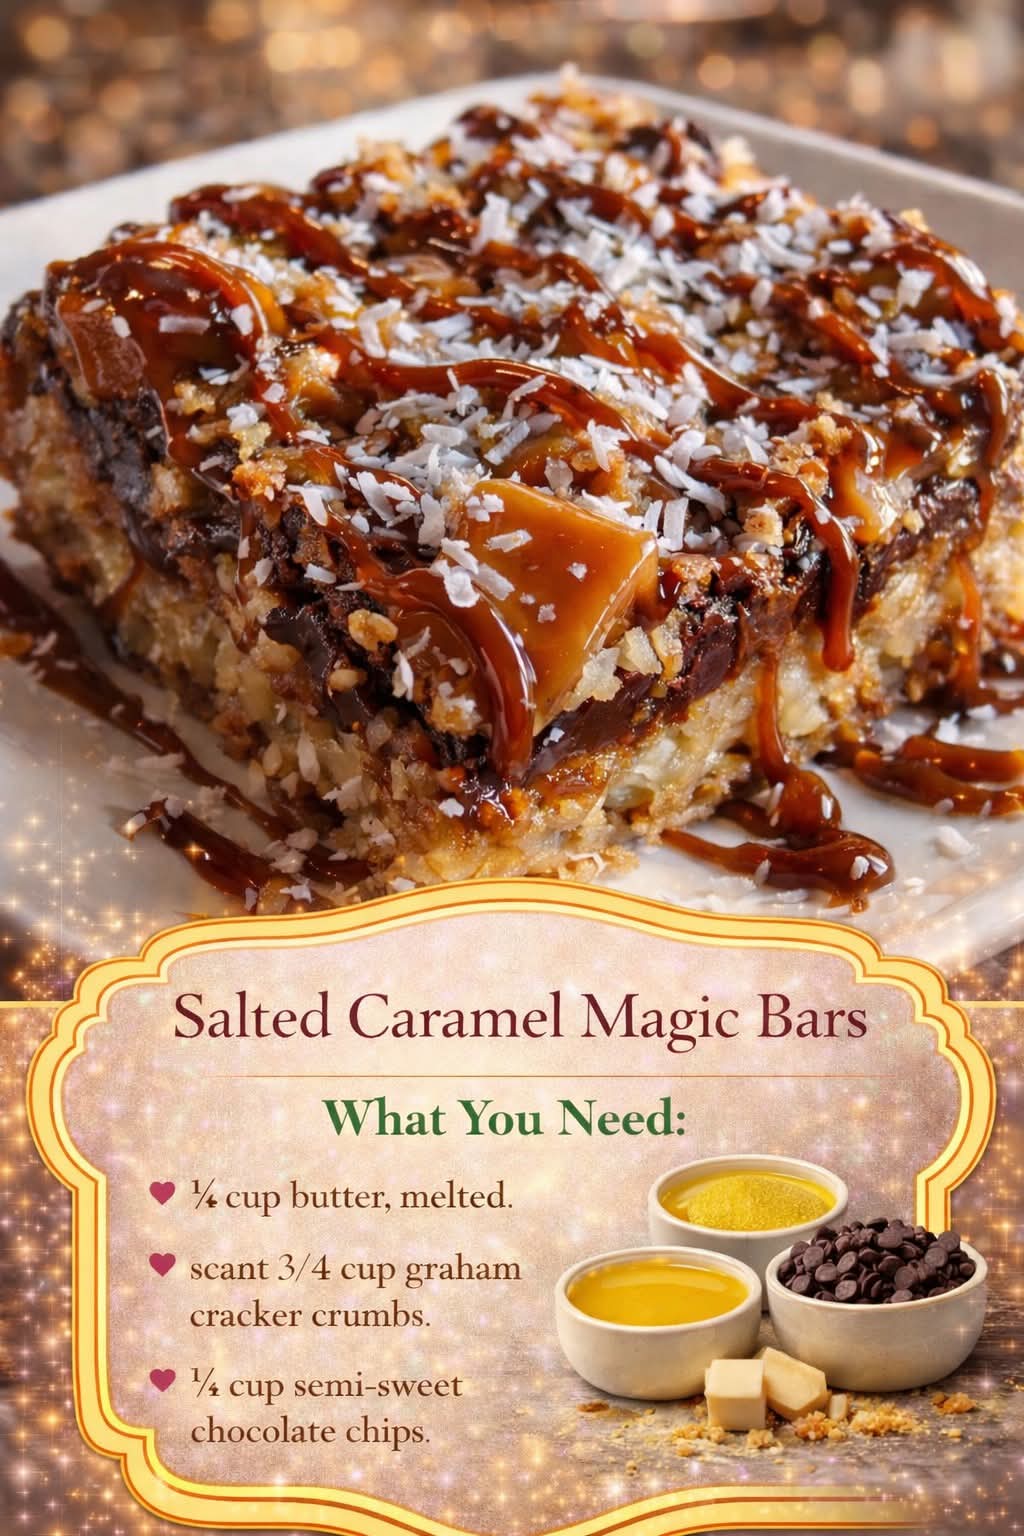
Salted Caramel Magic Bars are the kind of dessert that feels like a little bit of kitchen magic—simple ingredients layered together to create something irresistibly rich, gooey, and indulgent. With a buttery crust, melty chocolate, sweet butterscotch, and a luscious salted caramel finish, these bars strike that perfect balance between sweet and salty. They’re ideal for gatherings, bake sales, or just when you want a comforting homemade treat without too much effort.
🧾 Ingredients
For the crust:
- ¼ cup melted butter (unsalted or salted)
- Scant ¾ cup graham cracker crumbs
For the filling layers:
- ½ cup semi-sweet chocolate chips
- ½ cup butterscotch chips
- ½ cup shredded sweetened coconut (optional but classic)
- ½ cup chopped nuts (pecans or walnuts, optional)
For the caramel topping:
- 1 cup soft caramel candies (or homemade caramel)
- 2 tablespoons heavy cream
- ½ teaspoon sea salt (adjust to taste)
🥣 Instructions
Step 1: Prepare the base
Preheat your oven to 175°C (350°F). Line an 8×8-inch baking pan with parchment paper.
Mix the melted butter with graham cracker crumbs until combined, then press firmly into the bottom of the pan to form an even crust.
Step 2: Build the layers
Sprinkle the chocolate chips evenly over the crust.
Add the butterscotch chips on top.
If using, sprinkle coconut and nuts evenly across the surface.
Step 3: Make the caramel
In a small saucepan over low heat, melt the caramel candies with the heavy cream. Stir constantly until smooth and creamy.
Step 4: Assemble
Pour the warm caramel evenly over the layered ingredients.
Sprinkle sea salt lightly over the top for that signature salted caramel flavor.
Step 5: Bake
Bake for 20–25 minutes, or until the edges are golden and bubbly.
Step 6: Cool and slice
Let the bars cool completely in the pan (this is important so they set properly).
Once cooled, lift out and cut into squares.
🍳 Methods & Tips
- Layering method: The magic comes from layering ingredients without mixing—everything melts and binds during baking.
- Texture control: For firmer bars, chill them before cutting.
- Flavor balance: Adjust the salt depending on how salty your caramel is.
- Shortcut option: Use store-bought caramel sauce if you’re short on time.
📜 A Bit of History
Magic bars—also known as “Seven Layer Bars”—became popular in mid-20th century American kitchens. They were often featured on the back of sweetened condensed milk cans as an easy dessert recipe. Over time, bakers began customizing them with flavors like peanut butter, caramel, and salted toppings, giving rise to modern versions like these salted caramel magic bars.
🧁 Formation (What Makes Them Special)
These bars are built in layers, each contributing to the final texture and taste:
- The crust provides a buttery, slightly crunchy base
- The chips melt into gooey richness
- The caramel binds everything together
- The salt enhances and balances the sweetness
As they bake, the layers fuse into one cohesive, chewy, and decadent dessert.
❤️ Why People Love Them
Dessert lovers adore these bars because:
- They’re quick and easy to make
- No complicated mixing or techniques required
- Perfect balance of sweet, salty, crunchy, and gooey
- Easily customizable with different toppings
They’re especially popular among those who enjoy rich, bakery-style treats with minimal effort.
🏁 Conclusion
Salted Caramel Magic Bars are proof that simple ingredients can create something extraordinary. Whether you’re baking for family, friends, or just yourself, these bars deliver comfort and indulgence in every bite. Once you make them, they’ll likely become a repeat favorite in your kitchen.
If you want, I can customize this recipe (for example: no-bake version, eggless, or extra gooey style).