🍭 Rainbow Candy Apples – A Colorful Treat for the Young at Heart! 🌈🍏🍎
🌟 Introduction
Rainbow Candy Apples are a magical twist on the classic carnival treat, combining the crisp crunch of fresh apples with a shimmering, jewel-toned candy coating. Perfect for parties, festivals, or just a fun kitchen experiment, these bright beauties are equal parts whimsical and nostalgic. Whether you’re reminiscing about boardwalks and fairgrounds or surprising your loved ones with a kaleidoscope of flavor and color, these candy apples promise a bite of joy in every glossy layer.
🍏 Ingredients (Yields 6–8 apples)
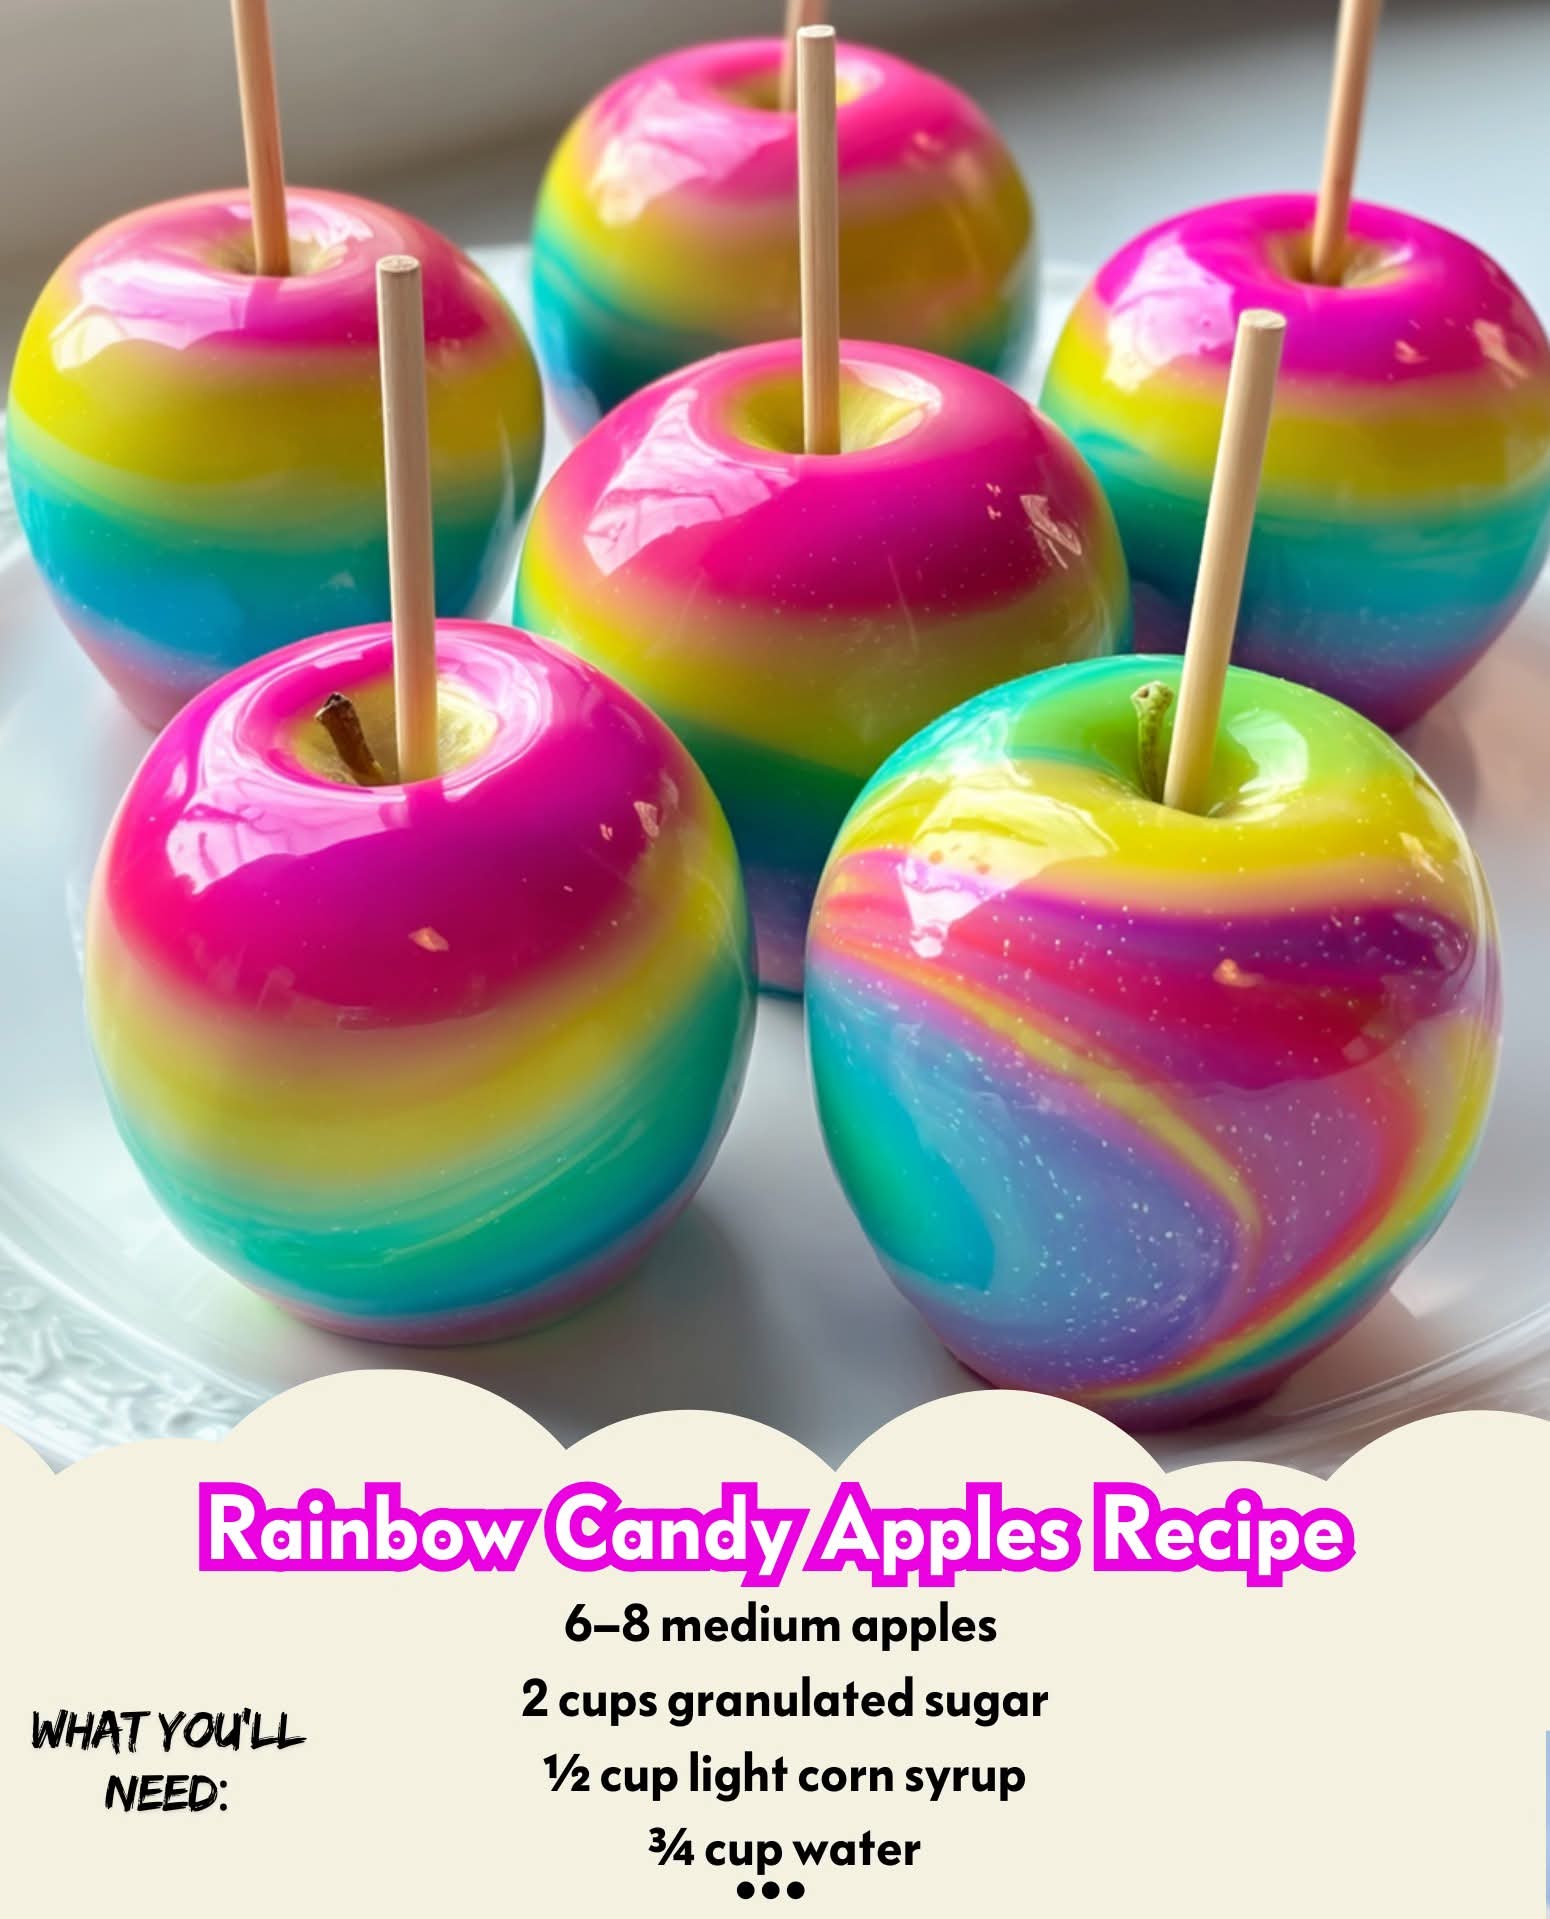
- 6–8 medium apples (Granny Smith for tartness, Gala for sweetness – thoroughly washed and dried)
- ½ cup light corn syrup
- 2 cups granulated sugar
- ¾ cup water
- ½ tsp cream of tartar (optional, prevents crystallization)
- Candy thermometer
- Food coloring – red, orange, yellow, green, blue, purple
- Flavored candy oils (optional – cherry, watermelon, blue raspberry, etc.)
- Lollipop sticks or wooden skewers
- Silicone mat or greased parchment paper
🥣 Instructions
1. Prepare the Apples:
- Wash apples in hot water to remove any wax coating.
- Dry completely and insert sticks firmly into the top center of each apple.
2. Set Up Your Candy Stations:
- Place a silicone mat or parchment on your work surface.
- Prepare small bowls or containers for each color.
- Have food coloring and flavoring oils ready.
3. Make the Candy Base:
- In a medium saucepan, combine sugar, corn syrup, water, and cream of tartar.
- Stir gently and bring to a boil over medium-high heat.
- Using a candy thermometer, heat the mixture until it reaches 300°F (hard crack stage) – do not stir after it starts boiling to prevent crystals.
4. Divide and Color:
- Once at temperature, remove from heat and work quickly.
- Pour small portions of the candy into separate bowls and tint each with a different color and flavor (if using oils).
- Stir swiftly, as the candy cools fast!
5. Dip the Apples:
- Holding each apple by the stick, dip into the colored candy one layer at a time.
- You can dip all apples in one color or layer colors by allowing each to set slightly before dipping the next.
- For a rainbow swirl effect, drizzle a second color over a freshly dipped apple and spin gently.
6. Set to Harden:
- Place dipped apples on the prepared surface to cool and harden completely (10–15 mins).
🧪 Formation & Method Behind the Magic
The “hard crack” stage ensures your candy shell is shatteringly crisp. The corn syrup helps prevent the sugar from crystallizing while ensuring a glossy finish. Layering or swirling food coloring creates the signature rainbow appearance, and using flavored oils elevates the experience into something not just beautiful but deliciously unexpected.
📜 History
Candy apples date back to 1908, when Newark-based candy maker William W. Kolb created them for a Christmas display. Originally red and cinnamon-flavored, they became a fairground staple. This rainbow adaptation is a modern twist that reflects contemporary tastes for fun, flavor variety, and visual wow factor.
💞 Lovers of This Recipe Say…
“It’s like biting into a crunchy sunset!” – Ava, 9
“My kids screamed with joy. Literally.” – Samira, mom of 3
“Made them for Pride Month – huge hit!” – Jordan, baker
“We used sour apple flavoring – took it over the top!” – Luis, candy enthusiast
🎉 Conclusion
Rainbow Candy Apples are more than just a treat – they’re a celebration in every bite. With their crackly shell, vibrant colors, and juicy apple core, they bring delight to both kids and adults alike. Whether you’re planning a birthday bash, a school event, or just feeling festive, these beauties are sure to dazzle.
🧡 Method with Lovers
Let the lover of color pick the palette.
Let the lover of flavor choose the oils.
Let the lover of magic dip the apples.
And let the lover of fun take the first bite.
👩🍳✨ Let love and sugar swirl in your kitchen today!
Would you like a printable version or a video tutorial for this recipe?