Sure! Here’s a long, detailed recipe for Sugar-Free Condensed Milk, including introduction, history, ingredients, instructions, method, conclusion, and even some sweet love for the kitchen romantics out there.
Sugar-Free Condensed Milk (Just 3 Ingredients!)
Easy | Delicious | Economical | Keto-Friendly | Diabetic-Friendly
Introduction
Condensed milk is a sweet, sticky, creamy liquid gold that has found its way into desserts across cultures—from tres leches cakes to Vietnamese coffee, fudges, and more. But for those watching their sugar intake, this classic treat has long been off-limits—until now. This sugar-free version captures the richness and smoothness of traditional condensed milk using only 3 simple ingredients, and it’s surprisingly easy to make at home.
Whether you’re a keto lover, diabetic, or just cutting back on sugar, this homemade sugar-free condensed milk is here to rescue your dessert dreams!
A Brief History of Condensed Milk
Condensed milk was invented by Gail Borden Jr. in 1856 as a way to preserve milk without refrigeration. During the Civil War, it was a crucial ration. Over time, it evolved into a sweetened version for baking. Today, it’s a staple in many desserts—but always packed with sugar. Modern versions like this sugar-free recipe honor tradition while embracing health-conscious innovation.
Ingredients
Just 3 ingredients—pure, powerful, and pantry-friendly.
- 2 cups (480 ml) heavy cream or full-fat coconut milk (for dairy-free option)
- 1/3 cup powdered erythritol (or monk fruit sweetener, allulose, or your preferred keto sweetener)
- 2 tablespoons unsalted butter (optional but enhances creaminess and richness)
Optional Add-ins:
- 1/2 tsp vanilla extract (for flavor)
- Pinch of salt (to balance sweetness)
Method & Instructions
Step 1: Heat the Cream
In a heavy-bottomed saucepan, pour in the heavy cream or coconut milk. Place it over medium heat, stirring gently to avoid scalding.
Step 2: Sweeten It
Once it’s warm (not boiling), stir in your powdered erythritol. Stir continuously to dissolve completely. Make sure it’s powdered, not granular—for a smooth result.
Step 3: Let It Simmer
Bring the mixture to a gentle simmer, then reduce to low heat. Allow it to simmer for 30–45 minutes, stirring occasionally, until the volume reduces by half. The mixture should coat the back of a spoon.
Step 4: Butter It Up
Stir in the butter and vanilla extract, if using. The butter makes it silky and luxurious—like a warm hug for your desserts.
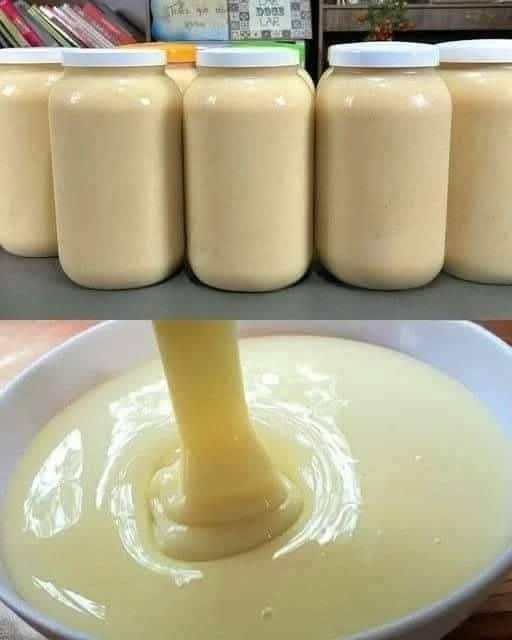
Step 5: Cool and Store
Remove from heat and let cool. As it cools, it will thicken further. Transfer to a clean jar, seal, and store in the refrigerator for up to 2 weeks.
How It Forms (The Science Behind the Sweetness)
Condensed milk is essentially evaporated milk + sweetener. In our sugar-free version, we reduce the cream (evaporating moisture) and add a sugar substitute that doesn’t crystallize. Butter adds emulsification, ensuring a thick, creamy texture. The trick is slow cooking and patience.
Lovers of This Recipe Say…
“I made this last night and used it in my keto cheesecake—UNREAL!”
— Anna, home baker from Chicago
“My Vietnamese coffee dreams are back on the menu!”
— Kevin, coffee lover from Houston
“As a diabetic, I thought condensed milk was off-limits. This recipe made me feel included again.”
— Maya, dessert lover from Bangalore
Conclusion
With just 3 ingredients and a bit of patience, you can make sugar-free condensed milk that’s rich, creamy, and perfect for all your low-carb creations. It’s not just a recipe—it’s a little love letter to all those who thought they had to give up their favorite desserts. Now, you can have your (keto) cake and eat it too!
This recipe is for the dreamers, the bakers, the lovers of indulgence who refuse to compromise on health or taste.
Want a recipe to use your sugar-free condensed milk in? I can give you ideas for cakes, fudge, or no-churn ice cream too—just say the word!