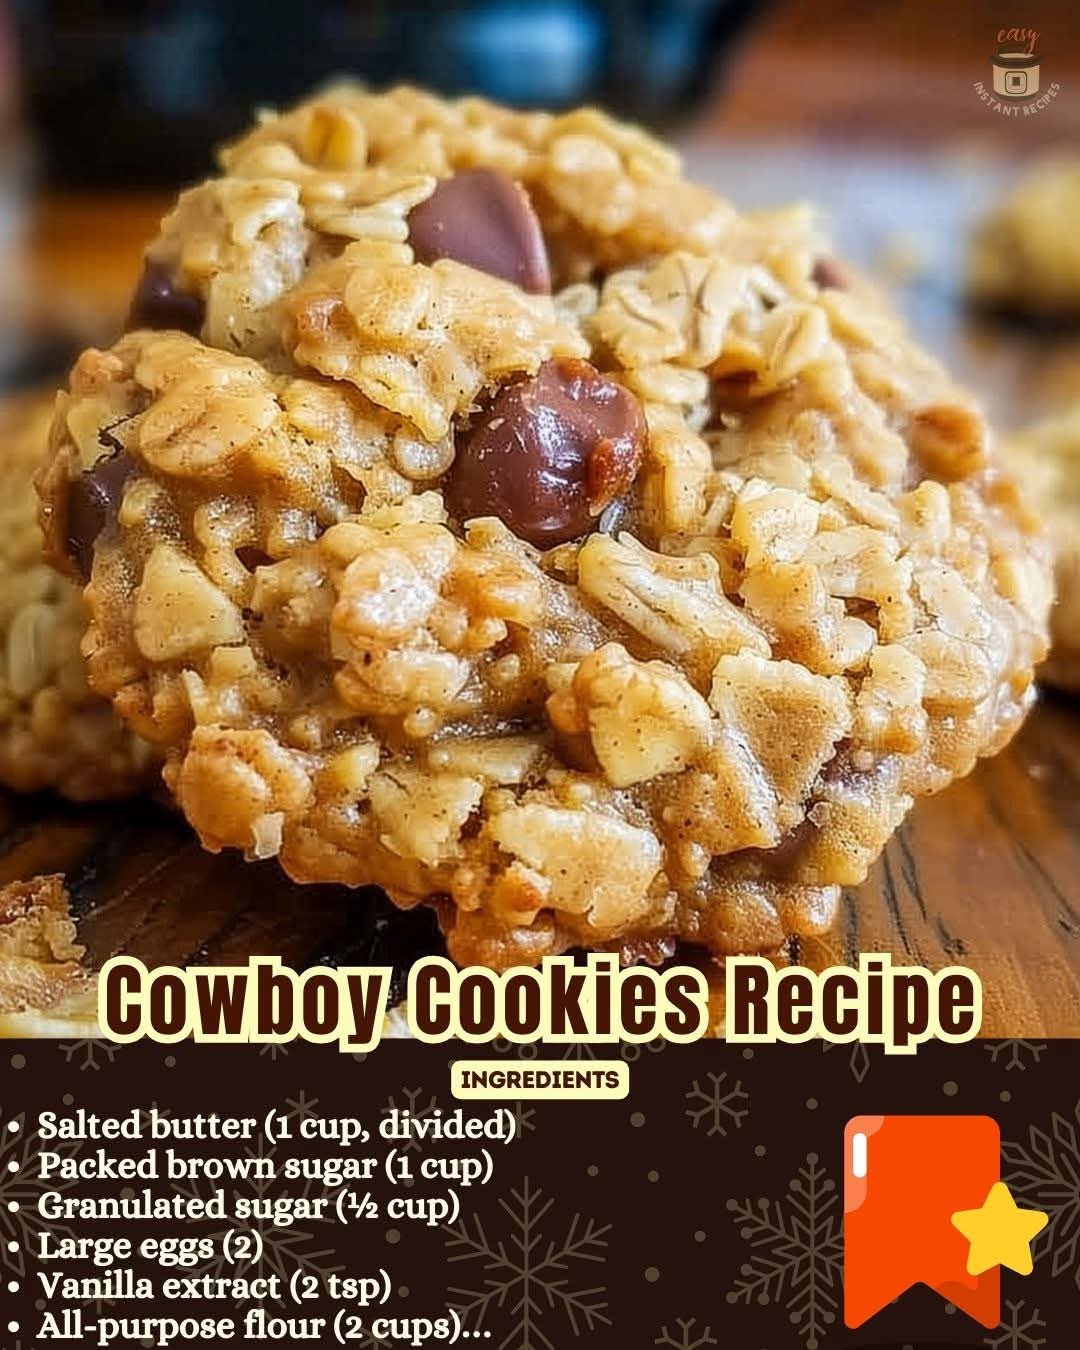
Chewy Homemade Chocolate Chip Cookies
Introduction
There is a big difference between a cookie that is properly baked and one that has simply been left in the oven too long. One of the most important secrets to soft, chewy cookies is knowing when to remove them from the oven. The centers may still look slightly soft when the cookies are ready. They continue cooking from the residual heat of the baking sheet as they cool.
These cookies are designed to have lightly golden edges, tender centers, and a deliciously chewy texture. They are simple enough for a weekday treat but special enough to share with family and friends.
Ingredients
For the Cookies
- 2 1/4 cups (280 g) all-purpose flour
- 1 teaspoon baking soda
- 1/2 teaspoon baking powder
- 1/2 teaspoon salt
- 1 cup (225 g) unsalted butter, softened
- 3/4 cup (150 g) granulated sugar
- 3/4 cup (165 g) packed brown sugar
- 2 large eggs, preferably at room temperature
- 2 teaspoons vanilla extract
- 2 cups (340 g) semi-sweet chocolate chips
- 1/2 cup (60 g) chopped walnuts or pecans, optional
For Finishing
- A small pinch of flaky salt, optional
- Extra chocolate chips for pressing onto the tops, optional
Instructions
1. Prepare the Oven and Baking Sheets
Preheat the oven to 350°F (175°C).
Line two baking sheets with parchment paper. This helps prevent sticking and also makes it easier to remove the cookies without disturbing their delicate centers.
Do not grease the baking sheets heavily because excess grease can cause the cookies to spread too much.
2. Combine the Dry Ingredients
In a medium bowl, whisk together the flour, baking soda, baking powder, and salt.
Set the mixture aside.
Combining the dry ingredients first helps distribute the leavening agents and salt evenly throughout the dough.
3. Cream the Butter and Sugars
Place the softened butter, granulated sugar, and brown sugar in a large mixing bowl.
Beat for about 2 to 3 minutes, until the mixture becomes creamy and slightly lighter.
Do not overbeat it for a very long time. You want a smooth mixture without incorporating an excessive amount of air.
4. Add the Eggs and Vanilla
Add the eggs one at a time, mixing well after each addition.
Add the vanilla extract and mix until combined.
Scrape down the sides of the bowl so everything is evenly incorporated.
5. Add the Dry Ingredients
Gradually add the dry ingredients to the butter mixture.
Mix on low speed just until the flour disappears.
Do not overmix the dough. Overmixing can develop too much gluten and make the cookies tougher rather than tender.
6. Add the Chocolate
Fold in the chocolate chips with a spatula or wooden spoon.
If using nuts, fold them in at the same time.
For especially attractive cookies, reserve a small handful of chocolate chips to press onto the cookies immediately after baking.
7. Chill the Dough
For thicker, chewier cookies, cover the dough and refrigerate it for at least 30 minutes.
If you have time, chilling for 1 to 2 hours can give the cookies an even deeper flavor and help control spreading.
If the dough becomes very firm, allow it to sit at room temperature for several minutes before scooping.
8. Shape the Cookies
Scoop the dough into portions of approximately 2 tablespoons each.
Place them on the prepared baking sheets, leaving about 2 inches (5 cm) between each cookie.
Do not crowd the baking sheet because the cookies need room to spread.
9. Bake
Bake for approximately 9 to 12 minutes, depending on the size of your cookies and your oven.
This is the most important part of the recipe.
Do not wait for the cookies to look completely firm in the center.
The edges should look set and lightly golden, while the centers should still appear soft and slightly underbaked.
When you remove them from the oven, they may look as though they need another few minutes. Resist that temptation.
The cookies will continue to cook gently on the hot baking sheet as they cool.
10. Let Them Finish on the Baking Sheet
Leave the cookies on the baking sheet for approximately 5 to 10 minutes.
During this time, the edges will become more stable while the centers finish setting.
If desired, press a few extra chocolate chips into the tops while the cookies are still warm. A tiny pinch of flaky salt can also provide a wonderful contrast to the sweetness.
After the initial cooling period, transfer the cookies to a wire rack.
The Method Behind the Chewy Texture
The key to these cookies is controlling moisture and baking time.
Brown sugar contains more moisture than ordinary granulated sugar, which helps contribute to a softer, chewier texture. The butter adds richness and tenderness, while the eggs help bind everything together.
The biggest mistake is usually overbaking.
A cookie does not need to look completely finished when it leaves the oven. The temperature of the baking sheet continues cooking the cookie after it has been removed from the oven. If you wait until the entire surface looks firm, the cookie may already be overbaked.
Look instead for three signs:
- The edges are set.
- The edges are beginning to turn lightly golden.
- The center still looks soft and slightly puffy.
That is the moment to take them out.
A Little History of Chocolate Chip Cookies
Chocolate chip cookies became one of the most beloved American cookies during the twentieth century. The classic combination of a buttery cookie dough and pieces of chocolate eventually became a household favorite and inspired countless variations.
Over the years, bakers have experimented with different sugars, types of chocolate, chilling methods, flour ratios, and baking temperatures to create everything from crisp cookies to exceptionally thick and chewy versions.
This recipe follows the classic spirit of the chocolate chip cookie while emphasizing a soft center and chewy texture.
Formation and Texture
The formation of the cookie begins when butter and sugar are combined. The eggs then add moisture and structure, while flour provides the framework that allows the cookie to hold its shape.
Baking soda and baking powder help create a lighter texture and controlled spreading.
As the cookies bake, the edges heat and set first. The center remains softer because it contains more moisture. When the cookies are removed from the oven, the residual heat of the baking sheet continues to set the center.
This is why a cookie that looks slightly too soft when it first comes out can become perfectly chewy after cooling.
Methods for Perfect Cookies
For Thicker Cookies
Chill the dough before baking and use a generous scoop of dough. Bake directly from the refrigerator if the dough is firm enough to scoop.
For Softer Cookies
Use the brown sugar called for in the recipe and avoid baking the cookies until the centers look completely firm.
For More Chocolate
Use a combination of semi-sweet and dark chocolate chips, or add chopped chocolate for irregular pockets of melted chocolate.
For Crispier Edges
Bake for an additional minute or two, watching carefully. The edges should become more deeply golden while the centers remain slightly soft.
For Bakery-Style Cookies
Make larger dough portions and press additional chocolate chips onto the tops immediately after baking.
Troubleshooting
Cookies Spread Too Much
The butter may have been too warm, the dough may not have been chilled sufficiently, or the baking sheet may have been warm when the dough was placed on it.
Chill the dough and always place it on a cool baking sheet.
Cookies Are Too Dry
They were probably baked too long or the flour was measured too heavily.
Remove them when the centers are still visibly soft.
Cookies Are Too Hard
Overbaking is the most likely cause. Remember that cookies continue cooking after leaving the oven.
Cookies Are Too Thick
The dough may have been heavily packed with flour or chilled for too long. Allow chilled dough to soften slightly before shaping.
Storage
Once completely cool, store the cookies in an airtight container at room temperature for up to several days.
For longer storage, the baked cookies can be frozen in a well-sealed container or freezer bag.
You can also freeze portions of unbaked cookie dough. Shape the dough into individual portions, freeze them on a tray, then transfer them to a freezer-safe container. Bake directly from frozen, adding a little extra baking time as needed.
Conclusion
The secret to these cookies is not complicated. Good ingredients matter, but timing matters just as much.
Most importantly, do not wait for the cookies to look completely firm before removing them from the oven. When the edges are set and lightly golden but the centers still look soft, take them out. Let them rest on the hot baking sheet, where they will continue to bake gently.
That small change can be the difference between a dry, hard cookie and one that stays beautifully soft, chewy, and tender.
For Cookie Lovers
These cookies are wonderful served slightly warm with a glass of cold milk, coffee, tea, or your favorite hot drink. They are also perfect for lunchboxes, bake sales, family gatherings, holiday cookie trays, or simply keeping a container on the kitchen counter for when a sweet craving arrives.
Once you master the timing, this becomes one of those dependable recipes you can return to again and again.