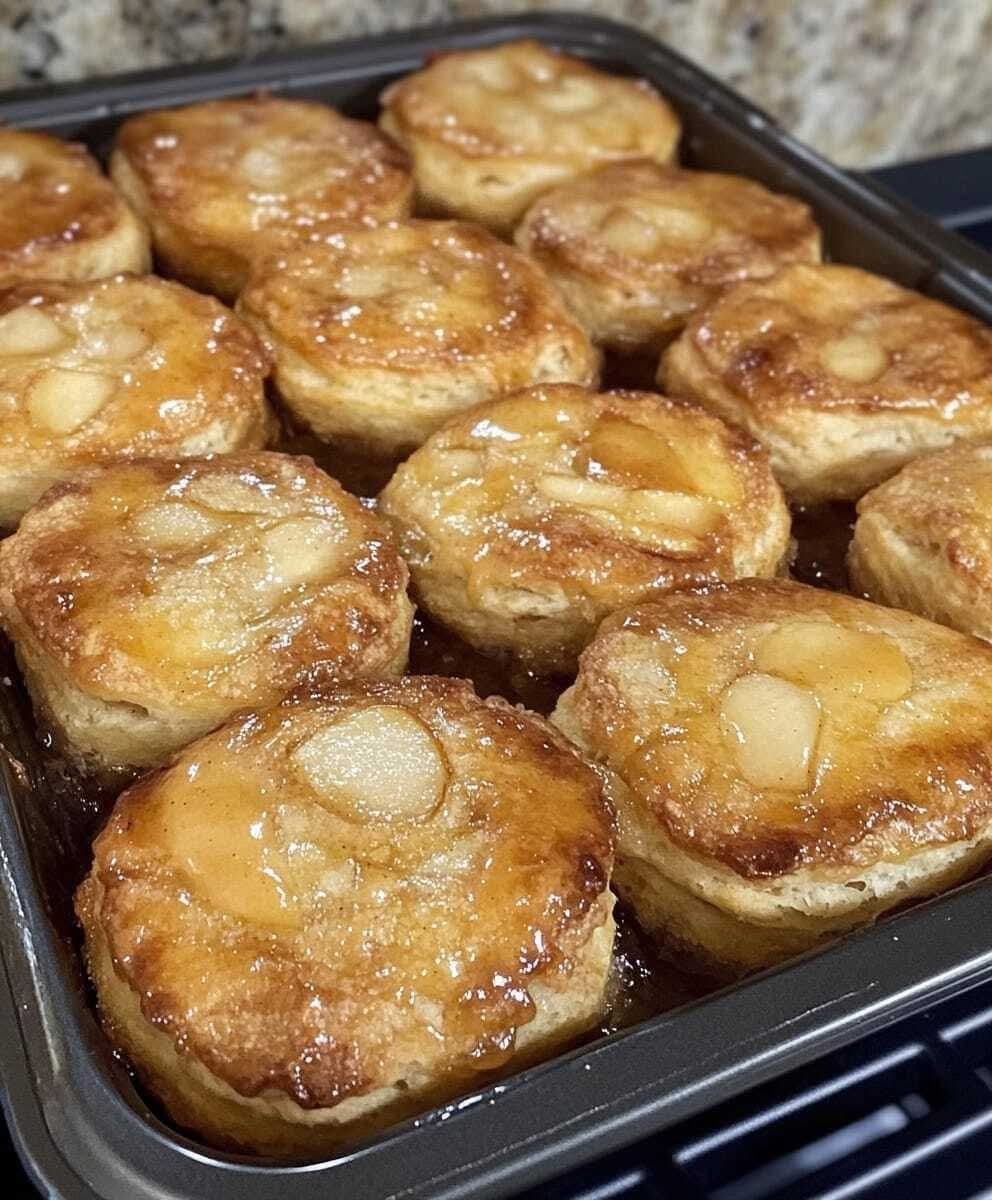
Childhood Favorite Nostalgia Cake
Introduction
Some desserts are more than just something sweet to eat. They carry memories of childhood, family gatherings, school parties, weekend treats, and afternoons spent waiting patiently for something delicious to come out of the kitchen.
This classic childhood favorite is soft, comforting, and wonderfully nostalgic. It is the kind of homemade dessert that brings everyone to the table and reminds you of simpler days. The recipe is easy enough for everyday baking but special enough for birthdays, family celebrations, potlucks, and holiday gatherings.
The tender cake, creamy filling, and sweet finishing layer come together beautifully, creating a dessert that both children and adults can enjoy.
Ingredients
For the Cake
- 2 cups all-purpose flour
- 1 1/2 cups granulated sugar
- 1/2 cup unsalted butter, softened
- 3 large eggs, room temperature
- 1 cup whole milk
- 2 teaspoons vanilla extract
- 2 teaspoons baking powder
- 1/2 teaspoon salt
For the Creamy Filling
- 8 ounces cream cheese, softened
- 1 cup powdered sugar
- 1 teaspoon vanilla extract
- 1 cup heavy whipping cream
- 1/4 cup finely chopped nuts, optional
For the Topping
- 1 1/2 cups heavy whipping cream
- 1/4 cup powdered sugar
- 1 teaspoon vanilla extract
- 1/2 cup shredded coconut or chopped nuts, optional
Instructions
Preparing the Oven and Pan
Preheat the oven to 350°F, or 175°C.
Grease a 9-by-13-inch baking pan thoroughly with butter or nonstick baking spray. You can also line the bottom with parchment paper to make serving easier.
Set the prepared pan aside.
Preparing the Cake Batter
In a medium bowl, whisk together the flour, baking powder, and salt.
In a large mixing bowl, beat the softened butter and granulated sugar together until light and fluffy. This should take approximately 3 to 5 minutes.
Add the eggs one at a time, beating well after each addition.
Stir in the vanilla extract.
Add the dry ingredients gradually, alternating with the milk. Begin and finish with the dry ingredients. Mix just until the batter is smooth.
Avoid overmixing because excessive mixing can make the finished cake dense.
Baking the Cake
Pour the batter into the prepared baking pan and spread it evenly.
Place the pan in the preheated oven and bake for approximately 28 to 35 minutes.
The cake is ready when the top is lightly golden and a toothpick inserted into the center comes out clean or with a few moist crumbs.
Remove the cake from the oven and allow it to cool completely before adding the filling.
Preparing the Creamy Filling
Place the softened cream cheese in a large bowl and beat until completely smooth.
Gradually add the powdered sugar and vanilla extract, mixing until creamy.
In a separate bowl, whip the heavy cream until soft peaks form.
Gently fold the whipped cream into the cream cheese mixture. If you are using chopped nuts, fold them in at this stage.
The finished filling should be smooth, fluffy, and easy to spread.
Forming the Dessert
Once the cake has cooled completely, spread the cream filling evenly over the top.
Use a spatula to create a smooth surface.
For a more traditional homemade appearance, you can leave the surface slightly textured rather than perfectly smooth.
Place the cake in the refrigerator for at least 1 hour so the filling can firm up before adding the final topping.
Preparing the Topping
Pour the heavy whipping cream into a chilled mixing bowl.
Beat until it begins to thicken. Add the powdered sugar and vanilla extract, then continue whipping until medium-stiff peaks form.
Do not overwhip the cream.
Spread the whipped cream evenly over the chilled cake.
Finish with a light sprinkling of shredded coconut or chopped nuts if desired.
Final Chilling Method
Refrigerate the completed dessert for at least 2 to 4 hours before serving.
For the best flavor and texture, allowing it to rest overnight is even better. The cake becomes wonderfully soft while the creamy layers develop a richer flavor.
Before serving, cut the cake into squares with a sharp knife.
History
Many childhood desserts have survived because they are simple, affordable, and easy to prepare for a crowd. Homemade sheet cakes and cream-filled desserts became especially popular because one baking pan could provide enough portions for an entire family.
Recipes like this were often written down on recipe cards and passed from grandparents to parents and then to children. Small changes were made along the way depending on what ingredients were available in the kitchen.
That is part of the charm of nostalgic baking. There is rarely only one “correct” version. The most important ingredient is the memory attached to it.
Formation and Texture
The dessert is built in several layers.
The first layer is the soft vanilla cake, which provides a tender and buttery foundation.
The second layer is the creamy filling, which adds richness and a smooth contrast to the cake.
The final whipped topping creates a light finish that balances the sweetness of the dessert.
After chilling, the layers become easier to cut and the flavors have time to blend together.
Tips for Success
Use room-temperature eggs and softened butter so the cake batter comes together smoothly.
Measure the flour carefully. Too much flour can make the cake dry and heavy.
Do not overmix after adding the flour.
Allow the cake to cool completely before adding the cream filling.
Keep the dessert refrigerated because of the cream and cream cheese layers.
For a stronger vanilla flavor, use pure vanilla extract.
For additional texture, toasted pecans or walnuts can be added between the layers.
Variations
For a chocolate version, replace 1/4 cup of the flour with unsweetened cocoa powder.
For a coconut version, add shredded coconut to the filling and sprinkle toasted coconut over the topping.
For a fruit version, add a thin layer of sliced strawberries, peaches, or bananas between the cake and cream filling.
For a caramel version, drizzle a small amount of caramel sauce over the finished cake before serving.
Conclusion
This is the kind of dessert that turns an ordinary afternoon into a family memory. It is soft, creamy, comforting, and familiar, with every layer contributing something special.
The best part is not only how delicious it tastes, but how easily it brings people together. Children can enjoy it after dinner, adults can serve it with coffee, and everyone can share stories about the desserts they remember from their own childhood.
For the Lovers of Classic Homemade Desserts
If you love old-fashioned recipes, this is one to keep close. It is simple enough to prepare without complicated techniques, yet beautiful enough to place at the center of a dessert table.
Make it for your family, bring it to a gathering, or prepare it simply because you want to recreate a favorite childhood memory.
Sometimes the simplest desserts are the ones we remember forever.