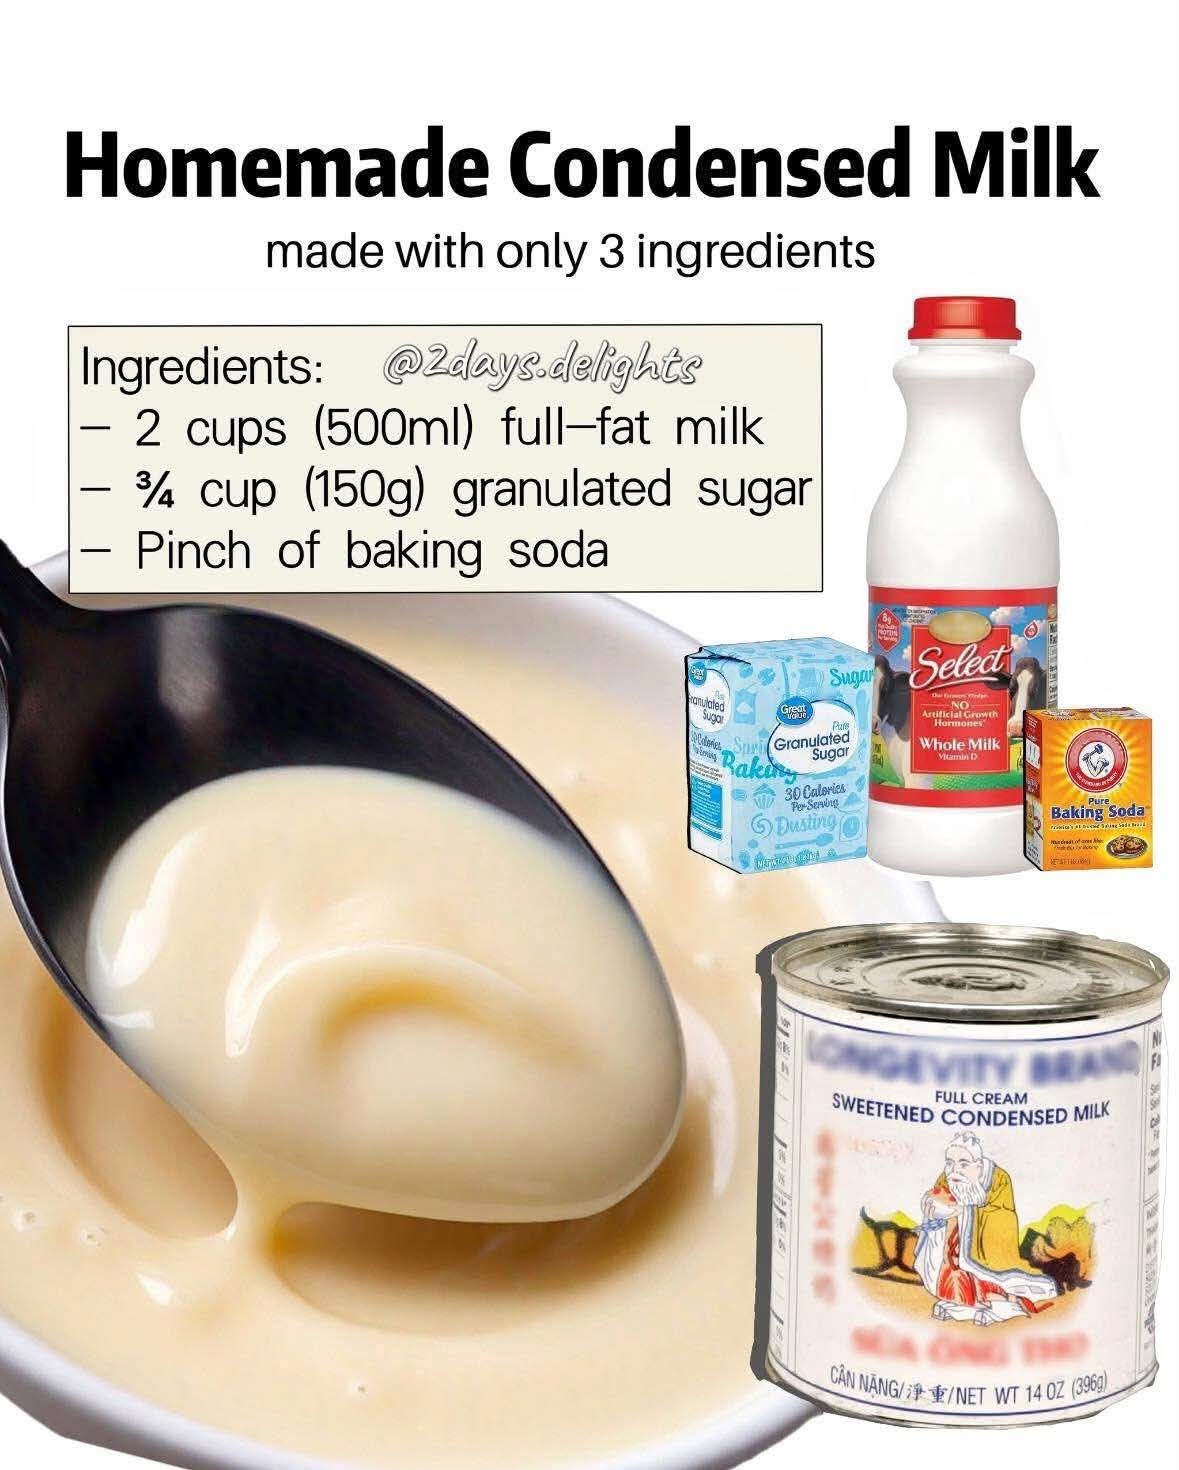
Homemade Condensed Milk
Introduction
Homemade condensed milk is a simple, creamy, sweet ingredient that can be prepared with just a few basic pantry staples. By gently reducing milk with sugar, you create a thick, smooth mixture with a rich milky flavor that works beautifully in cakes, cookies, puddings, ice cream, fudge, pies, coffee drinks, and many other desserts.
This homemade version is especially useful when you need condensed milk but do not have a can on hand. It is economical, easy to prepare, and allows you to control the sweetness and richness. The recipe below makes approximately 8 ounces of homemade condensed milk.
Ingredients
- 2 cups (500 ml) full-fat milk or 2% milk
- 3/4 cup (150 g) granulated sugar
- A small pinch of baking soda, optional
Optional additions
For a slightly different flavor, you can add:
- 1/2 teaspoon vanilla extract
- A tiny pinch of salt
- 1 tablespoon unsalted butter for extra richness
The optional ingredients are not necessary for basic condensed milk.
Equipment
- Medium heavy-bottomed saucepan
- Wooden spoon or heat-resistant spatula
- Measuring cups and spoons
- Heatproof jar or container
- Fine-mesh strainer, optional
Instructions
1. Prepare the milk
Pour the milk into a medium heavy-bottomed saucepan. Add the granulated sugar and stir well until the sugar begins to dissolve.
Place the saucepan over medium-high heat.
2. Heat the mixture
Heat the milk and sugar mixture, stirring frequently. As the mixture becomes hot, watch it carefully because milk can rise quickly and stick to the bottom of the pan.
Once it reaches a gentle boil, immediately reduce the heat to medium or medium-low.
The goal is to maintain a gentle simmer rather than a vigorous boil.
3. Reduce the milk
Continue cooking uncovered for approximately 20 to 25 minutes, stirring frequently.
The mixture will gradually lose water through evaporation. As it reduces, it will become thicker, creamier, and slightly darker.
Scrape the bottom and sides of the saucepan regularly to prevent the milk from sticking or scorching.
4. Check the consistency
The condensed milk should coat the back of a spoon and slowly drip from it.
Remember that it will become noticeably thicker as it cools, so do not wait until it becomes extremely thick while it is still on the stove.
If you prefer a thicker condensed milk, continue cooking for a few additional minutes, keeping the heat low and stirring constantly.
5. Add the baking soda
Turn off the heat.
Add a very small pinch of baking soda and stir thoroughly.
The baking soda is optional. It can help reduce excessive curdling during cooking and can contribute to a smoother texture. Do not add too much, as it can affect the flavor.
6. Cool the condensed milk
Allow the mixture to cool in the saucepan.
Stir it occasionally as it cools to prevent a thick skin from forming on the surface.
If you want an exceptionally smooth result, strain the cooled mixture through a fine-mesh strainer before transferring it to a container.
7. Store
Transfer the homemade condensed milk to a clean, airtight jar.
Allow it to cool completely before sealing.
Store it in the refrigerator.
For the best quality, use it within several days and always check its appearance, smell, and texture before using.
Method
The main technique behind homemade condensed milk is reduction.
Milk naturally contains a large amount of water. When milk is gently heated, some of that water evaporates. Sugar remains in the mixture and helps preserve it while also giving the finished product its characteristic sweetness and thick texture.
The most important part of the method is controlling the heat. A high temperature can cause the milk to scorch, develop an unpleasant flavor, or stick to the bottom of the pan. Gentle simmering gives the water time to evaporate while allowing the milk and sugar to develop a smooth consistency.
Frequent stirring is equally important. It keeps the milk solids from settling and burning.
Formation and Texture
During cooking, several changes take place.
First, the sugar dissolves into the milk. As the mixture heats, water begins to evaporate. The milk gradually becomes more concentrated, while the sugar concentration increases.
As more water evaporates, the mixture becomes thicker. When cooled, the remaining milk, sugar, and milk solids form the familiar smooth, creamy consistency associated with condensed milk.
The final texture should be thick but pourable when warm and noticeably thicker once refrigerated.
Tips for Perfect Homemade Condensed Milk
Use a heavy-bottomed saucepan
A heavy pan distributes heat more evenly and reduces the chance of scorching.
Do not rush the reduction
Cooking over very high heat may seem faster, but it increases the risk of burning. A gentle simmer produces better results.
Stir frequently
Pay particular attention to the bottom and corners of the saucepan.
Watch the final minutes
The mixture can thicken quickly toward the end of cooking. Once it reaches the desired consistency, remove it from the heat.
Remember that cooling thickens it
Do not overcook the condensed milk simply because it looks slightly thin while hot.
Use full-fat milk for the richest result
Full-fat milk produces a creamier and more luxurious condensed milk. Two-percent milk can also work, although the final result may be slightly lighter.
How to Use Homemade Condensed Milk
This homemade condensed milk can be used in many desserts and drinks.
Use it for:
- Homemade ice cream
- Fudge
- Tres leches cake
- Key lime pie
- Caramel desserts
- Coconut desserts
- Chocolate truffles
- Cheesecakes
- Bread puddings
- Rice pudding
- Custards
- Sweet coffee drinks
- Milkshakes
- No-bake desserts
- Cakes and cupcakes
- Cookies and bars
It can also be stirred into hot coffee or tea for a rich, sweet, creamy drink.
History
Sweetened condensed milk became popular as a practical way to preserve milk before modern refrigeration was widely available. By removing much of the water from milk and adding sugar, the resulting product could be stored more easily than fresh milk.
Commercial sweetened condensed milk became especially important during the nineteenth century. It was used in households, baking, beverages, and large-scale food production.
Over time, condensed milk became a beloved ingredient in desserts around the world. Different cultures incorporated it into traditional sweets, cakes, puddings, beverages, candies, and frozen desserts.
Making it at home follows the same basic principle: concentrate milk by removing water while using sugar to create sweetness, body, and a longer-lasting product.
Variations
Vanilla Condensed Milk
Add 1/2 teaspoon vanilla extract after removing the saucepan from the heat. Stir well and allow it to cool.
Extra-Rich Condensed Milk
Use full-fat milk and add 1 tablespoon of unsalted butter after cooking. Stir until completely melted and incorporated.
Less-Sweet Version
You can reduce the sugar slightly, although the resulting texture and preservation qualities will change. Traditional sweetened condensed milk is intentionally high in sugar.
Chocolate Version
For a dessert-style chocolate condensed milk, whisk in a small amount of unsweetened cocoa powder while the mixture is still warm.
Troubleshooting
My condensed milk is too thin
Return it to the saucepan and simmer gently for a few more minutes, stirring frequently.
My condensed milk is too thick
Whisk in a small amount of warm milk until the desired consistency is reached.
It tastes slightly burnt
Unfortunately, a burnt flavor is difficult to remove. If the bottom of the mixture has scorched, do not scrape the burned portion into the rest. Carefully transfer the unburned mixture to another saucepan or container.
It has a skin on top
This is usually caused by cooling without stirring. Simply whisk the mixture thoroughly. For the smoothest result, strain it before storage.
Storage
Keep homemade condensed milk in a clean, airtight container in the refrigerator.
Because this homemade version does not undergo commercial sterilization or canning, it should be treated as a perishable homemade dairy product. Keep it refrigerated and use it promptly rather than storing it at room temperature.
Conclusion
Homemade condensed milk proves that a useful baking ingredient does not always need to come from a can. With milk, sugar, and a little patience, you can create a smooth, creamy, sweet mixture in your own kitchen.
The key is simple: use gentle heat, stir regularly, allow the milk to reduce gradually, and remember that the mixture will become thicker as it cools.
Once you make it yourself, you will have a versatile ingredient ready for everything from homemade ice cream and cakes to puddings, pies, fudge, and sweet drinks.
For Condensed Milk Lovers
If you love rich, creamy desserts, this homemade condensed milk is a wonderful recipe to keep in your kitchen collection. It is simple enough for everyday baking but versatile enough to become the foundation for countless desserts.
A small batch can transform ordinary ingredients into something wonderfully creamy and indulgent, making this one of those basic recipes that is worth learning and remembering.