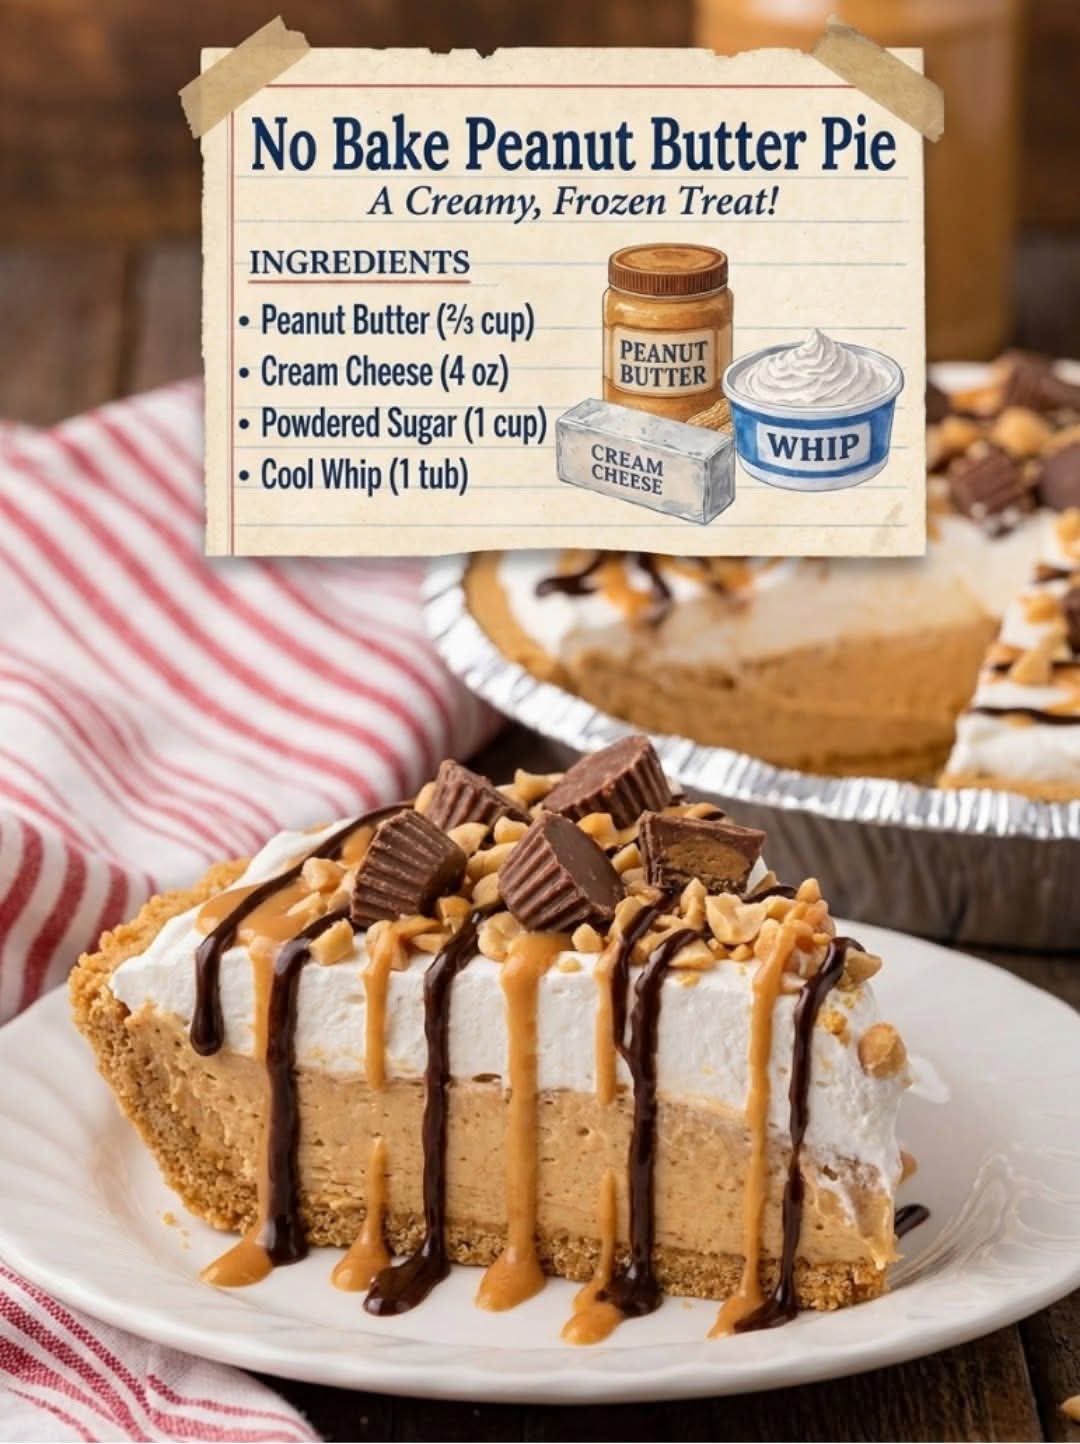
🥜 No-Bake Peanut Butter Pie
Introduction
Creamy, rich, and incredibly easy, No-Bake Peanut Butter Pie is the perfect dessert when you want something indulgent without turning on the oven. A crisp cookie crust is filled with a smooth, fluffy peanut butter filling and finished with whipped cream, chocolate, and extra peanut butter.
It is a wonderful make-ahead dessert for holidays, birthdays, family dinners, potlucks, or those moments when you simply want a delicious homemade treat with minimal effort.
🥧 Ingredients
For the crust
- 24 chocolate sandwich cookies, finely crushed
- 5 tablespoons unsalted butter, melted
- 1 tablespoon granulated sugar, optional
For the peanut butter filling
- 1 cup creamy peanut butter
- 8 oz (225 g) cream cheese, softened
- ¾ cup powdered sugar
- 1 teaspoon vanilla extract
- 1 cup heavy whipping cream, cold
- ½ cup powdered sugar, for the whipped cream
For the topping
- 1 cup whipped cream or whipped topping
- 2–3 tablespoons creamy peanut butter
- ¼ cup chocolate chips or chocolate shavings
- Crushed peanut butter cups, optional
- Chopped roasted peanuts, optional
👩🍳 Instructions
1. Prepare the crust
Place the chocolate sandwich cookies into a food processor and pulse until they become fine crumbs.
Pour the melted butter over the crumbs and mix until everything is evenly combined. The mixture should resemble wet sand and hold together when pressed.
Transfer the crumbs into a 9-inch pie dish.
Press firmly across the bottom and up the sides of the dish. Use the bottom of a glass or measuring cup to create a smooth, compact crust.
Place the crust in the refrigerator for at least 20–30 minutes while preparing the filling.
2. Make the peanut butter mixture
Place the softened cream cheese in a large mixing bowl.
Beat until smooth and creamy.
Add the peanut butter, powdered sugar, and vanilla extract.
Continue mixing until the filling is completely smooth, thick, and creamy.
Scrape down the sides of the bowl as needed.
3. Whip the cream
Pour the cold heavy whipping cream into another bowl.
Beat with an electric mixer until it begins to thicken.
Add the ½ cup powdered sugar gradually and continue beating until firm peaks form.
Be careful not to overbeat the cream.
4. Combine the filling
Gently fold the whipped cream into the peanut butter mixture.
Do not vigorously stir. Folding keeps the filling light and fluffy.
Continue folding until there are no visible streaks of whipped cream.
The finished filling should be creamy, airy, and thick enough to hold its shape.
🥜 5. Form the pie
Remove the chilled crust from the refrigerator.
Spoon the peanut butter filling into the crust.
Spread the top with a spatula and smooth it into an even layer.
For a decorative appearance, you can create gentle swirls across the surface.
🍫 6. Add the toppings
Spread or pipe whipped cream around the edges.
Warm 2–3 tablespoons of peanut butter very gently until it becomes pourable.
Drizzle the peanut butter over the pie.
Finish with chocolate shavings, chocolate chips, chopped peanuts, or crushed peanut butter cups.
For an especially indulgent version, add a few miniature peanut butter cups around the top.
❄️ 7. Chill the pie
Cover the pie loosely with plastic wrap or foil.
Refrigerate for at least 4 hours, although overnight is even better.
The chilling time allows the filling to firm up and makes slicing much easier.
🔪 8. Serve
When ready to serve, remove the pie from the refrigerator for about 5–10 minutes.
Slice with a sharp knife.
For clean slices, wipe the knife between cuts.
Serve each slice with an extra spoonful of whipped cream and a drizzle of melted peanut butter or chocolate.
🌟 The Method
The secret to this pie is the combination of creamy peanut butter, tangy cream cheese, sweet powdered sugar, and airy whipped cream.
The cream cheese provides structure and richness, while whipped cream gives the filling its soft, mousse-like texture. Because the pie isn’t baked, chilling is essential—it allows the filling to set while keeping its luxurious creamy consistency.
The cookie crust provides a wonderful contrast: crisp and chocolatey underneath, smooth and peanut-buttery on top.
📜 A Little History
Peanut butter has been a beloved ingredient in American kitchens for generations. As peanut butter became increasingly popular during the 20th century, it naturally found its way into cookies, candies, cheesecakes, bars, and pies.
No-bake pies became especially popular because they offered a simple way to make impressive desserts without an oven. Cream cheese, whipped cream, instant pudding, and cookie crumbs became common ingredients in these easy refrigerator desserts.
Peanut butter pie eventually became one of the most popular combinations, especially because peanut butter and chocolate are such a classic pairing.
Today, countless families have their own version—some use chocolate crusts, some use graham crackers, some add chocolate pudding, and others pile the top with peanut butter cups.
❤️ Why Peanut Butter Lovers Will Love It
If you are a peanut butter lover, this pie is practically made for you!
Every bite delivers:
🥜 Rich peanut butter flavor
🍫 Chocolate-cookie goodness
🥛 Creamy, fluffy filling
🍰 Crisp cookie crust
✨ No oven required
The best part is that it tastes like you spent hours making it, even though the preparation is surprisingly simple.
💡 Helpful Tips
Use room-temperature cream cheese:
This helps prevent lumps and gives you a smoother filling.
Use creamy peanut butter:
For the smoothest texture, traditional creamy peanut butter works beautifully.
Don’t skip the chilling time:
The pie needs several hours in the refrigerator to properly set.
Fold gently:
When adding whipped cream, gentle folding keeps the filling light and fluffy.
Make it ahead:
This is an excellent make-ahead dessert. Prepare it the day before serving and keep it refrigerated.
For a stronger peanut butter flavor:
Add a handful of finely chopped roasted peanuts to the filling.
For chocolate lovers:
Add a layer of chocolate ganache between the crust and peanut butter filling.
🍫 Delicious Variations
Chocolate Peanut Butter Pie
Use chocolate cookies for the crust and add chocolate shavings on top.
Peanut Butter Cup Pie
Fold chopped peanut butter cups into the filling before spreading it into the crust.
Pretzel Peanut Butter Pie
Replace part of the cookie crumbs with crushed salted pretzels for a sweet-and-salty combination.
Banana Peanut Butter Pie
Add thinly sliced bananas between the crust and filling.
Extra-Creamy Peanut Butter Pie
Add a little extra whipped cream to create an even lighter, mousse-like filling.
🧊 Storage
Keep the pie covered and refrigerated.
It is best enjoyed within 3–4 days.
You can also freeze individual slices in airtight containers. Thaw them in the refrigerator before serving.
⏱️ Quick Recipe Summary
Prep time: 25 minutes
Chilling time: 4 hours or overnight
Total time: About 4 hours 25 minutes
Yield: 8–10 slices
Difficulty: Easy
Method: No-bake, refrigerator-set dessert
🎉 Conclusion
This No-Bake Peanut Butter Pie is everything a great homemade dessert should be: creamy, chocolatey, peanut-buttery, easy to prepare, and absolutely irresistible.
Whether you’re making it for a holiday table, family gathering, potluck, birthday, or simply a weekend treat, it is almost guaranteed to disappear quickly.
The combination of a crunchy chocolate crust, fluffy peanut butter filling, whipped cream, and chocolate toppings makes every bite rich and satisfying.
One slice is never enough! 🥜🍫🥧❤️
❤️ For the Peanut Butter Lovers
If you love the classic combination of peanut butter and chocolate, this is a dessert worth saving. Make it once, and don’t be surprised when everyone asks you:
“Can you make that peanut butter pie again?” 😍🥜🍫