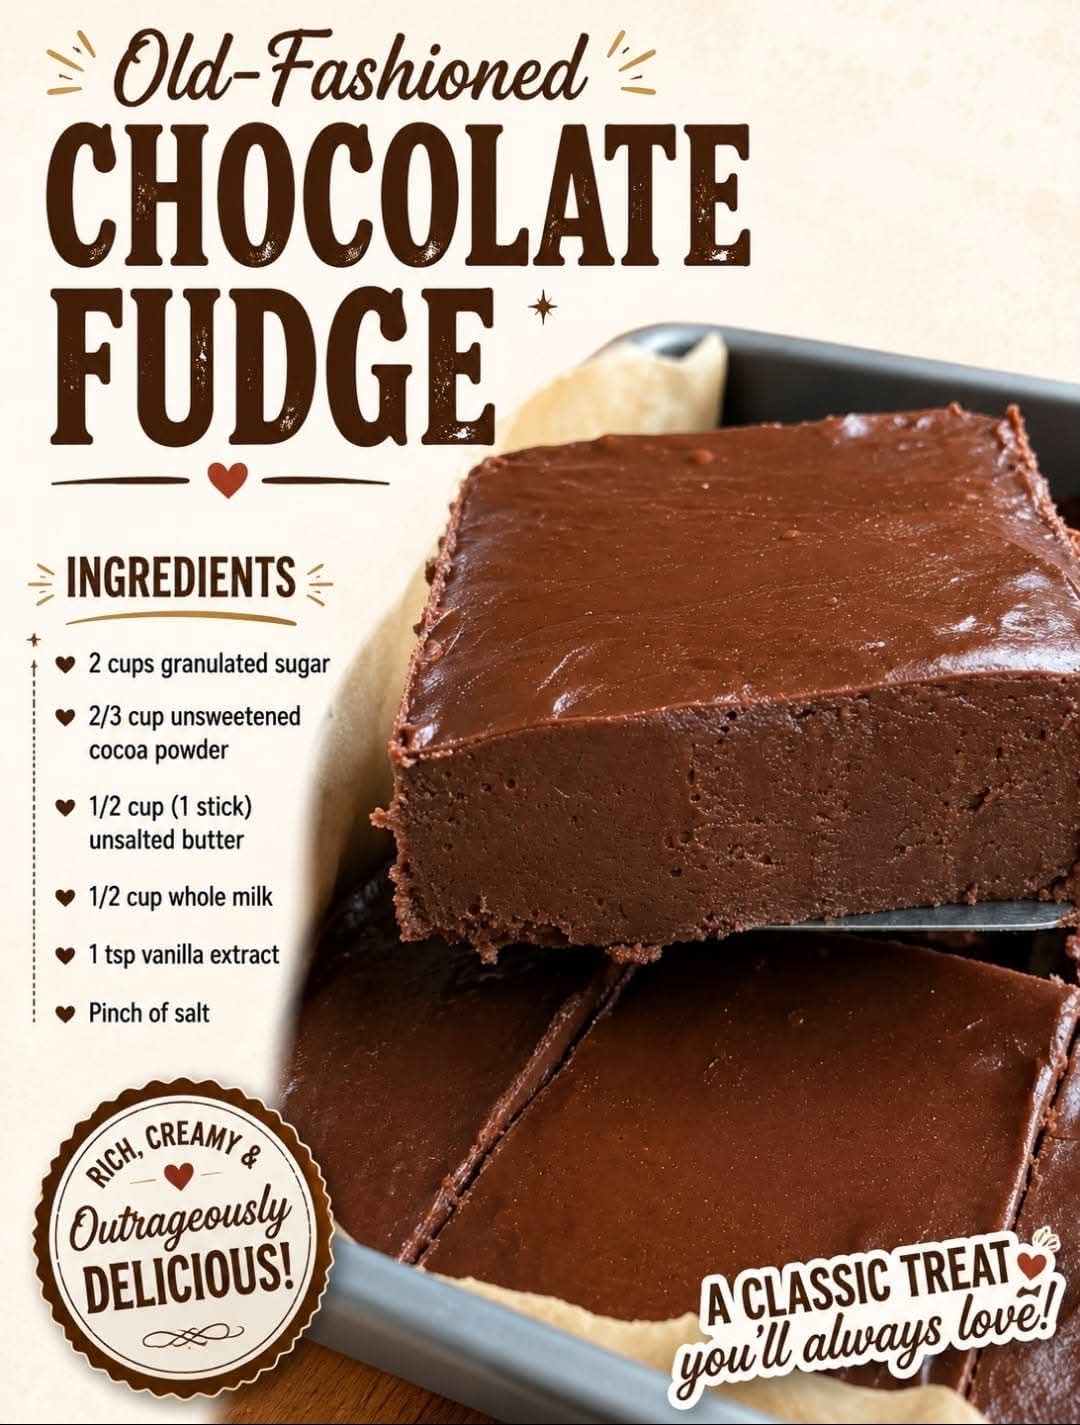
🍫 Old-Fashioned Chocolate Fudge — Easy Homemade Fudge Recipe
Introduction
There’s something wonderfully nostalgic about old-fashioned chocolate fudge. Rich, creamy, deeply chocolatey, and just sweet enough, this classic treat brings back memories of holiday candy trays, family kitchens, and homemade desserts shared with loved ones.
Unlike many modern shortcut fudge recipes, traditional fudge is made by carefully cooking sugar, milk, butter, and chocolate until the mixture reaches the proper temperature, then beating it until it becomes smooth and perfectly set. The result is a beautiful fudge with a soft, creamy texture that practically melts in your mouth.
This recipe is simple enough for a beginner but special enough to become a family favorite. ❤️
🛒 Ingredients
For the Fudge
- 3 cups granulated sugar
- ¾ cup unsweetened cocoa powder
- 1½ cups whole milk
- ½ cup unsalted butter
- ¼ teaspoon salt
- 1 teaspoon pure vanilla extract
- 1 cup semisweet chocolate chips or chopped semisweet chocolate
- 1 cup chopped walnuts or pecans, optional
Optional Toppings
- Extra chopped nuts
- Chocolate shavings
- A light sprinkle of flaky sea salt
- Mini chocolate chips
👩🍳 Instructions
1. Prepare the Pan
Line an 8-inch or 9-inch square baking pan with parchment paper, leaving some paper hanging over the sides. Lightly butter the parchment.
This makes the finished fudge much easier to remove and cut.
2. Combine the Dry Ingredients
In a heavy-bottomed saucepan, whisk together:
- Sugar
- Cocoa powder
- Salt
Breaking up the cocoa powder now helps create a smoother fudge later.
3. Add the Milk
Gradually pour in the whole milk while stirring constantly.
Place the saucepan over medium heat and continue stirring until the sugar has dissolved and the mixture becomes smooth.
4. Add the Butter
Add the butter and continue cooking.
Once the butter melts, bring the mixture to a gentle boil.
Important: Once it begins boiling, avoid excessive stirring. Constant stirring during this stage can encourage unwanted sugar crystallization.
5. Cook the Fudge
Continue cooking until the mixture reaches approximately 234–238°F (112–114°C) on a candy thermometer—the classic soft-ball stage.
This usually takes several minutes, but the thermometer is much more reliable than cooking time.
If you don’t have a candy thermometer, place a small drop of the hot mixture into cold water. It should form a soft, flexible ball when gathered between your fingers.
⚠️ Be extremely careful: the fudge mixture is very hot and can cause serious burns.
6. Add the Chocolate
Remove the saucepan from the heat.
Immediately add the chopped chocolate or chocolate chips.
Let them sit for about 1 minute, then gently stir until the chocolate is completely melted and incorporated.
7. Add Vanilla and Nuts
Stir in the vanilla extract.
If you’re using walnuts or pecans, fold them in now.
The mixture should be thick, glossy, and intensely chocolatey.
8. Beat the Fudge
This is the traditional part that gives old-fashioned fudge its characteristic texture.
Allow the mixture to cool slightly, then beat it with a sturdy wooden spoon or electric mixer until it becomes noticeably thicker and loses some of its shine.
Don’t overbeat it. Stop once the mixture begins to look creamy and starts holding its shape.
9. Transfer to the Pan
Immediately spread the fudge into the prepared pan.
Smooth the top with a spatula.
If desired, sprinkle the top with chopped nuts or a tiny pinch of flaky sea salt.
10. Let It Set
Allow the fudge to cool completely at room temperature.
For a firmer texture, refrigerate it for 1–2 hours.
Once completely set, lift it from the pan using the parchment paper.
Cut into small squares with a sharp knife.
🍫 Traditional Method
The secret to wonderful old-fashioned fudge isn’t complicated ingredients—it’s temperature and technique.
The sugar mixture must reach the correct soft-ball stage. Too little cooking can leave the fudge soft and sticky, while overheating it can produce dry, crumbly fudge.
After cooking, the mixture needs to cool and then be beaten properly. This controlled cooling and beating encourages tiny sugar crystals to form, producing the characteristic smooth, creamy, slightly firm texture associated with traditional fudge.
📜 A Little History
Fudge has been part of American candy-making traditions since the late 19th century. One popular story connects its early history with American women’s colleges, where students reportedly made batches of candy in dormitories.
Over time, fudge became a beloved homemade confection, particularly around Christmas and other celebrations. Families developed their own versions using chocolate, nuts, marshmallows, peanut butter, or other flavors.
The old-fashioned chocolate version remains one of the most treasured because it captures what many people love about homemade candy: simple ingredients transformed through careful cooking into something extraordinary.
✨ The Formation of Perfect Fudge
Perfect fudge goes through several stages:
1. Dissolving
The sugar dissolves into the milk and cocoa mixture.
2. Boiling
Water evaporates as the mixture cooks.
3. Soft-ball stage
The mixture reaches approximately 234–238°F, creating the right concentration of sugar.
4. Cooling
The mixture cools enough for controlled crystallization.
5. Beating
Tiny sugar crystals form, giving the fudge its creamy structure.
6. Setting
The fudge firms as it cools completely.
This is what separates traditional fudge from simple melted-chocolate candy.
❤️ Tips From Fudge Lovers
For extra creamy fudge
Use whole milk and good-quality chocolate.
For richer flavor
Add a tiny pinch of espresso powder. It won’t make the fudge taste like coffee—it simply intensifies the chocolate flavor.
For nut lovers
Toasting the walnuts or pecans before adding them gives the fudge an especially delicious flavor.
For cleaner slices
Chill the fudge thoroughly and use a large sharp knife. Wipe the knife between cuts.
For gifting
Cut the fudge into small squares and place each piece in a mini paper candy cup. Arrange them in a decorative tin for a beautiful homemade gift. 🎁
🍽️ Serving Suggestions
Serve these chocolate fudge squares:
- With coffee or tea
- Alongside vanilla ice cream
- On a holiday dessert platter
- As an after-dinner sweet
- Wrapped individually for gifts
- With fresh berries for a beautiful dessert plate
🧊 Storage
Store the fudge in an airtight container at room temperature for several days.
For longer storage, refrigerate it in a tightly sealed container. Allow the pieces to sit at room temperature for a few minutes before serving so they soften slightly.
You can also freeze properly wrapped fudge for longer storage.
💕 Why Fudge Lovers Keep Coming Back
There is a reason old-fashioned fudge has survived generations.
It’s rich without being complicated, homemade without requiring fancy equipment, and nostalgic without ever going out of style.
One small square gives you deep chocolate flavor, creamy sweetness, buttery richness, and that wonderful homemade texture that store-bought candy simply can’t quite reproduce.
Whether you’re making it for Christmas, a family gathering, a bake sale, or simply because you want something sweet after dinner, this recipe is the kind of dessert people remember.
❤️ Conclusion
Old-fashioned chocolate fudge is more than just candy—it’s a little piece of kitchen history.
The aroma of chocolate filling the kitchen, the careful stirring at the stove, the anticipation while the fudge sets, and finally that first creamy bite are all part of the experience.
Make a batch, cut it into generous little squares, share it with the people you love—and don’t be surprised when everyone asks:
“Can you make this again?” 🍫❤️
Enjoy every delicious bite!