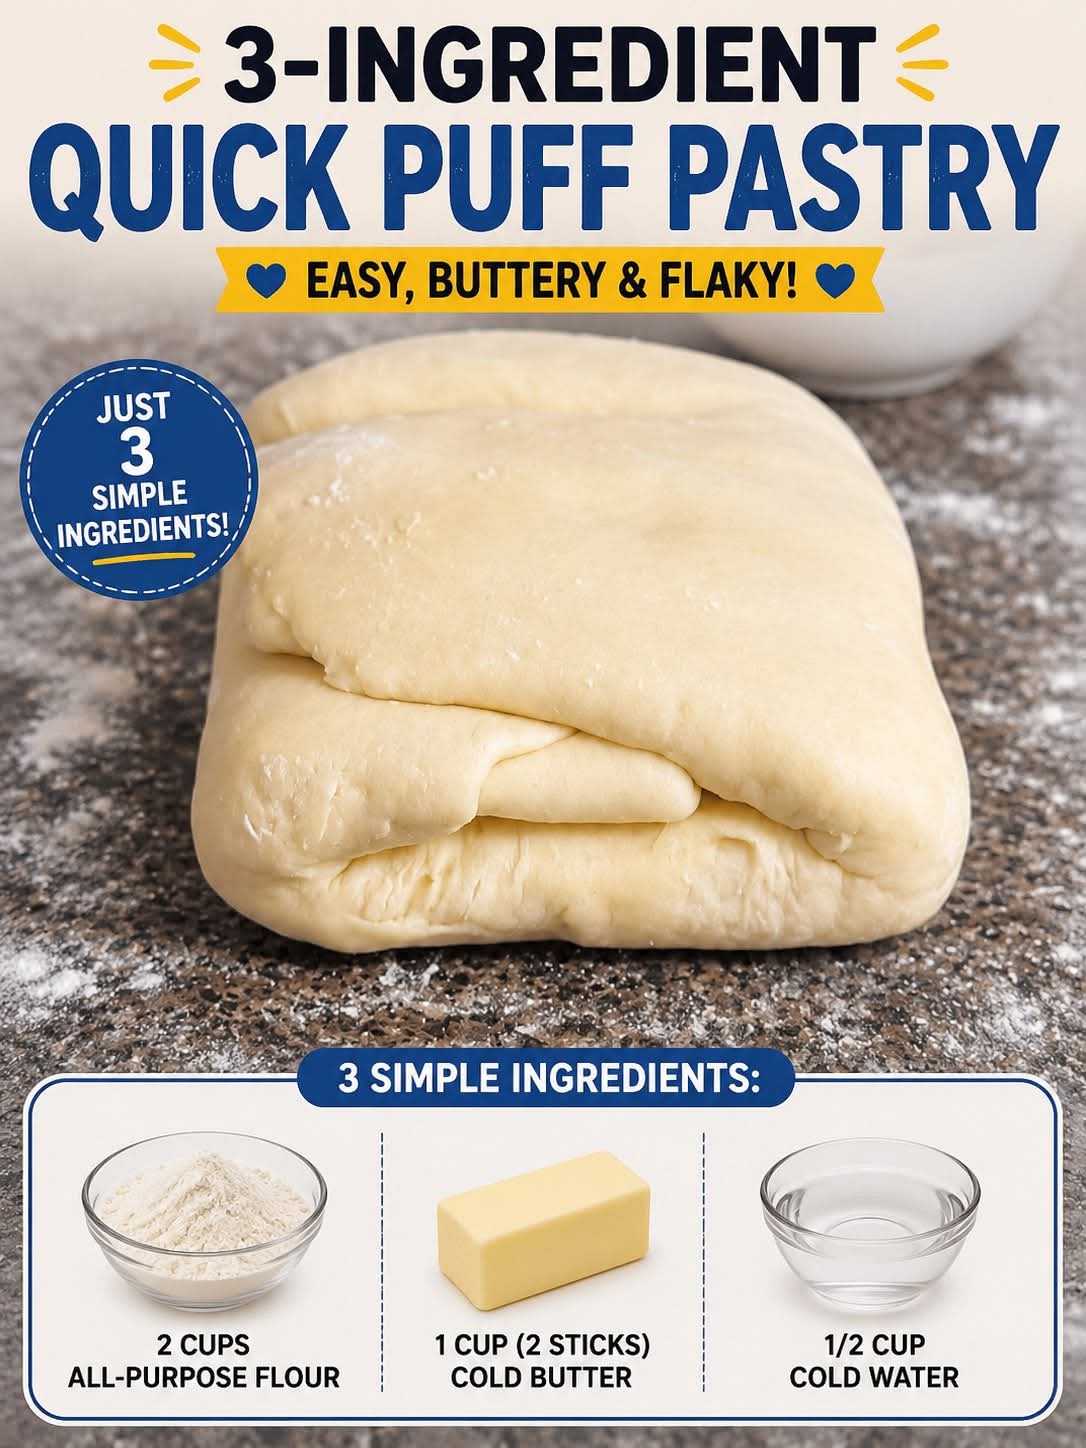
🥐 Classic Homemade Puff Pastry From Scratch
Introduction
There is something wonderfully satisfying about making puff pastry from scratch. The first time you see those beautiful golden layers rise dramatically in the oven, it feels almost magical. But the secret isn’t magic—it’s cold butter, proper folding, gentle handling, and patience.
Homemade puff pastry is buttery, crisp, flaky, and incredibly versatile. You can use it for sweet pastries, fruit turnovers, cream horns, palmiers, cheese straws, savory appetizers, pot pies, and countless other creations.
Although traditional puff pastry takes a little time because the dough needs to rest and chill between folds, the actual ingredients are surprisingly simple. Once you understand the method, you’ll find that making it at home is much easier than it sounds.
🥐 Classic Puff Pastry
Yield
About 1½ pounds (680 g) puff pastry dough
Preparation Time
About 45 minutes of active work
Chilling/Resting Time
Approximately 2½–3 hours
Baking Time
Depends on the recipe and shape, usually 15–30 minutes
Ingredients
For the Dough
- 2 cups (250 g) all-purpose flour
- 1 teaspoon salt
- ¾ cup (180 ml) cold water
- 1 tablespoon lemon juice or white vinegar
- 2 tablespoons (28 g) unsalted butter, melted and cooled
- 1 teaspoon sugar, optional
For the Butter Layer
- 1 cup (227 g) unsalted butter, very cold
- 1 tablespoon all-purpose flour
For Finishing
- 1 egg
- 1 tablespoon water
- A pinch of salt
The egg wash is optional but gives the pastry a beautiful glossy, golden finish.
Equipment
You will need:
- Large mixing bowl
- Rolling pin
- Measuring cups or kitchen scale
- Pastry brush
- Baking sheet
- Parchment paper
- Sharp knife or pastry wheel
- Plastic wrap
A kitchen scale is especially useful because accurate measurements make laminated dough much easier to work with.
Method 1: Prepare the Dough
In a large bowl, combine the flour and salt.
Add the cold water, lemon juice or vinegar, and cooled melted butter.
Mix gently until the ingredients come together into a rough dough.
Do not knead aggressively. You don’t want to develop too much gluten at this stage.
Turn the dough onto a lightly floured surface and gently bring it together.
Shape it into a rectangle.
Wrap the dough in plastic wrap and refrigerate for approximately 30 minutes.
Method 2: Prepare the Butter Block
While the dough chills, prepare the butter.
Place the cold butter between two sheets of parchment paper.
Using a rolling pin, gently pound and roll the butter into a flat rectangle approximately 15 x 10 cm.
If the butter is too hard, allow it to sit for a few minutes before shaping it.
The butter should be cold but flexible.
This is extremely important.
The butter and dough should have a similar firmness. If the butter is rock-hard while the dough is soft, the butter can break through the dough.
If the butter becomes too soft or greasy, place it back into the refrigerator.
Method 3: Enclose the Butter
Remove the chilled dough from the refrigerator.
Roll it into a rectangle approximately twice the size of your butter block.
Place the butter in the center.
Fold the dough over the butter from all four sides, completely enclosing it.
Pinch the seams gently so the butter is sealed inside.
You now have the beginning of your laminated dough.
Method 4: First Roll
Lightly flour your work surface.
Place the dough seam-side down.
Using a rolling pin, gently roll the dough into a long rectangle.
Do not press too aggressively.
Roll from the center outward and keep the edges as straight as possible.
The rectangle should be approximately three times longer than its width.
Method 5: First Fold
Fold the dough like a letter.
Fold one-third of the dough toward the center.
Then fold the remaining third over the top.
This is called a single fold or letter fold.
Rotate the dough 90 degrees.
Wrap it and refrigerate for approximately 30 minutes.
Method 6: Repeat the Folding
Repeat the rolling and folding process.
For classic puff pastry, perform approximately 5–6 single folds, chilling the dough whenever it becomes too soft or difficult to handle.
A typical schedule is:
Fold 1
Roll → fold → chill
Fold 2
Roll → fold → chill
Fold 3
Roll → fold → chill
Fold 4
Roll → fold → chill
Fold 5
Roll → fold → chill
Fold 6
Roll → fold → chill
The exact number of folds can vary depending on the recipe, but the goal is to create hundreds of delicate layers of dough and butter.
❄️ Why Chilling Is So Important
Never skip the chilling periods.
If the butter becomes warm, it can melt into the dough instead of remaining as separate layers.
When the pastry enters the hot oven, the water contained in the butter turns into steam.
That steam pushes the layers apart.
This is what creates the famous flaky, airy structure of puff pastry.
Cold butter + layers + hot oven = beautiful puff pastry.
Method 7: Final Rest
After your final fold, wrap the pastry tightly in plastic wrap.
Refrigerate for at least 1 hour before using.
For even better results, allow the pastry to rest overnight.
This gives the gluten time to relax and makes the dough easier to roll without shrinking.
Method 8: Rolling and Shaping
When you’re ready to use the pastry, lightly flour your work surface.
Roll the dough to the thickness required by your recipe.
For many pastries, approximately 3–4 mm is a good starting point.
Use a sharp knife or pastry wheel to cut your shapes.
You can make:
- Croissants
- Apple turnovers
- Fruit danishes
- Palmiers
- Cheese straws
- Vol-au-vents
- Cream horns
- Mille-feuille
- Napoleons
- Savory pastry twists
- Sausage rolls
- Chicken or vegetable pastry parcels
Method 9: Egg Wash
For a beautiful golden finish, whisk together:
- 1 egg
- 1 tablespoon water
- Tiny pinch of salt
Brush the egg wash lightly over the surface of the pastry.
Avoid brushing heavily over the cut edges.
Egg wash on the edges can sometimes glue the layers together and prevent them from rising properly.
Method 10: Baking
Preheat your oven thoroughly before baking.
Puff pastry generally benefits from a hot oven, often around 400–425°F (200–220°C) depending on the specific recipe.
Place the prepared pastry onto a parchment-lined baking sheet.
Bake until dramatically puffed and deeply golden brown.
Do not remove the pastry too early.
The outside may look finished while the interior is still underbaked.
A properly baked puff pastry should be:
Golden outside
Crisp on the surface
Light and flaky inside
Dry enough that the layers don’t collapse
Allow baked pastries to cool on a wire rack.
The History of Puff Pastry
Puff pastry belongs to the fascinating family of laminated doughs.
The exact origins of puff pastry are debated, with historical versions of layered pastry appearing in different European culinary traditions. Over time, French pastry chefs refined the technique into the highly structured form associated with classical French pastry today.
The French term pâte feuilletée refers to this layered pastry, with feuilletée connected to the idea of leaves or sheets—an appropriate description because the finished pastry separates into incredibly thin layers.
The technique became an important part of classical European pastry-making and eventually spread around the world.
Today, puff pastry is used in both professional pastry kitchens and home kitchens.
Formation: How the Layers Are Created
The beauty of puff pastry comes from lamination.
Imagine the dough as one layer.
Then butter.
Then dough.
Then butter.
Through repeated rolling and folding, these layers multiply.
When the pastry is placed into a hot oven, the water in the butter creates steam.
The steam expands between the layers.
At the same time, the flour-based dough sets around those expanding pockets.
The result is the characteristic:
🥐 Puff
🥐 Flakiness
🥐 Crispness
🥐 Delicate layers
This is why the technique requires patience.
You aren’t simply making dough—you are building a structure of hundreds of extremely thin layers.
⭐ Secrets to Perfect Puff Pastry
1. Keep Everything Cold
Cold butter is the foundation of successful puff pastry.
If the butter begins melting, stop rolling and refrigerate the dough.
2. Don’t Use Too Much Flour
Excess flour can make the pastry dry and interfere with the layers.
Use only enough flour to prevent sticking.
3. Don’t Press the Edges
When cutting pastry, use a sharp knife and clean cuts.
Avoid crushing the edges.
4. Chill Before Baking
After shaping your pastry, refrigerate it for about 15–30 minutes before baking.
This helps the butter firm up again.
5. Preheat the Oven Properly
Puff pastry needs strong initial heat to generate steam quickly.
6. Don’t Open the Oven Too Early
Opening the oven can cause a sudden temperature drop and interfere with the rise.
7. Bake Until Deep Golden Brown
Pale puff pastry is often underbaked.
Give it enough time for the layers to become crisp.
Common Problems and Solutions
My butter is leaking.
The butter was probably too warm or the dough was rolled too aggressively.
Solution: Chill the dough immediately and continue only when the butter is firm.
My pastry isn’t rising.
Possible causes include:
- Butter melted into the dough
- Edges were crushed
- Oven wasn’t hot enough
- Too much flour was used
- Pastry was rolled too thin
My pastry shrinks.
The gluten may need more time to relax.
Solution: Refrigerate the shaped pastry before baking.
My pastry is greasy.
The butter may have melted before the dough had a chance to bake and create steam.
Solution: Keep the pastry colder during preparation and bake in a properly preheated oven.
Storage
Refrigerator
Wrap homemade puff pastry tightly and refrigerate for up to 3 days.
Freezer
Puff pastry freezes beautifully.
Wrap it tightly in plastic wrap and place it in a freezer-safe bag or container.
Freeze for approximately 2–3 months for best quality.
Thaw it overnight in the refrigerator before rolling and shaping.
You can also freeze many shaped, unbaked puff pastries and bake them from chilled or slightly thawed, depending on the recipe.
Delicious Ways to Use Homemade Puff Pastry
🍎 Apple Turnovers
Fill squares of puff pastry with cinnamon apples, fold into triangles, brush with egg wash, and bake until golden.
🍫 Chocolate Pastries
Place chocolate pieces inside strips of puff pastry, roll them up, brush with egg wash, and bake.
🧀 Cheese Straws
Cut puff pastry into strips, sprinkle with grated cheese and a little seasoning, twist, and bake.
🍓 Fruit Tart
Place puff pastry on a baking sheet, arrange fresh fruit on top, sprinkle lightly with sugar, and bake until crisp.
🥧 Savory Pie
Use puff pastry as a beautiful topping for chicken, beef, mushroom, or vegetable pies.
🍯 Palmiers
Sprinkle pastry with sugar, fold and roll it into a log, slice thinly, and bake until caramelized.
❤️ For the Lovers of Homemade Pastry
If you love buttery, crispy, golden pastries, homemade puff pastry is absolutely worth learning.
There is something special about taking a few humble ingredients—flour, butter, water, and salt—and transforming them into a pastry with hundreds of delicate layers.
It may take a little patience, but every fold brings you closer to that beautiful final result.
And once you master the basic dough, you have the foundation for an entire world of pastries.
Final Conclusion
Homemade puff pastry may sound intimidating at first, but the process becomes much easier once you understand the principles.
Keep the butter cold.
Roll gently.
Fold carefully.
Rest the dough.
Repeat patiently.
Bake in a hot oven.
Those simple rules are the heart of successful puff pastry.
The first batch may not be perfectly shaped, and that’s completely okay. With practice, you’ll learn how the dough should feel, how firm the butter should be, and when the pastry needs another rest.
Once you taste a freshly baked pastry with crisp, golden, buttery layers made entirely from scratch, you’ll understand why this classic technique has remained beloved for generations.
Happy baking—and enjoy every flaky, buttery layer! 🥐❤️