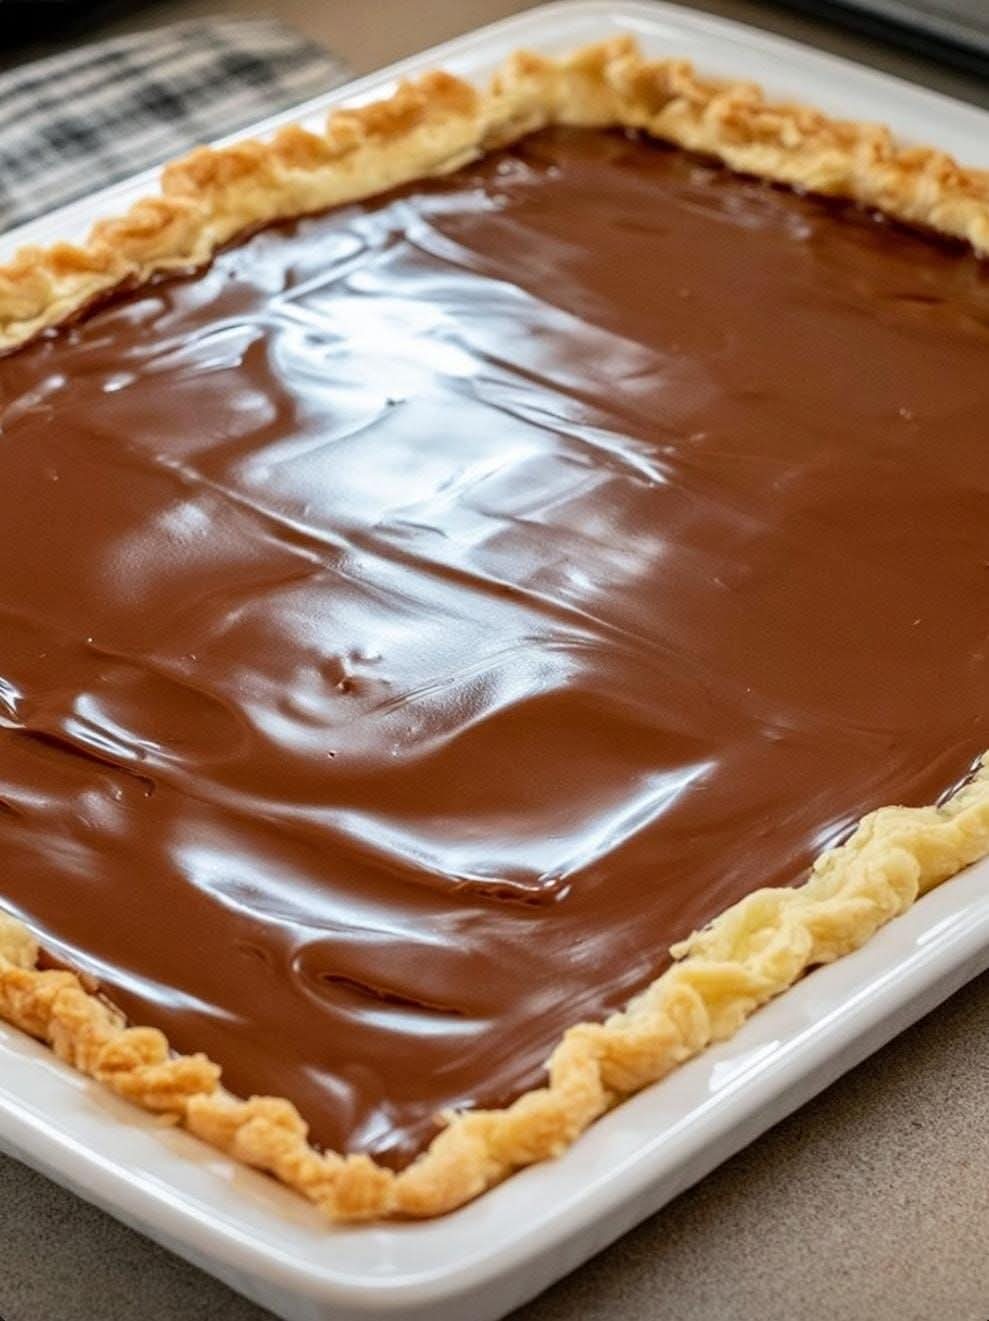
🎂 Ultimate Birthday Celebration Cake
Moist, Tender, Creamy & Perfect for Special Occasions
🌟 Introduction
“Made this for my mom’s birthday and I’ll be making it again for my own next month! It was that good!” ❤️
This beautiful birthday cake is everything you want in a homemade celebration dessert: soft, moist cake layers, a luscious creamy frosting, and just the right amount of sweetness. It is elegant enough for a birthday party but simple enough to make at home.
Whether you’re baking for your mom, your children, your partner, or simply treating yourself, this cake is made to bring people together around the table.
🛒 Ingredients
For the Cake
- 2½ cups all-purpose flour
- 2½ teaspoons baking powder
- ½ teaspoon baking soda
- ½ teaspoon salt
- ¾ cup unsalted butter, softened
- 1¾ cups granulated sugar
- 4 large eggs, room temperature
- 2 teaspoons vanilla extract
- 1 cup buttermilk, room temperature
- ½ cup sour cream
- ¼ cup vegetable oil
For the Creamy Frosting
- 1 cup unsalted butter, softened
- 4 cups powdered sugar, sifted
- 2 teaspoons vanilla extract
- 3–4 tablespoons heavy cream or milk
- Pinch of salt
For the Filling
- 1 cup strawberry or raspberry jam
- 1 cup sliced fresh strawberries or other berries
- ½ cup whipped cream, optional
For Decoration
- Fresh strawberries
- Raspberries or blueberries
- Sprinkles
- White or dark chocolate curls
- Powdered sugar, optional
- Birthday candles 🎂
👩🍳 Instructions
Step 1: Prepare the Oven
Preheat your oven to 175°C / 350°F.
Grease two 9-inch round cake pans. Line the bottoms with parchment paper and lightly flour the sides.
This preparation helps the cake release easily after baking.
Step 2: Mix the Dry Ingredients
In a medium bowl, whisk together:
- Flour
- Baking powder
- Baking soda
- Salt
Set aside.
Mixing the dry ingredients first helps distribute the leavening agents evenly throughout the cake.
Step 3: Cream the Butter and Sugar
In a large mixing bowl, beat the softened butter and sugar for approximately 3–5 minutes.
The mixture should become pale, light, and fluffy.
This step is important because incorporating air into the butter mixture helps create a tender cake.
Step 4: Add the Eggs
Add the eggs one at a time, mixing well after each addition.
Add the vanilla extract.
Scrape down the sides of the bowl so everything mixes evenly.
Step 5: Add the Wet Ingredients
In another bowl, combine the buttermilk, sour cream, and vegetable oil.
Add the dry ingredients to the butter mixture in three additions, alternating with the buttermilk mixture.
Begin and finish with the dry ingredients.
Mix only until combined.
💡 Important Tip
Do not overmix the batter. Once the flour disappears, stop mixing. Overmixing can develop too much gluten and make the cake less tender.
🍰 Step 6: Bake the Cake
Divide the batter evenly between the prepared cake pans.
Smooth the tops with a spatula.
Bake for approximately 25–32 minutes, or until a toothpick inserted into the center comes out clean or with a few moist crumbs.
Do not overbake.
Allow the cakes to cool in their pans for about 10 minutes, then carefully transfer them to a wire rack.
Let them cool completely before frosting.
🍓 Step 7: Prepare the Filling
Place one cooled cake layer on a serving plate.
Spread a thin layer of strawberry or raspberry jam over the cake.
Add sliced fresh berries and, if desired, a layer of whipped cream.
Place the second cake layer on top.
Press very gently so the filling stays inside the cake.
🧁 Step 8: Make the Frosting
Beat the softened butter until creamy and smooth.
Gradually add the powdered sugar while mixing on low speed.
Add the vanilla and a pinch of salt.
Add the heavy cream one tablespoon at a time until the frosting reaches your preferred consistency.
Increase the mixer speed and beat for another 2–3 minutes until light and fluffy.
🎀 Step 9: Frost the Cake
Spread a thin layer of frosting around the entire cake.
This is called a crumb coat and helps trap loose crumbs.
Refrigerate for about 15–20 minutes.
Then apply the final layer of frosting.
Smooth the sides with a spatula or cake scraper.
✨ Step 10: Decorate
Decorate the cake with fresh berries, chocolate curls, sprinkles, or anything you love.
For a birthday celebration, add candles just before serving.
You can also pipe small rosettes around the top edge for a beautiful bakery-style finish.
🍴 Method
The overall method is simple:
Prepare → Mix → Bake → Cool → Fill → Frost → Decorate → Chill → Serve
The secret to the best texture is using room-temperature ingredients, avoiding overmixing, and removing the cake from the oven as soon as it is properly baked.
📜 A Little History
Birthday cakes have a long history connected with celebrations and special occasions. Sweetened breads and cakes were enjoyed in various cultures long before the modern decorated birthday cake became popular.
Over time, improvements in baking ingredients such as refined sugar, baking powder, butter, and commercially produced flour made cakes lighter and easier to prepare.
The elaborate birthday cakes many people know today developed alongside modern celebrations, professional bakeries, candles, frosting, and decorative techniques.
Today, homemade birthday cake remains especially meaningful because it combines food with personal effort, family traditions, and celebration.
❤️ The Formation of the Cake
This cake is built in several delicious layers:
Layer 1
Moist vanilla cake.
Layer 2
Sweet berry jam.
Layer 3
Fresh berries and optional whipped cream.
Layer 4
Another soft cake layer.
Outside
A generous coating of creamy vanilla frosting.
Top
Fresh fruit and festive decorations.
The combination creates different textures in every bite: soft cake, creamy frosting, fruity filling, and a little freshness from the berries.
👩🍳 Baker’s Methods & Secrets
1. Use room-temperature ingredients
Room-temperature eggs, butter, buttermilk, and sour cream combine more easily.
2. Don’t overmix
Mixing too much after adding flour can make the cake dense.
3. Don’t overbake
A few moist crumbs on a toothpick are better than a completely dry toothpick.
4. Cool completely
Never frost a warm cake. The frosting can melt and slide off.
5. Chill before decorating
A short refrigeration period makes the cake much easier to frost beautifully.
6. Add your favorite flavors
Try lemon zest, almond extract, chocolate chips, coconut, peaches, or blueberries.
💕 For the Cake Lovers
This recipe is for anyone who believes a birthday cake should be more than just dessert.
It should be soft enough to melt in your mouth, creamy enough to feel indulgent, fruity enough to stay refreshing, and beautiful enough to make everyone smile.
And the best part?
You don’t need a professional bakery to make something special.
A homemade cake made with love can become the dessert everyone remembers.
🎉 Serving Suggestions
Serve the cake slightly chilled or at cool room temperature.
Pair it with:
- Fresh berries
- Vanilla ice cream
- Whipped cream
- Fresh coffee
- Tea
- Hot chocolate
- A glass of cold milk
For birthdays, slice the cake just before serving and add candles for the final touch. 🎂🕯️
🧊 Storage
Store the finished cake covered in the refrigerator for up to 3–4 days.
Allow slices to sit at room temperature for about 15–20 minutes before serving for the best flavor and texture.
If preparing ahead, the unfrosted cake layers can be wrapped tightly and refrigerated before decorating.
❤️ Conclusion
This Ultimate Birthday Celebration Cake is the kind of dessert that turns an ordinary day into a special memory.
It is moist, creamy, fruity, festive, and completely customizable.
So whether you’re making it for your mom’s birthday, your own birthday next month, an anniversary, a family gathering, or simply because you deserve cake, this recipe is worth keeping.
Because sometimes the best recipes aren’t just about the ingredients.
They’re about who you make them for, the memories created around the table, and that first delicious bite that makes everyone say: “You have to make this again!” 🎂❤️
🍰 Final Baker’s Note
Make it with patience. Decorate it with creativity. Serve it with love.
And most importantly…
Save a slice for yourself! 💕