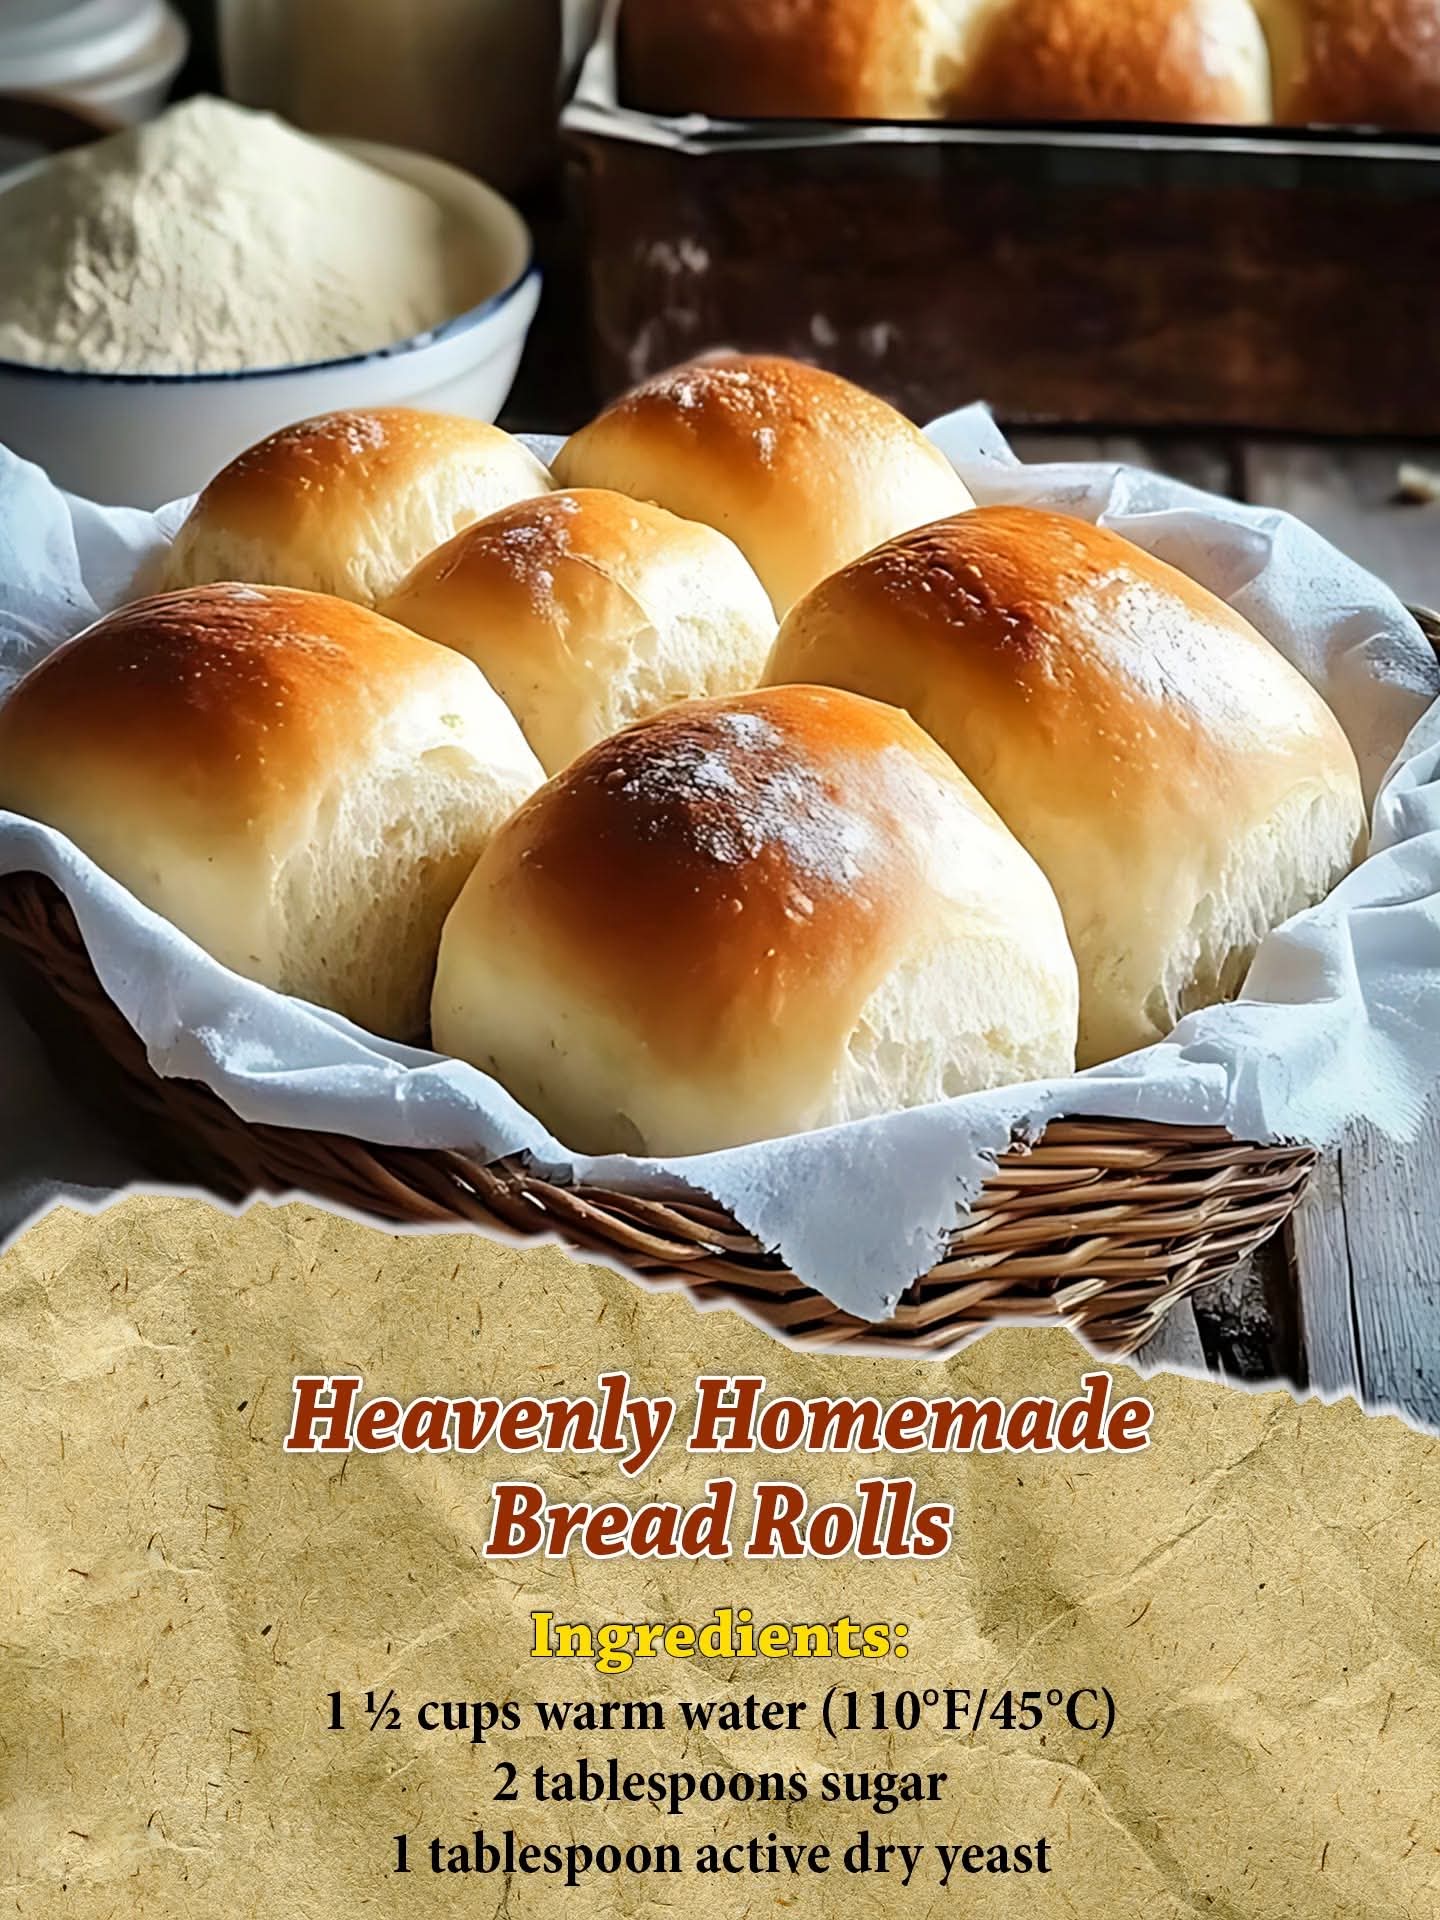
🥖 Heavenly Homemade Bread Rolls (Soft, Fluffy & Golden)
There’s something almost magical about warm homemade bread rolls fresh out of the oven—the soft center, the buttery aroma, and that golden crust that tears apart with a gentle pull. These rolls are the kind of comfort food that turns a simple meal into something memorable. Whether served with soup, roasted meat, or just a pat of butter, they disappear fast for a reason.
🌾 Introduction
Bread rolls have been a staple in households across the world for centuries. From European dinner tables to American Sunday meals, soft yeast rolls symbolize warmth, sharing, and home-cooked love. This version is designed to be simple enough for beginners, yet rich and fluffy enough to feel bakery-quality.
The secret lies in proper yeast activation, patient rising time, and a soft but structured dough that traps air pockets during baking.
🧂 Ingredients
Dough:
- 1 ½ cups warm water (110°F / 45°C)
- 2 tablespoons sugar
- 1 tablespoon active dry yeast
- 4 cups bread flour (plus extra if needed)
- 2 tablespoons vegetable oil
- 1 teaspoon salt
Optional finishing touches:
- Melted butter for brushing
- Honey or garlic butter glaze
- Sesame or poppy seeds for topping
👩🍳 Methods & Instructions
1. Activating the yeast (the foundation)
In a large bowl, combine warm water, sugar, and yeast. Stir gently and let it rest for 8–10 minutes.
When it becomes foamy and bubbly, your yeast is alive and ready.
👉 This step is essential: no foam = weak or dead yeast.
2. Forming the dough
Add 2 cups of flour, vegetable oil, and salt to the yeast mixture. Stir until combined.
Gradually add the remaining flour, ½ cup at a time, until the dough begins to pull away from the sides of the bowl and becomes soft but not sticky.
3. Kneading (developing strength)
Transfer dough onto a floured surface. Knead for about 8–10 minutes.
You want:
- Smooth texture
- Elastic feel
- Slight bounce when pressed
Kneading develops gluten, which traps air and creates fluffy rolls.
4. First rise (fermentation magic)
Place dough in a lightly oiled bowl, turning once to coat. Cover with a cloth or plastic wrap.
Let it rise in a warm place for about 1 hour, or until doubled in size.
This is where flavor develops and texture improves.
5. Shaping the rolls
Punch down the dough gently to release air bubbles.
Divide into 16 equal pieces and roll each into a smooth ball by tucking edges underneath.
Place them on greased baking sheets with a little space between each.
6. Second rise (final fluff factor)
Cover again and let rest for 30–40 minutes.
This step ensures soft, airy rolls instead of dense bread.
7. Baking
Preheat oven to 400°F (200°C).
Bake for 18–20 minutes until golden brown on top and lightly crisp underneath.
Optional: brush with melted butter immediately after baking for shine and softness.
🔬 Methods Explained (Why It Works)
- Yeast fermentation produces carbon dioxide, creating air pockets
- Gluten formation gives structure and chewiness
- Two rises improve texture and volume
- High oven heat creates a golden crust while keeping inside soft
Each step works together like a recipe “system,” not just ingredients.
📜 History & Formation
Bread rolls trace back to ancient grain baking traditions. Early civilizations discovered that fermented dough expanded when baked, creating lighter bread compared to flatbreads.
By medieval Europe, small individual bread rolls became popular among households because they:
- Cook faster than large loaves
- Are easier to portion
- Stay fresher when separated
Today, bread rolls are found worldwide in countless variations—sweet, savory, soft, crusty, butter-rich, or whole grain.
❤️ “Lovers” Section (Why People Love These Rolls)
People adore these rolls because:
- They are soft like clouds inside
- The crust is lightly golden and satisfying
- They pair with almost any meal
- They smell like comfort and home
- They are perfect for sharing at family dinners
Bakers also love them because they are forgiving—once you understand the dough feel, they become easy to perfect.
🍞 Tips for Best Results
- Use warm (not hot) water for yeast activation
- Don’t rush rising time
- Add flour slowly to avoid dry dough
- Knead until smooth and elastic
- Bake immediately after second rise for best fluffiness
🌟 Conclusion
These Heavenly Homemade Bread Rolls are more than just bread—they’re a warm experience. From the moment the dough rises to the final golden bake, every step builds flavor, softness, and comfort.
Serve them fresh, share them generously, and enjoy how something so simple can feel so special.
Because sometimes, the best food isn’t complicated—it’s homemade, warm, and made with patience.