🍬 Classic Hard Candy 🍬
There is something wonderfully nostalgic about homemade hard candy. From sparkling jewel-colored sweets in candy jars to the comforting aroma of bubbling sugar syrup in the kitchen, hard candy has delighted generations around the world. Whether made for holidays, celebrations, gifts, or simply for fun, these sweet treats are timeless classics that never go out of style.
Homemade hard candy is surprisingly simple to make, yet it feels magical watching ordinary sugar transform into glossy, colorful candies bursting with flavor. You can customize them with endless flavor combinations, vibrant colors, and decorative finishes to create beautiful candies for every occasion.
🍭 The Sweet History of Hard Candy
Hard candy dates back hundreds of years. Ancient civilizations discovered that heating sugar created delicious preserved sweets. Early forms of candy were made using honey and fruit syrups before refined sugar became widely available.
During the 17th and 18th centuries, hard candies became popular in Europe as sugar production expanded. Apothecaries often used flavored sugar candies to soothe sore throats and stomach aches. Eventually, candy makers perfected techniques for boiling sugar to exact temperatures, creating the crunchy texture we know today.
Classic hard candies became especially popular during holidays, where families gathered to make peppermint sticks, fruit drops, cinnamon candies, and butterscotch treats. Today, homemade hard candy remains a beloved tradition in many homes.
🍬 Why People Love Classic Hard Candy
Candy lovers adore hard candy because it is:
- Sweet and long-lasting
- Beautifully colorful
- Fun to customize
- Perfect for gifts and parties
- Great for holidays and celebrations
- Easy to store for weeks
- Full of nostalgic charm
Children love the bright colors and fruity flavors, while adults enjoy the memories these candies bring back from childhood.
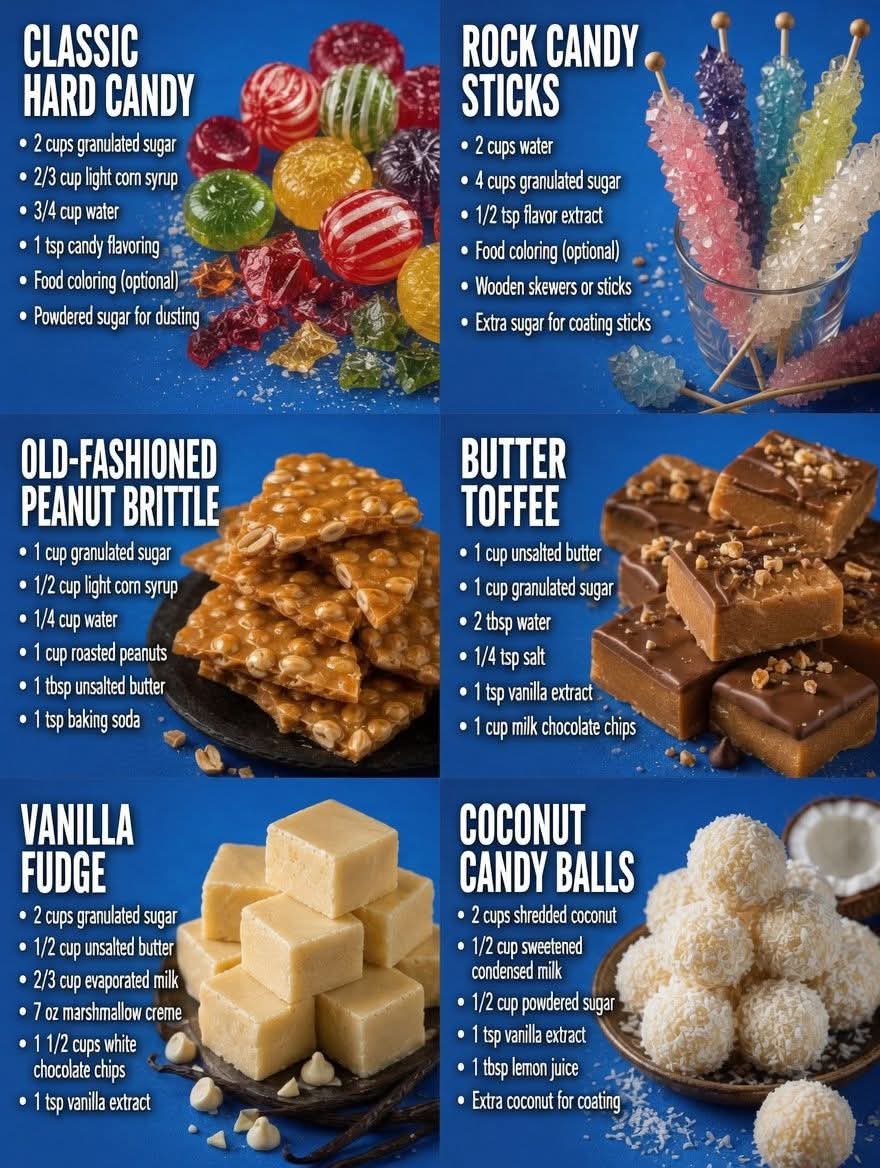
🧂 Ingredients
For the Candy Base
- 2 cups granulated sugar
- 2/3 cup light corn syrup
- 3/4 cup water
- 1 teaspoon candy flavoring
- Food coloring (optional)
- Powdered sugar for dusting
🍓 Popular Flavor Ideas
You can create many varieties using different flavor oils or extracts:
- Cherry
- Strawberry
- Watermelon
- Lemon
- Orange
- Peppermint
- Cinnamon
- Green apple
- Grape
- Cotton candy
- Root beer
🥄 Equipment Needed
Making hard candy is easier with the right tools:
- Heavy-bottom saucepan
- Wooden spoon or heatproof spatula
- Candy thermometer
- Baking sheet or silicone mat
- Sharp knife or candy molds
- Parchment paper
- Heat-resistant gloves (recommended)
🔥 Understanding the Hard Crack Stage
The secret to perfect hard candy is reaching the “hard crack stage,” which occurs at approximately 300°F (149°C).
At this temperature:
- Nearly all water evaporates
- Sugar becomes brittle and crunchy
- Candy hardens properly after cooling
If the temperature is too low, candy may become sticky or chewy instead of crisp.
👩🍳 Step-by-Step Instructions
Step 1: Prepare Your Workspace
Before cooking:
- Grease a baking sheet lightly or line it with parchment paper
- Measure all ingredients ahead of time
- Prepare flavoring and food coloring nearby
Candy making moves quickly once the sugar reaches temperature.
Step 2: Combine Ingredients
In a heavy saucepan, combine:
- Sugar
- Corn syrup
- Water
Stir gently over medium heat until the sugar dissolves completely.
Step 3: Bring to a Boil
Increase heat to medium-high and allow the mixture to boil.
Do NOT stir continuously after boiling begins, as this may cause crystallization.
Attach a candy thermometer to the side of the pan.
Step 4: Cook to Hard Crack Stage
Continue boiling until the mixture reaches:
300°F (149°C)
The syrup will become clear and slightly golden.
Step 5: Add Flavor and Color
Remove the pan from heat immediately.
Carefully stir in:
- Candy flavoring
- Food coloring if desired
Be cautious because the steam is extremely hot.
Step 6: Pour the Candy
Pour the hot candy onto the prepared baking sheet or into candy molds.
Let it spread naturally or use a spatula carefully.
Step 7: Cool and Break
Allow candy to cool completely until hardened.
Then:
- Break into small pieces using a knife or mallet
- Or remove from molds
Dust lightly with powdered sugar to prevent sticking.
🍬 Candy-Making Methods
1. Traditional Sheet Method
The hot candy is poured onto a flat tray and broken into irregular shards after cooling.
Best for:
- Rustic candy pieces
- Holiday candy bark
- Quick preparation
2. Mold Method
Candy is poured into silicone molds.
Best for:
- Decorative candies
- Party favors
- Professional appearance
3. Pulled Candy Method
Candy is stretched and folded repeatedly while warm to create shiny ribbons.
Best for:
- Peppermint sticks
- Old-fashioned candy shops
- Decorative sweets
🌈 Creative Variations
🍋 Citrus Candy
Add lemon, lime, or orange oils for refreshing flavors.
🌶 Cinnamon Fire Candy
Use cinnamon oil for spicy red candies.
🍭 Rainbow Candy
Divide syrup into portions and color each differently.
❄ Peppermint Candy
Perfect for Christmas and winter holidays.
🍓 Fruity Candy Mix
Create assorted fruit-flavored batches for colorful candy jars.
💡 Helpful Candy Tips
- Never cook candy on humid days if possible
- Use a candy thermometer for accuracy
- Store in airtight containers
- Separate layers with parchment paper
- Avoid refrigerating hard candy
⚠ Safety Tips
Boiling sugar becomes extremely hot and can cause serious burns.
Always:
- Keep children at a safe distance
- Use heatproof utensils
- Avoid touching molten sugar
- Work carefully and patiently
🎁 Serving Ideas
Classic hard candy is perfect for:
- Holiday gift bags
- Birthday parties
- Candy buffets
- Baby showers
- Wedding favors
- Decorative candy jars
- Homemade edible gifts
Wrap individual candies in wax paper for a charming old-fashioned presentation.
❤️ Why Homemade Candy Feels Special
Making candy at home is more than just cooking—it is an experience filled with creativity, tradition, and joy. Families often gather around the kitchen to create colorful sweets together, sharing laughter and memories while waiting for the candy to cool.
Candy lovers appreciate homemade hard candy because each batch feels unique and personal. The bright colors, sparkling appearance, and delicious flavors create happiness with every bite.
🍬 Conclusion
Classic hard candy is a timeless treat that combines simple ingredients with a little kitchen magic. With endless flavor possibilities, beautiful colors, and satisfying crunch, these homemade sweets are perfect for celebrations, gifts, or everyday enjoyment.
Whether you choose fruity flavors, refreshing mint, or spicy cinnamon, homemade hard candy brings warmth, nostalgia, and sweetness to every occasion. Once you make your first batch, you may find yourself creating new flavors and traditions for years to come.
🍭✨ Happy Candy Making! ✨🍭