🥖 No-Knead, No-Egg, No-Butter Bread (Easiest & Cheapest Homemade Bread)
There’s something quietly satisfying about baking bread at home—especially when it doesn’t require eggs, butter, or even kneading. This recipe is built for simplicity: a rustic, soft-on-the-inside, golden-on-the-outside loaf that uses basic pantry ingredients and almost no effort.
It’s the kind of bread people discover once… and then stop buying store bread for a while.
🌿 Introduction
This no-knead bread is inspired by traditional “lazy breads” made in rural kitchens where time was limited but patience existed. Across many cultures, similar simple breads have been baked in clay ovens or cast iron pots using only flour, water, salt, and yeast.
The magic here is fermentation and hydration—not muscle. The dough develops gluten on its own while resting, creating a soft, airy crumb without kneading.
🧂 Ingredients
Basic Dough:
- 3 cups (375 g) all-purpose flour
- 1 ½ tsp salt
- 1 tsp sugar (optional, helps yeast)
- 1 tsp instant yeast
- 1 ¼ to 1 ½ cups (300–360 ml) warm water
Optional (for better crust):
- 1 tbsp olive oil (not required but improves texture)
🍞 Instructions
1. Mix the dough
In a large bowl, combine flour, salt, sugar, and yeast.
Add warm water gradually and mix with a spoon until a sticky dough forms.
👉 Don’t knead. Just mix until no dry flour remains.
2. First rise (fermentation)
Cover the bowl with a towel or plastic wrap.
Let it rest for 8–12 hours at room temperature (or overnight).
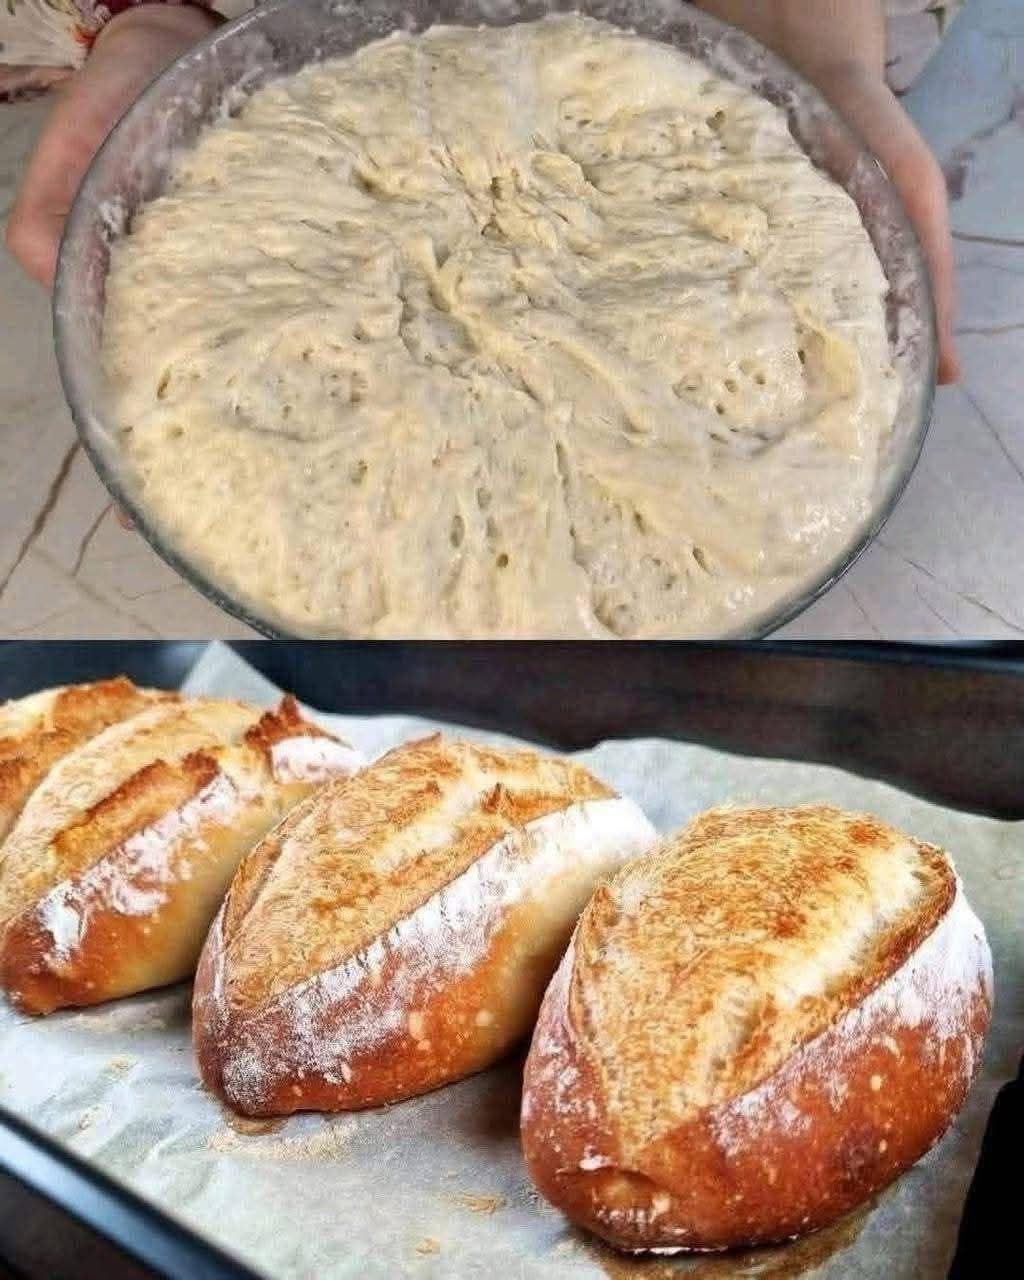
✔ The dough should double in size and look bubbly.
3. Shape the dough
Lightly flour your hands and a surface.
Gently turn out the dough and fold it 2–3 times (no kneading).
Shape into a round loaf.
4. Second rise
Place the dough on baking paper or in a floured bowl.
Cover and let it rest for 30–60 minutes.
5. Bake
Preheat oven to 220°C (430°F).
Place dough in:
- a baking tray, OR
- a preheated pot/Dutch oven (best crust)
Bake for:
- 30–40 minutes until golden brown
Tap the bottom—if it sounds hollow, it’s ready.
6. Cool
Let it cool for at least 20 minutes before slicing.
🔬 Method (Why it works)
This bread relies on autolysis and fermentation:
- Water activates gluten proteins naturally
- Yeast slowly produces gas, creating air pockets
- Time replaces kneading
This is the same principle used in artisan sourdoughs, but simplified with commercial yeast.
📜 History & Formation
Simple no-knead bread methods became popular in modern baking through “rustic farmhouse” traditions and later viral home-baking trends. However, the technique itself is ancient—early bakers in Europe and the Middle East often relied on long fermentation instead of kneading due to lack of tools.
The modern version became widely known when home bakers rediscovered that time can replace effort.
❤️ Texture & Taste
- Crisp golden crust
- Soft, airy inside
- Slightly chewy texture
- Mild, comforting flavor
It pairs well with soups, jams, cheese, or even eaten warm alone.
🌍 Lovers of This Bread
This bread is loved by:
- Beginner bakers
- Busy people
- Students
- Minimalist cooking fans
- Anyone avoiding eggs or dairy
- People who want “real bread taste” without effort
🔁 Tips & Variations
- Add garlic or herbs for flavor
- Replace part of water with milk alternative for softness
- Sprinkle sesame or oats on top
- For extra crust: bake in covered pot
🧡 Conclusion
This bread proves something simple: good food doesn’t have to be complicated. With just flour, water, salt, yeast, and time, you can create something warm, homemade, and deeply satisfying.
No kneading. No eggs. No butter. Just patience and heat.
If you want, I can also give you: 🥖 5-minute version
🥖 Air fryer version
🥖 Crispy baguette-style version
🥖 No-oven pan bread version