Here’s a full, rich, “viral-style” homemade Crunch Bars recipe for you—structured, detailed, and easy to follow.
🍫 Homemade Crunch Bars (Better Than Easter Candy!)
🌟 Introduction
If you’ve ever opened a store-bought chocolate crunch bar and thought, “I wish I could make this fresher, thicker, and more chocolatey,” this recipe is for you. Homemade Crunch Bars are a simple no-bake treat made with crispy cereal and melted chocolate, giving you that perfect snap-and-crunch combination in every bite.
They’re especially popular around holidays like Easter, when leftover chocolate eggs and candy often get melted into creative desserts—but honestly, these bars deserve to be made all year round.
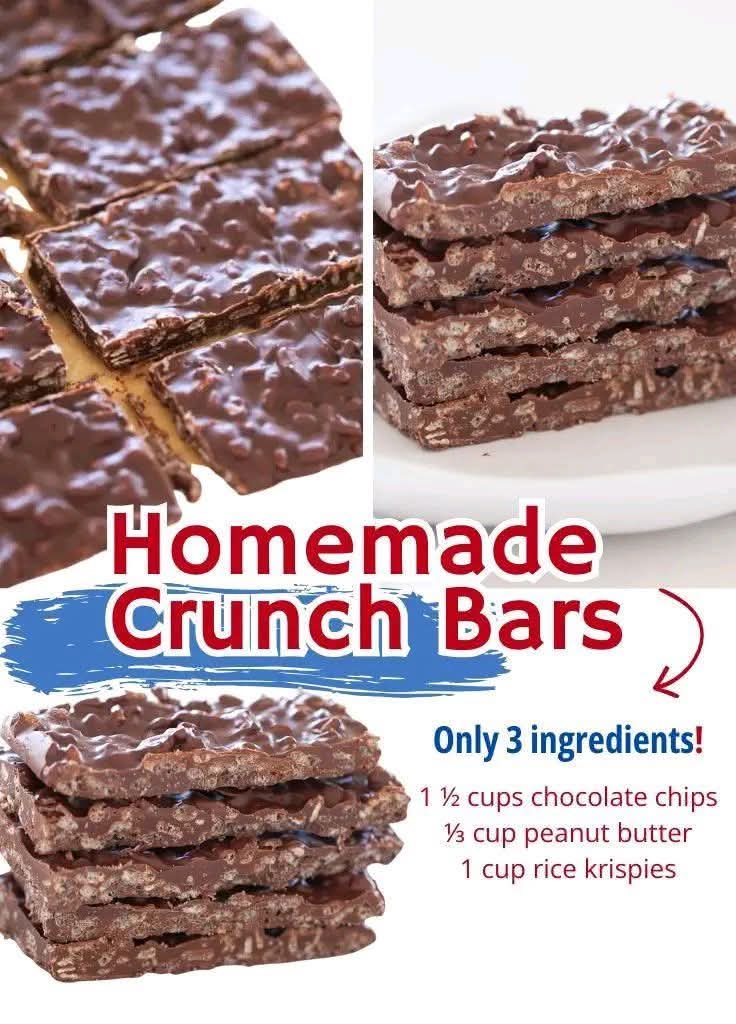
🧈 Ingredients
For the Crunch Base:
- 3 cups crispy rice cereal (like Rice Krispies)
- 2 cups cornflakes (for extra crunch)
- 1/2 cup peanut butter (optional but adds richness)
- 1/3 cup honey or golden syrup
- 2 tbsp butter
For the Chocolate Coating:
- 2 cups milk chocolate chips (or dark chocolate if preferred)
- 1/2 cup white chocolate chips (optional swirl)
- 1 tbsp coconut oil (for smooth melting)
Optional Add-ins:
- Crushed mini eggs or Easter candy
- Chopped nuts (almonds, hazelnuts, peanuts)
- Sea salt flakes for topping
👨🍳 Instructions
1. Prepare the Crunch Base
In a large mixing bowl, combine rice cereal and cornflakes. Mix gently so the textures stay light and airy.
2. Make the Binding Syrup
In a saucepan over low heat, melt butter, peanut butter, and honey together. Stir until smooth and slightly bubbly.
3. Combine
Pour the warm syrup over the cereal mixture. Stir carefully until everything is evenly coated without crushing the crunch.
4. Press into Tray
Line a baking dish with parchment paper. Press the mixture firmly into the tray to create an even layer.
5. Melt the Chocolate
Melt chocolate chips with coconut oil using a microwave (30-second intervals) or a double boiler until silky smooth.
6. Coat the Base
Pour melted chocolate over the pressed cereal layer. Spread evenly.
7. Add Decoration
Drizzle white chocolate on top and swirl with a toothpick. Add crushed candies or nuts if desired.
8. Chill
Refrigerate for 2–3 hours until fully set.
9. Slice
Cut into bars or squares once firm.
🔬 Method (Why It Works)
This recipe works because:
- The syrup binds the cereal without making it soggy.
- The chocolate layer locks everything together.
- Cooling solidifies the structure, giving that classic “snap” texture.
It’s a no-bake chemical balance of fat (chocolate + butter) and crunch (cereal air pockets).
📜 History & Inspiration
Crunch-style bars originated from early 20th-century cereal snack experiments. Rice-based crispy treats became popular in home kitchens in the 1930s. Over time, chocolate-coated versions evolved as candy makers realized people loved the contrast of airy cereal and rich chocolate.
Modern homemade versions are often inspired by childhood sweets and seasonal candy leftovers—especially Easter chocolate traditions.
🧪 Formation Science (Simple Breakdown)
- Heat melts fats (butter, chocolate)
- Syrup coats cereal evenly
- Cooling crystallizes chocolate structure
- Air pockets remain inside cereal → crunch effect
This is why every bite feels light but satisfying.
💖 Serving & “Lovers” Notes (Fun Section)
These bars are perfect for:
- Movie nights 🍿
- Kids’ lunchbox treats 🎒
- Coffee pairing ☕
- Gifting in cute boxes 🎁
💡 “Love tip”: Sprinkle sea salt on top before chilling—it turns the sweetness into something addictive.
🍽️ Methods Variations
- Nutty Crunch Bars: add chopped hazelnuts
- Extra Chocolate Version: mix cocoa powder into melted chocolate
- Caramel Crunch Bars: drizzle caramel before chocolate layer
- Healthy Version: swap chocolate for dark 70% and use maple syrup
💬 Final Conclusion
Homemade Crunch Bars are one of those recipes that look simple—but deliver big satisfaction. They’re crunchy, chocolatey, nostalgic, and endlessly customizable. Once you make them once, you’ll probably stop buying store-bought versions altogether.
If you want, I can also turn this into: 🍫
🍫
🍫 or
Just tell me 👍