Absolutely! Let’s make a full, indulgent guide for 🍍🍰 Pineapple Cream Cheese Pound Cake, covering everything from history to step-by-step methods.
🍍🍰 Pineapple Cream Cheese Pound Cake 🧀✨
Introduction
The Pineapple Cream Cheese Pound Cake is a luscious, moist cake that combines the rich creaminess of cream cheese with the tropical sweetness of pineapple. Dense yet soft, buttery yet light, it’s a crowd-pleaser for family gatherings, afternoon tea, or dessert tables. The addition of pineapple gives a refreshing tang that perfectly balances the cake’s richness, making it irresistible bite after bite.
History
Pound cake has roots dating back to 18th-century Europe, named for the original recipe which called for a pound each of flour, butter, eggs, and sugar. Over time, bakers around the world modified it with additions like cream cheese, fruits, and flavorings to create more tender, flavorful cakes. The pineapple cream cheese version became popular in the United States as a Southern favorite, often enjoyed at celebrations or alongside coffee.
Ingredients
For the Cake:
- 1 cup (225 g) unsalted butter, softened
- 1 package (225 g) cream cheese, softened
- 2 cups granulated sugar
- 4 large eggs
- 2 ½ cups all-purpose flour
- 1 tsp baking powder
- ¼ tsp salt
- 1 tsp vanilla extract
- ½ cup crushed pineapple (well-drained)
Optional Glaze or Topping:
- ½ cup powdered sugar
- 1–2 tbsp pineapple juice or milk
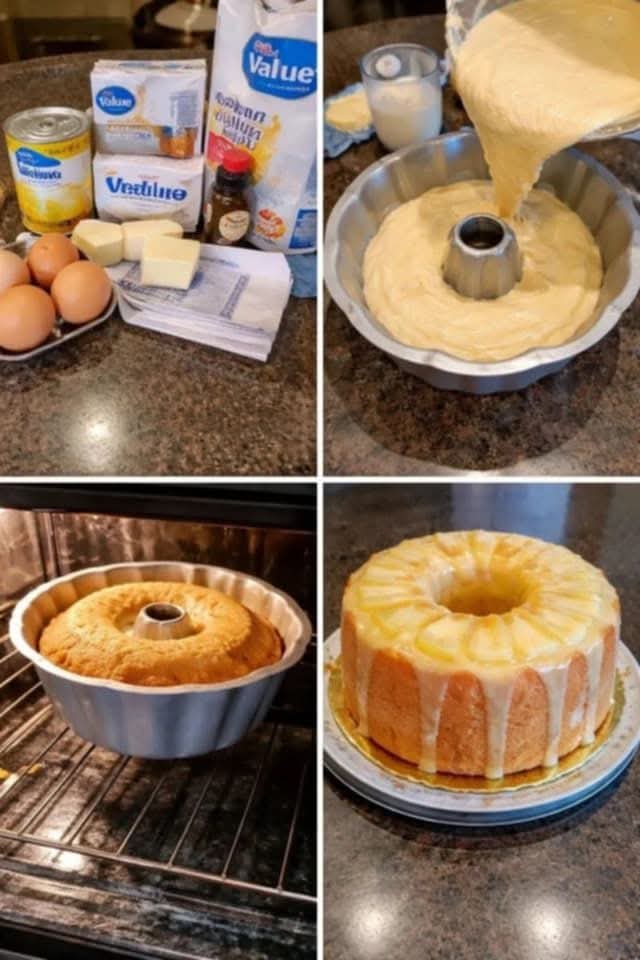
Instructions & Methods
Step 1: Prepare the Oven and Pan
- Preheat your oven to 325°F (165°C).
- Grease a 9×5-inch loaf pan or line with parchment paper.
Step 2: Cream Butter, Cream Cheese, and Sugar
- In a large bowl, beat together the softened butter and cream cheese until smooth and creamy.
- Gradually add sugar, continuing to beat until light and fluffy.
Method Tip: Use a stand mixer with a paddle attachment for best results; cream until pale and airy for a tender crumb.
Step 3: Incorporate Eggs
- Add eggs one at a time, beating well after each addition.
- Mix in the vanilla extract.
Step 4: Combine Dry Ingredients
- In a separate bowl, whisk together flour, baking powder, and salt.
- Gradually add dry ingredients to the wet mixture, mixing until just combined.
Method Tip: Avoid overmixing; overmixing can make the cake dense and tough.
Step 5: Fold in Pineapple
- Gently fold in the crushed, well-drained pineapple until evenly distributed.
Step 6: Bake the Cake
- Pour the batter into the prepared loaf pan and smooth the top.
- Bake for 60–70 minutes, or until a toothpick inserted into the center comes out clean.
- Let the cake cool in the pan for 10 minutes, then transfer to a wire rack to cool completely.
Step 7: Optional Glaze
- Mix powdered sugar with pineapple juice or milk until smooth.
- Drizzle over cooled cake for extra sweetness and shine.
Formation & Structure
- Formation: This pound cake achieves its structure from the careful creaming of butter and cream cheese, which traps air and ensures a light texture despite the dense ingredients. The pineapple adds moisture and subtle acidity, balancing the richness.
- Texture: Moist, tender crumb with a golden crust. The cream cheese makes it extra soft and keeps it fresh longer than a standard pound cake.
Cake Lovers & Serving
- Lovers of this cake: Pineapple cream cheese pound cake appeals to fruit-and-dessert enthusiasts, brunch hosts, and anyone who enjoys rich, moist cakes that aren’t overly sweet. Pair it with coffee, tea, or even a scoop of vanilla ice cream for dessert lovers.
- Serving Suggestions: Slice thick for breakfast or brunch, or cut into smaller pieces for parties. It also freezes well for later indulgence.
Conclusion
Pineapple Cream Cheese Pound Cake is more than just a dessert—it’s a timeless treat that balances buttery richness with tropical freshness. Perfect for sharing or savoring alone, this cake is an invitation to indulge in classic flavors with a twist. It’s a cake for lovers of texture, flavor, and a little nostalgia, bringing the joy of homemade baking to every table.
If you want, I can also make a step-by-step visual guide showing folding, mixing, and the perfect glaze finish to make this cake look bakery-level at home.
Do you want me to create that visual guide?