Here’s your complete, rich, and detailed version of Homemade Condensed Milk — expanded with everything you asked for 👇
🥛 Homemade Condensed Milk (8 oz)
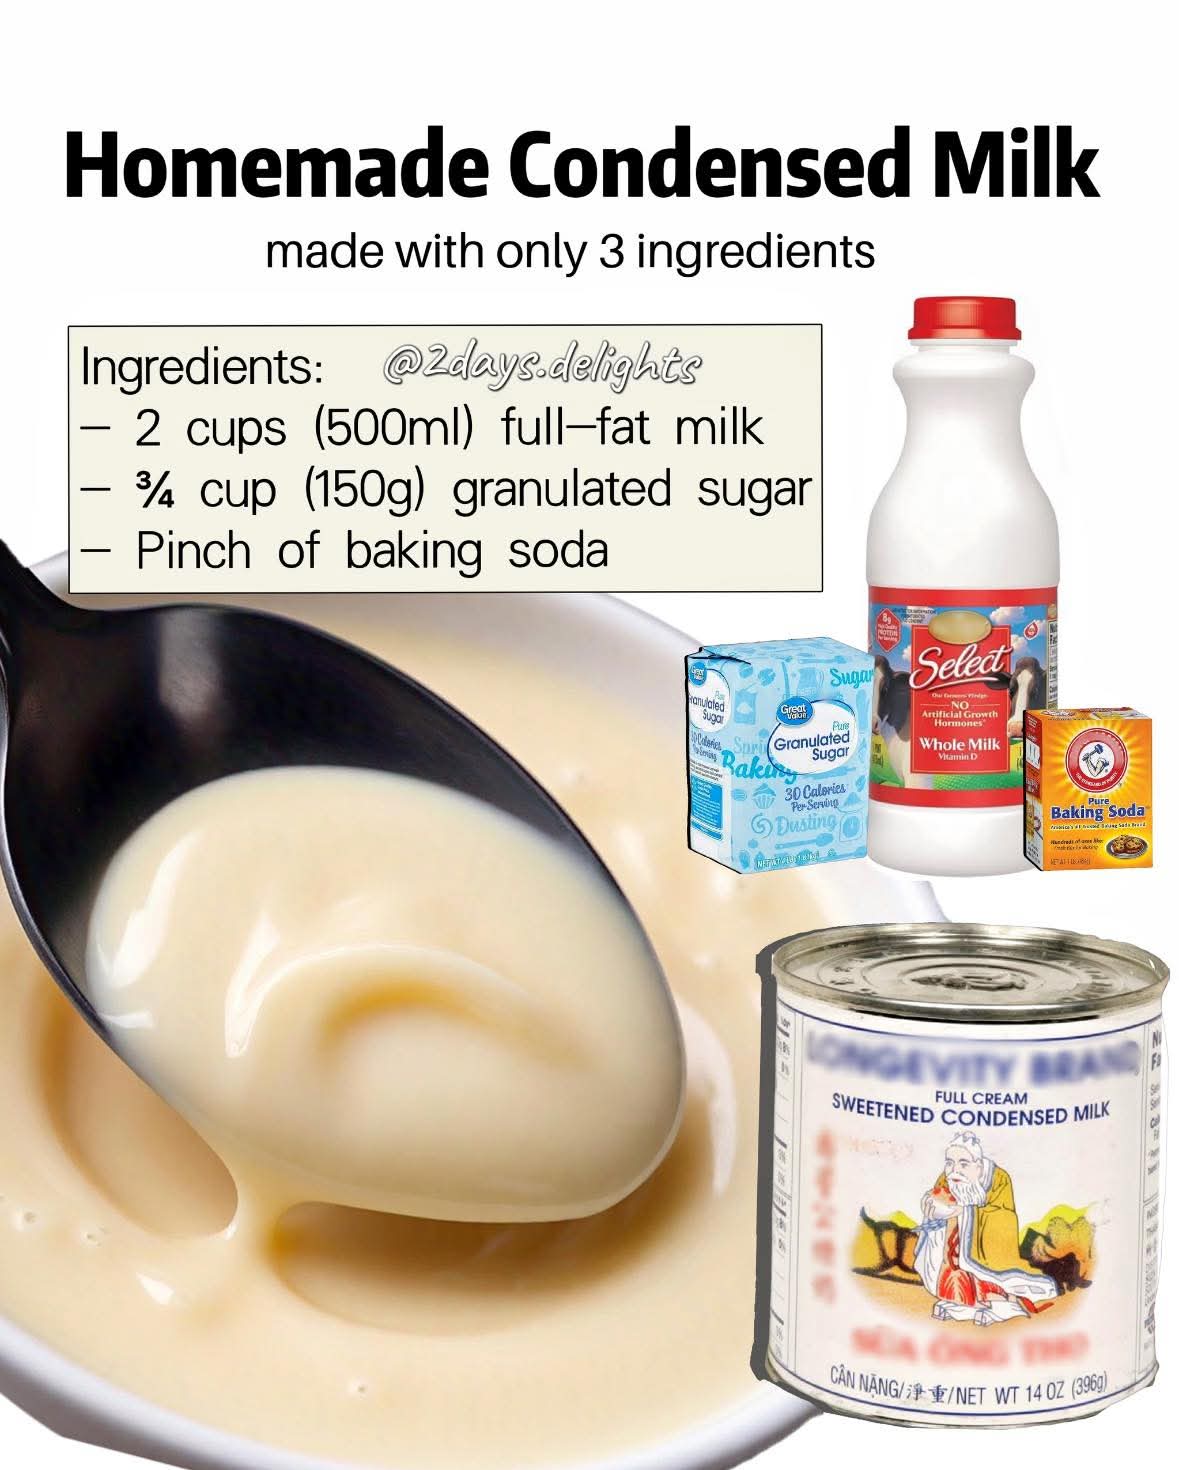
Only 3 Simple Ingredients — Creamy, Sweet, and Budget-Friendly
🌟 Introduction
Homemade condensed milk is one of those kitchen secrets that instantly upgrades your desserts. Thick, silky, and perfectly sweet, it’s the magic ingredient behind countless treats—from cakes and cookies to puddings and beverages.
Store-bought versions are convenient, but making it at home gives you full control over the sweetness, texture, and quality. Plus, it’s surprisingly easy and requires just a few pantry staples. Once you try it, you’ll never look at canned condensed milk the same way again!
🧾 Ingredients
- 2 cups (500 ml) full-fat milk (or 2% milk)
- ¾ cup (150 g) granulated sugar
- Pinch of baking soda (optional, but recommended)
🍳 Instructions
Step 1: Combine Ingredients
In a medium saucepan, pour in the milk and add the sugar. Stir gently to combine before heating.
Step 2: Heat and Dissolve
Place the pan over medium-high heat. Stir continuously until the sugar completely dissolves and the mixture begins to warm.
Step 3: Bring to a Gentle Boil
Allow the mixture to come to a gentle boil while stirring frequently. This helps prevent the milk from sticking or burning at the bottom.
Step 4: Simmer and Reduce
Lower the heat to medium or medium-low. Let the mixture simmer uncovered for 20–25 minutes, stirring often, until it thickens and reduces by about half.
Step 5: Add Baking Soda
Turn off the heat and stir in a tiny pinch of baking soda. This step helps create a smoother texture and prevents curdling.
Step 6: Cool Down
Let the condensed milk cool at room temperature. Stir occasionally to prevent a skin from forming on top.
Step 7: Store
Transfer to a clean, airtight jar. It will thicken further as it cools.
🍶 Methods & Tips for Success
✔️ Low & Slow is Key
Avoid high heat after boiling—gentle simmering ensures smooth texture without burning.
✔️ Stirring Matters
Frequent stirring prevents sticking and ensures even reduction.
✔️ Watch the Thickness
The mixture should coat the back of a spoon when ready. It will thicken more as it cools.
✔️ Color Check
A slight creamy beige color is normal—it means the sugar has caramelized slightly, adding flavor.
📜 History
Condensed milk dates back to the 19th century when it was developed as a way to preserve milk without refrigeration. It became widely popular thanks to its long shelf life and use in military rations and baking.
Over time, it evolved into a beloved ingredient in global desserts—from American pies to Latin American treats like dulce de leche and Asian milk-based sweets.
🔬 Formation (What’s Happening Chemically)
As the milk heats:
- Water evaporates, concentrating the milk solids
- Sugar thickens the mixture and acts as a preservative
- Gentle caramelization enhances flavor and color
- Proteins and fats create that signature creamy texture
The baking soda slightly neutralizes acidity, helping prevent curdling and improving smoothness.
❤️ Who Loves This Recipe?
- Home bakers looking for a budget-friendly alternative
- Dessert lovers who want richer, fresher flavor
- Families making sweets from scratch
- Anyone avoiding preservatives in store-bought products
🍰 Ways to Use Homemade Condensed Milk
- Drizzle over pancakes or waffles
- Add to coffee or tea for a creamy boost
- Use in cakes, cookies, and fudge
- Make caramel (dulce de leche)
- Mix into ice cream or milkshakes
🧠 Extra Methods & Variations
🥥 Dairy-Free Version
Use coconut milk instead of regular milk for a vegan option.
🍯 Natural Sweetener Option
Replace sugar with honey or maple syrup (flavor will change slightly).
⚡ Quick Blender Method (Alternative)
Blend powdered milk, sugar, and hot water for an instant version (texture differs but works in a pinch).
🏁 Conclusion
Homemade condensed milk is proof that simple ingredients can create something truly special. It’s rich, versatile, and incredibly satisfying to make from scratch. Whether you’re baking, drizzling, or sipping, this creamy staple will quickly become a favorite in your kitchen.
Once you master it, you’ll always have a fresh, delicious substitute ready—no cans required!
If you want, I can also give you a dulce de leche version using this condensed milk or turn it into a dessert recipe 🍮