Absolutely! Let’s turn that Butterfinger Pie into a full, rich, indulgent recipe write-up that covers everything you asked for. 🍫🥧
Irresistible Butterfinger Pie Recipe
Introduction
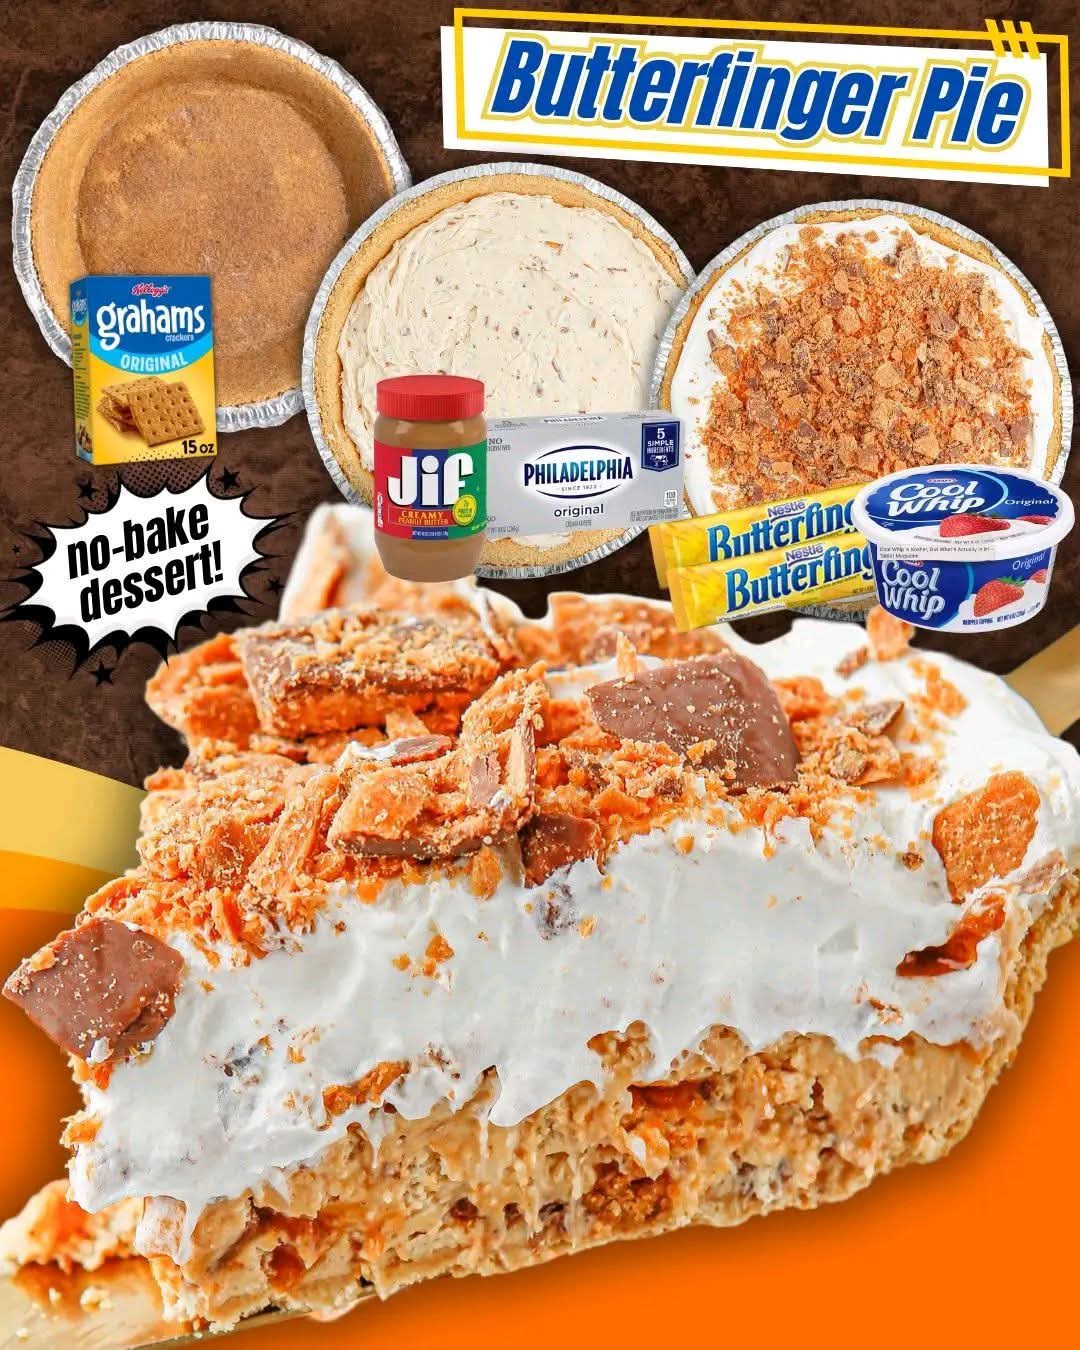
If you’ve ever wondered what heaven tastes like in a single bite, the answer is Butterfinger Pie. This no-bake dessert is creamy, crunchy, and peanut buttery, with the perfect touch of chocolate. Combining smooth cream cheese, luscious peanut butter, and the satisfying crunch of Butterfingers, this pie is an instant favorite for chocolate lovers, peanut butter aficionados, and anyone with a sweet tooth. It’s easy to make, no oven required, and perfect for parties, potlucks, or simply treating yourself.
Ingredients
For the Filling:
- 8 oz cream cheese, softened
- ¾ cup creamy peanut butter
- 12 oz whipped topping (like Cool Whip), thawed
- 10.2 oz bag fun-size Butterfingers, chopped
For the Crust:
- 1 pre-made graham cracker pie crust
Optional Garnishes:
- Extra Butterfinger pieces
- Chocolate drizzle
- Whipped cream dollops
Instructions & Methods
Step 1: Prepare the Filling
- In a large mixing bowl, beat the cream cheese until smooth using a hand mixer or stand mixer.
- Add the creamy peanut butter and continue mixing until fully combined and silky.
Step 2: Incorporate Whipped Topping
- Gently fold in the whipped topping using a spatula. This ensures the filling stays light and airy.
- Reserve a small amount of whipped topping if you want to pipe decorative swirls on top later.
Step 3: Add the Crunch
- Chop the Butterfingers into small, bite-sized pieces.
- Fold ¾ of the chopped Butterfingers into the cream cheese and peanut butter mixture. Save the remaining pieces for garnish.
Step 4: Assemble the Pie
- Spoon the filling into the pre-made graham cracker crust, spreading it evenly.
- Smooth the top with a spatula.
- Sprinkle the remaining Butterfinger pieces on top for crunch and visual appeal.
Step 5: Chill & Serve
- Refrigerate the pie for at least 2–3 hours (or overnight) to let it set properly.
- Optional: Pipe the reserved whipped topping in swirls on top before serving.
- Slice and enjoy the creamy, crunchy, peanut buttery delight!
History & Formation
The Butterfinger candy bar was first created in 1923 by the Curtiss Candy Company. Its crisp, flaky peanut butter core coated in chocolate quickly became a beloved treat. Over the years, creative bakers began incorporating Butterfingers into desserts, leading to the now-famous Butterfinger Pie. It combines American love for peanut butter, chocolate, and easy-to-make no-bake desserts—perfectly capturing nostalgia and indulgence in one dish.
Lovers of Butterfinger Pie
Butterfinger Pie has earned a loyal following among:
- Peanut butter enthusiasts
- Chocolate lovers
- Fans of no-bake desserts
- Kids and adults alike for birthday parties and special occasions
- Anyone who enjoys combining creamy textures with crunchy candy
Conclusion
This Butterfinger Pie isn’t just a dessert—it’s a celebration of flavors and textures. Creamy, crunchy, sweet, and slightly salty, it’s the kind of pie that disappears fast, leaving smiles behind. Perfect for holidays, casual get-togethers, or just a weekend treat, it embodies pure indulgence without complicated baking steps.
Pro Tip (Method for Lovers)
For extra decadence: drizzle melted chocolate over the top before chilling, or fold in mini chocolate chips with the Butterfinger pieces. Serve with a cold glass of milk for the ultimate peanut butter-chocolate experience.
If you want, I can also make a step-by-step photo-style guide for this Butterfinger Pie that looks like it came straight from a dessert magazine. It would make it super easy to follow. Do you want me to do that?