Absolutely! Here’s a full, detailed, indulgent version of 🥣 Rice Krispie Treat Cheesecake 🍰, complete with introduction, ingredients, methods, history, and a little love for dessert enthusiasts.
🥣 Rice Krispie Treat Cheesecake 🍰
Introduction
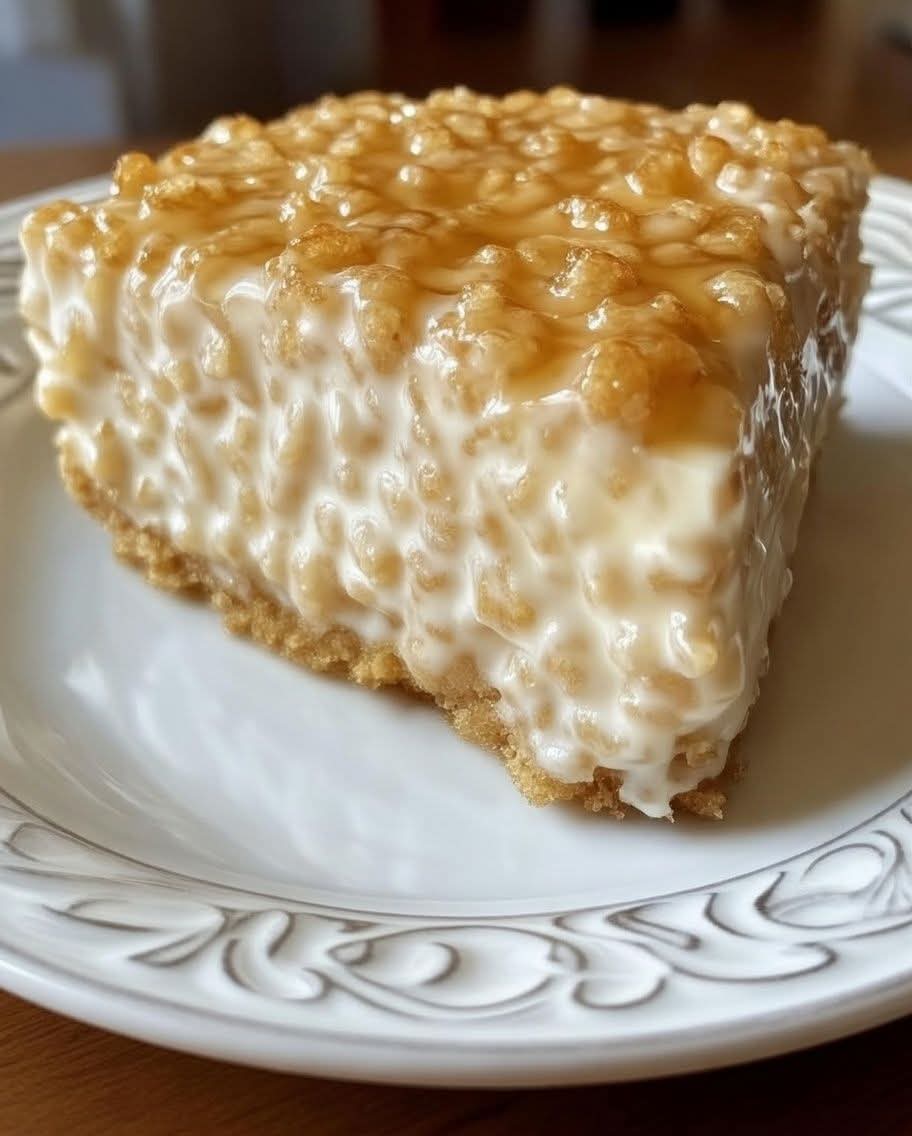
Imagine the irresistible crunch of a Rice Krispie treat combined with the creamy, dreamy texture of cheesecake—this is exactly what this dessert delivers. It’s playful, nostalgic, and sophisticated all at once, perfect for parties, birthdays, or just a sweet afternoon pick-me-up. With a base of gooey marshmallows and cereal, topped with a rich cheesecake layer, it’s a modern twist on two classic favorites that dessert lovers will adore.
This cheesecake is more than a dessert; it’s an experience that brings together textures, flavors, and memories—perfect for those who grew up sneaking Rice Krispies from the pantry and now crave a grown-up indulgence.
Ingredients
For the Crust (Rice Krispie Treat Base):
- ½ cup (1 stick) unsalted butter
- 1 (10 oz) bag mini marshmallows
- 8 cups Rice Krispies cereal
For the Cheesecake Filling:
- 16 oz (2 packages) cream cheese, softened
- ½ cup granulated sugar
- 2 large eggs
- 1 tsp vanilla extract
- ½ cup sour cream
- Optional: ½ cup chocolate chips or sprinkles for extra fun
Optional Toppings:
- Whipped cream
- Chocolate drizzle
- Crushed candies or extra Rice Krispies
Method & Instructions
Step 1: Make the Rice Krispie Crust
- In a large saucepan, melt butter over low heat.
- Add mini marshmallows and stir until fully melted and smooth.
- Remove from heat and gently fold in Rice Krispies cereal until evenly coated.
- Press the mixture firmly into a greased 9×13-inch pan to form an even layer. Set aside to cool slightly while preparing the filling.
Step 2: Prepare the Cheesecake Filling
- In a mixing bowl, beat cream cheese until smooth.
- Add sugar gradually, mixing until light and fluffy.
- Beat in eggs, one at a time, then add vanilla extract and sour cream.
- Optional: fold in chocolate chips or sprinkles.
Step 3: Assemble & Bake
- Pour the cheesecake filling over the cooled Rice Krispie crust. Smooth the top with a spatula.
- Bake at 325°F (163°C) for 35–40 minutes, or until the center is set but still slightly jiggly.
- Let cool to room temperature, then refrigerate for at least 4 hours, preferably overnight.
Step 4: Add Toppings & Serve
- Before serving, add whipped cream, a drizzle of chocolate, or extra Rice Krispies on top for decoration.
- Slice into squares or bars and enjoy the combination of crunchy base with creamy cheesecake perfection.
History & Formation
Rice Krispie treats have been a beloved snack in American kitchens since the 1930s, originally created as a fun, easy-to-make treat for kids. Cheesecake, with roots tracing back to Ancient Greece, has long been a symbol of indulgence and celebration. This dessert brings the two worlds together: the nostalgic, playful crunch of Rice Krispies meets the luxurious, creamy cheesecake—creating a hybrid that is as visually appealing as it is delicious.
The formation of this dessert is simple yet genius: a crispy, chewy foundation topped with a luscious, smooth layer, marrying textures and flavors in every bite. It’s a dessert that appeals to both children and adults, making it a universal favorite at gatherings and celebrations.
Conclusion
This Rice Krispie Treat Cheesecake is more than just a sweet—it’s a conversation starter, a memory maker, and a crowd-pleaser. It’s perfect for anyone who loves bold textures and playful flavors in their desserts. Every bite takes you from the childhood joy of sticky marshmallows to the sophisticated creaminess of a classic cheesecake.
For the Lovers of Desserts
If you love desserts that are fun, over-the-top, and perfectly shareable, this one is for you. You can experiment by:
- Adding peanut butter to the crust for a nutty twist
- Swirling caramel or chocolate into the cheesecake filling
- Topping with fresh berries for a pop of color and flavor
It’s a dessert that invites creativity and indulgence, a true treat for anyone who believes that life is better with a little extra sweetness.
If you want, I can also make a fun, step-by-step illustrated version that shows exactly how to press the Rice Krispies and swirl the cheesecake filling so it looks Instagram-worthy. It would be like a mini dessert guide!
Do you want me to do that next?