Here is a comprehensive, big-format recipe for Ultra-Crispy Southern Fried Chicken, designed to be a complete guide. I have expanded on the provided ingredient list, turning it into a masterclass in fried chicken.
—
The Ultimate Guide to Ultra-Crispy Southern Fried Chicken
Introduction
There is fried chicken, and then there is Crispy Southern Fried Chicken—the kind with a shatteringly crisp, golden-brown crust that gives way to juicy, tender meat. This isn’t just a meal; it’s a ritual, a celebration, and a cornerstone of comfort food. The secret lies not just in the ingredients, but in the patience of the brine and the chemistry of the dredge. This recipe elevates the classic method to ensure every bite is perfectly seasoned from the skin to the bone. Whether you’re a seasoned cook or a first-timer, this guide will give you the tools to create a legendary dish that will have everyone asking for the recipe.
—
History: A Global Staple
While the modern version of fried chicken is deeply rooted in the American South, its origins are global. The technique of frying chicken dates back to medieval Europe and was brought to the American South by Scottish immigrants. However, it was West African cooks—many of whom were enslaved—who revolutionized the dish. They introduced the art of seasoning the meat deeply, using robust spices, and perfecting the technique of frying in fat. Over generations, this fusion of Scottish technique and West African flavor became the soul food staple we know and love today: a symbol of family, resilience, and unparalleled culinary heritage.
—
Benefits: More Than Just Comfort Food
While undeniably indulgent, homemade fried chicken offers several benefits over takeout:
· Quality Control: You choose the ingredients—fresh, high-quality chicken and pure oils.
· No Preservatives: You avoid the additives, excessive sodium, and MSG often found in fast-food versions.
· Customizable: You control the spice level, the seasoning, and the crispiness.
· Mental Well-being: The process of cooking a cherished meal for loved ones is a therapeutic act of love and creates lasting memories.
—
Formation: The Science of Crispy
The “formation” of the perfect crust is a chemical marvel. It relies on three key elements:
1. The Buttermilk Brine: The acid in buttermilk tenderizes the chicken by breaking down proteins. It also creates a tacky surface that acts as a glue for the flour coating.
2. The Double-Dredge: Coating the chicken in seasoned flour, then back into the buttermilk, then into the flour again creates craggy, textured layers. These layers expand upon hitting the hot oil, creating that signature crispy, scaly crust.
3. The Oil Temperature: A precise temperature (325°F-350°F) is crucial. Too low, and the chicken absorbs oil and becomes greasy. Too high, and the crust burns before the inside cooks through.
—
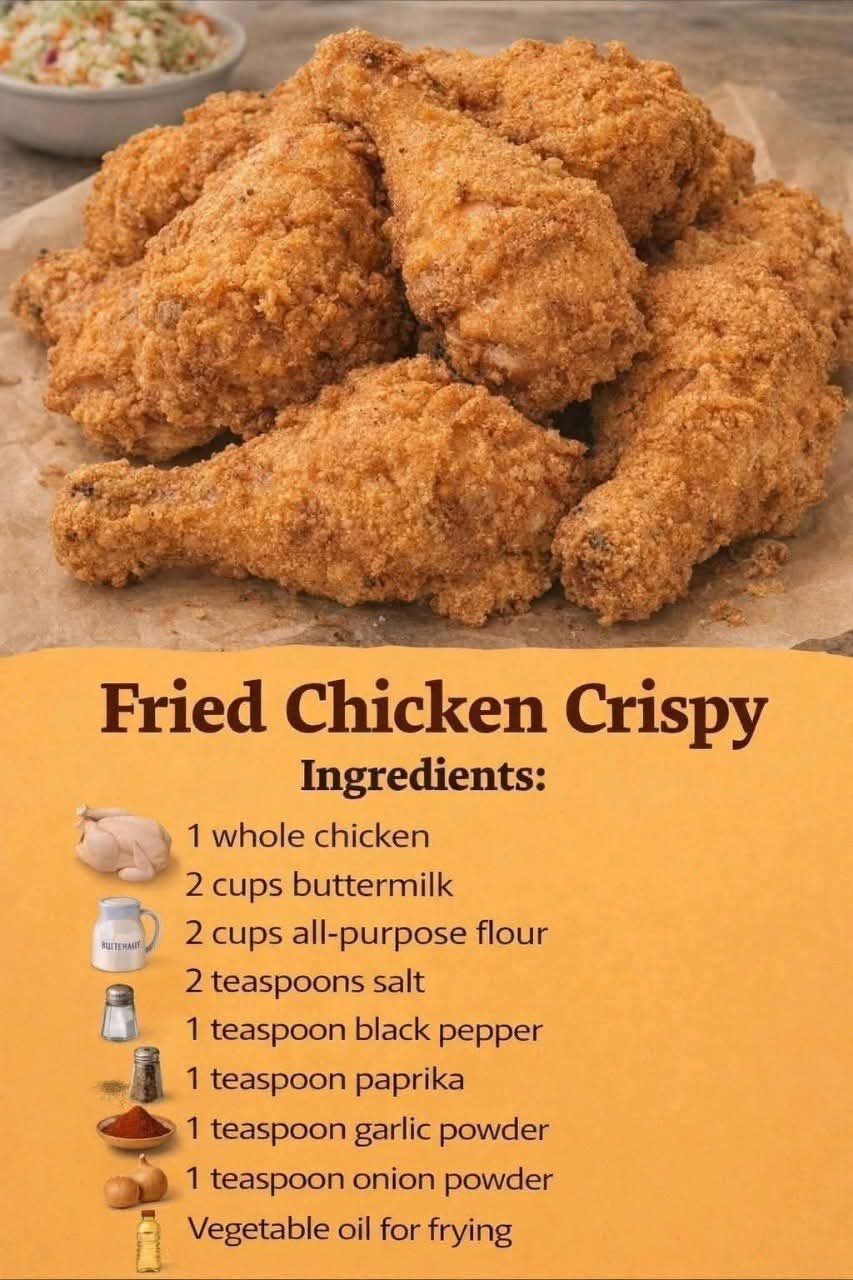
Ingredients
For the Chicken & Brine:
· 1 whole chicken (3.5–4 lbs), cut into 8-10 pieces (breasts, thighs, drumsticks, wings)
· 2 cups buttermilk (full-fat for best results)
· 1 tablespoon hot sauce (optional, but recommended for flavor and acidity)
For the Seasoned Flour:
· 2 cups all-purpose flour
· ½ cup cornstarch (the secret ingredient for extra crispiness!)
· 1 tablespoon salt (kosher or sea salt)
· 1 tablespoon freshly ground black pepper
· 1 tablespoon paprika (smoked or sweet)
· 2 teaspoons garlic powder
· 2 teaspoons onion powder
· 1 teaspoon cayenne pepper (or more to taste)
· 1 teaspoon baking powder (helps create a lighter, crispier crust)
For Frying:
· Peanut oil, vegetable oil, or canola oil (enough to come 2 inches up the side of a heavy-bottomed pot or Dutch oven)
—
Instructions: The Method
Step 1: The Brine (The Night Before)
In a large bowl or resealable plastic bag, combine the buttermilk and hot sauce. Add the chicken pieces, ensuring they are fully submerged. Cover and refrigerate for at least 4 hours, but ideally 12-24 hours. This is non-negotiable for tender, flavorful meat.
Step 2: The Dredge
In a large, shallow dish or a paper bag, whisk together the flour, cornstarch, salt, pepper, paprika, garlic powder, onion powder, cayenne, and baking powder. This mixture is your flavor armor.
Step 3: Prepare for Frying
Remove the chicken from the refrigerator. Let it sit at room temperature for 20-30 minutes to take the chill off—this ensures even cooking. Set up a wire rack over a baking sheet to place the dredged chicken.
Step 4: The Double-Dredge
Working with one piece at a time:
1. Remove the chicken from the buttermilk, letting the excess drip off.
2. Dredge it in the seasoned flour mixture, pressing firmly to coat all sides.
3. Dip it back into the buttermilk for a quick second.
4. Dredge a final time in the flour, pressing the flour into the chicken to create craggy bits. Place on the wire rack. Let the coated chicken rest for 15-20 minutes. This allows the coating to set, preventing it from falling off in the oil.
Step 5: The Fry
1. In a large, heavy-bottomed Dutch oven or cast-iron skillet, heat 2 inches of oil to 325°F (165°C) . Use a deep-fry thermometer for accuracy.
2. Fry the chicken in batches—do not overcrowd the pan. Overcrowding will drop the oil temperature drastically.
· Dark meat (thighs, drumsticks): Fry for 12-14 minutes.
· White meat (breasts, wings): Fry for 8-10 minutes.
3. Maintain an oil temperature between 300°F and 325°F. The internal temperature of the chicken should reach 165°F (74°C) .
4. Remove the cooked chicken to a clean wire rack set over a baking sheet. Do not drain on paper towels; this traps steam and makes the bottom soggy. A rack allows air to circulate, keeping the crust crisp.
—
Nutrition (Approximate per serving, 2 pieces)
· Calories: 650-800
· Protein: 45g
· Fat: 40g
· Carbohydrates: 35g
· Note: Nutritional values vary based on oil absorption and chicken piece.
—
Lovers: Who This Recipe is For
This recipe is for the purists who believe in doing things the right way. It’s for the Sunday dinner traditionalists, the home cooks looking to impress, and the flavor-seekers who crave that perfect balance of spice, salt, and texture. It’s for anyone who believes that food made with patience and love is the best kind of food.
—
Conclusion: Your Invitation to Crispy Perfection
This recipe is more than a list of ingredients; it’s an invitation to slow down and create something extraordinary. By honoring the history, respecting the method, and taking the time to brine and double-dredge, you are not just making fried chicken—you are crafting an experience. The reward is a piece of chicken so perfectly crispy, so juicy, and so flavorful that it will become a requested staple in your home.
Don’t lose this recipe. Save it, share it, and make it your own. Now, go get that crispy perfection! 🍗✨
—
Thank you for following along! For more recipes like this, be sure to check the comments and follow for future culinary deep-dives.