Here is a comprehensive guide to Homemade Vanilla Ice Cream, presented with all the sections you requested.
—
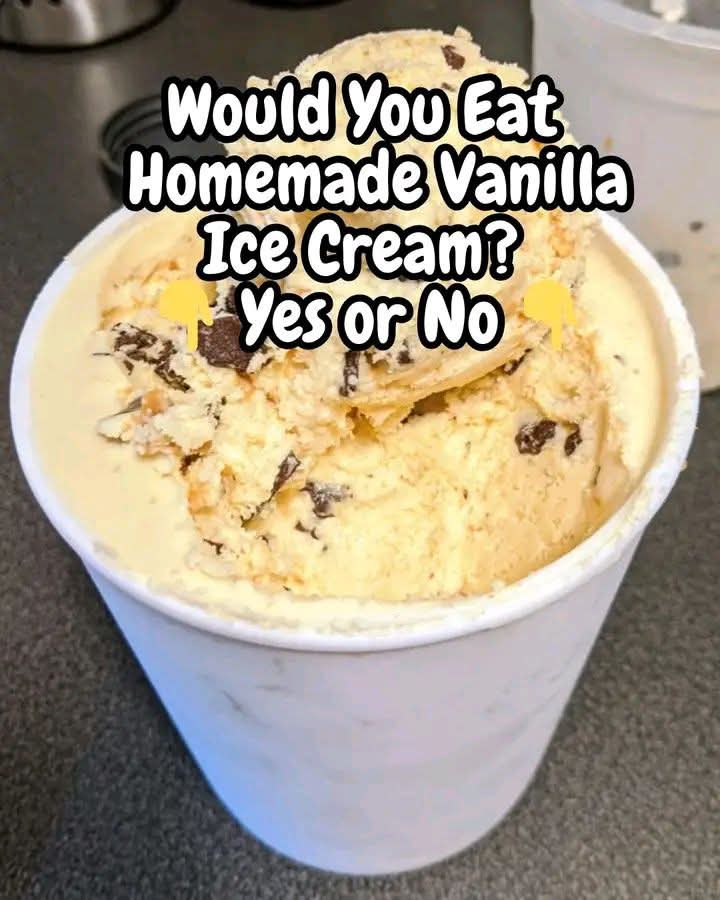
The Timeless Art of Homemade Vanilla Ice Cream
Introduction
There is perhaps no dessert more universally beloved or more steeped in tradition than vanilla ice cream. While the frozen aisles of supermarkets offer countless variations, nothing compares to the experience of making it from scratch at home. The process is a simple act of culinary alchemy, transforming a few humble ingredients into a luxuriously creamy, velvety frozen custard. This recipe is for the purist, focusing on the deep, resonant flavor of real vanilla to create a dessert that is both profoundly simple and simply profound. It’s a journey back to a time when desserts were crafted with patience and care, resulting in a flavor that no factory can replicate.
The History of Ice Cream
The origins of ice cream are a delicious tapestry woven through centuries. Ancient civilizations, from the Persians to the Romans, enjoyed chilled treats made with snow and ice from mountaintops, mixed with fruit juices and honey. The evolution towards the dairy-based dessert we know today began in Asia. It is said that the Tang Dynasty (618–907 AD) had a method of creating icy milk-based concoctions. The technique spread to Europe via Marco Polo and other explorers. By the 17th century, iced desserts had become a symbol of status and wealth among the European aristocracy. The first recorded recipe for ice cream in English appeared in 1718. Vanilla, originally from Mexico, was introduced to Europe by Spanish conquistadors and quickly became a prized flavor. It was Thomas Jefferson who famously helped popularize ice cream in America, even leaving behind his own handwritten recipe for vanilla ice cream. What was once a luxury for the elite is now a simple pleasure we can all enjoy.
The Benefits of Homemade (Beyond the Taste)
Why go to the trouble of making your own ice cream? The benefits extend far beyond the incredible flavor:
1. Ingredient Control: You know exactly what is going into your dessert. No high-fructose corn syrup, no artificial stabilizers, no “natural flavors” that are anything but. It’s just real, simple food.
2. Customization: This recipe is a perfect canvas. You can use different types of vanilla (Madagascar, Tahitian, Mexican), infuse the milk with herbs (like mint or lavender), or create a “mix-in” masterpiece by folding in chocolate chips, crushed cookies, or fresh fruit after churning.
3. Unmatched Flavor: The difference between homemade and store-bought is night and day. The creaminess is purer, the vanilla is more aromatic and authentic, and the overall experience is more satisfying.
4. A Culinary Experience: Making ice cream is a rewarding project. It connects you to a rich culinary tradition and fills your home with the comforting scent of vanilla.
The Science of Formation: How It Works
The magic of ice cream lies in the delicate balance of its components and the process of freezing.
· Fat: The heavy cream provides fat, which is crucial for a rich texture and smooth mouthfeel. Fat globules trap air during churning, creating the structure.
· Sugar: Sugar does more than just sweeten. It lowers the freezing point of the mixture. This is why ice cream remains scoopable and doesn’t freeze into a solid, icy brick. It also adds viscosity to the base.
· Air: The churning process incorporates air into the mixture, a concept known as “overrun.” This air is what makes ice cream light and fluffy rather than a dense, hard block of frozen cream.
· Ice Crystals: As the mixture freezes, water forms tiny ice crystals. The goal is to keep these crystals as small as possible. The constant motion of churning prevents large ice crystals from forming, ensuring a smooth, creamy final product.
Ingredients
· 2 cups heavy cream (provides richness and fat for a smooth texture)
· 1 cup whole milk (adds a lighter dairy component and helps with the liquid base)
· ¾ cup granulated sugar (sweetens and lowers the freezing point)
· 1 tablespoon pure vanilla extract (the star of the show; use the best quality you can find)
Lovers of Vanilla Ice Cream
Who doesn’t love vanilla ice cream? It is the great equalizer of the dessert world. It is loved by:
· The Purist: For those who appreciate the subtle, complex, and floral notes of a high-quality vanilla bean.
· The Adventurous Eater: As a perfect, neutral base for creating elaborate sundaes, affogatos, or milkshakes.
· The Child in All of Us: For the simple, nostalgic joy of a creamy, sweet, and comforting scoop.
· The Chef: As an indispensable component of more complex desserts like warm apple pie à la mode or a rich, molten chocolate cake.
Methods: Two Paths to Perfection
The Classic Method (with an Ice Cream Maker):
1. Prepare the Base: In a large bowl, whisk together the heavy cream, whole milk, granulated sugar, and pure vanilla extract. Whisk vigorously for 1-2 minutes until the sugar is completely dissolved. You shouldn’t feel any graininess when you rub a little of the mixture between your fingers.
2. Chill the Base: This step is critical. Cover the bowl and refrigerate the mixture for at least 2-4 hours, or ideally overnight. A thoroughly chilled base will churn faster and result in a smoother texture with smaller ice crystals.
3. Churn: Pour the chilled mixture into your ice cream maker and churn according to the manufacturer’s instructions. This usually takes 20-25 minutes. The mixture will transform from a liquid into a soft-serve consistency.
4. Harden: Transfer the soft ice cream into an airtight, freezer-safe container. Press a piece of parchment paper directly onto the surface of the ice cream to prevent ice crystals from forming. Seal with a lid and freeze for at least 4 hours, or until firm.
The No-Machine (Freezer Bag) Method:
1. Prepare the Base: Follow step 1 from the Classic Method. Pour the mixture into a small, sturdy, sealable freezer bag (like a quart-size bag). Squeeze out all the air and seal it tightly. Place this small bag inside a larger, gallon-size freezer bag.
2. Make the Ice Pack: Fill the large gallon-size bag with ice and add about 1/2 cup of rock salt (or coarse salt). The salt lowers the temperature of the ice, causing it to melt and absorb heat from the ice cream mixture.
3. Get Active! Seal the large bag and start shaking, massaging, and tossing it vigorously. Wear gloves or wrap it in a towel to protect your hands from the cold. After 10-15 minutes of consistent motion, check the small bag. The mixture should have thickened to a soft-serve consistency.
4. Serve Immediately: Carefully remove the small bag, rinse off any salt residue, and scoop the ice cream directly into bowls. The texture is best enjoyed right away with this method.
Nutritional Information (Approximate, per serving)
(Serving size: approx. ½ cup, based on 8 servings)
· Calories: 320-350
· Fat: 24g (Saturated Fat: 15g)
· Carbohydrates: 24g
· Protein: 3g
· Sugar: 23g
· Calcium: 80mg
(Note: This is an estimate and can vary based on specific ingredient brands.)
Conclusion
Making homemade vanilla ice cream is more than just following a recipe; it is an act of creation. It is a testament to the fact that the most extraordinary pleasures often come from the simplest of beginnings. With just four ingredients and a little bit of patience, you can create a dessert that is far greater than the sum of its parts. It is a cool, creamy, and timeless classic that will impress your family and friends, offering a taste of pure, unadulterated joy in every single bite. So, grab your ingredients, choose your method, and discover the magic for yourself.