Here is a comprehensive and detailed guide to making an Old Fashioned Chocolate Pie, complete with everything you requested.
—
The Quintessential Old Fashioned Chocolate Pie 🍫🥧
A Love Letter to Simplicity
There are desserts, and then there are desserts. The Old Fashioned Chocolate Pie belongs firmly in the second category. It’s not a mousse, not a ganache, and certainly not a fussy, modern deconstruction. It is a humble, soul-satisfying classic that tastes like a warm hug from the inside. This recipe is a cherished heirloom for a reason: its rich, velvety chocolate pudding filling, nestled in a buttery, flaky crust, is pure, unadulterated comfort. Passed down through generations, this pie is a testament to the fact that the most profound pleasures often come from the simplest ingredients, combined with a little bit of love and patience. Don’t you dare lose this recipe—your future self, and everyone you share it with, will thank you.
—
A Bite of History: The All-American Classic
The story of the chocolate pie is intertwined with the history of American home baking. While custards and tarts have existed for centuries, the “cream pie” as we know it became popular in the late 19th and early 20th centuries. This era saw the rise of cornstarch as a reliable thickening agent, which allowed home cooks to create silky, stable pudding fillings without the need for lengthy baking.
Cookbooks from the 1800s began featuring recipes for “Chocolate Cream Pie,” a close cousin to our Old Fashioned version. It was a practical and affordable luxury—using pantry staples like milk, sugar, and cocoa powder to create a dessert that felt incredibly special. It became a staple on farmhouse tables, at church potlucks, and in diners across the country. This pie isn’t just a dessert; it’s a slice of American culinary heritage.
—
Why You’ll Fall in Love (The Lovers’ Perspective)
· The Texture Lover: You will adore the incomparably smooth, velvety, and lush mouthfeel of the stovetop pudding. It’s the perfect balance between firm enough to slice and soft enough to melt on your tongue.
· The Chocolate Lover: This isn’t a faint, milky chocolate. The combination of unsweetened cocoa powder and a touch of butter creates a deep, rich, and intensely chocolatey flavor that is both sophisticated and nostalgic.
· The Nostalgia Lover: One bite will transport you back to your grandmother’s kitchen, to childhood birthdays, and to the simple joy of a homemade dessert. It’s a taste of memory.
· The Simple-Living Lover: You’ll appreciate that this magnificent dessert requires no complicated techniques, no electric mixer, and no fancy ingredients. It’s a testament to the beauty of doing a few things well.
—
The Tools of the Trade (Utensils)
· Medium-sized mixing bowl
· Whisk
· Large, heavy-bottomed saucepan
· Rubber spatula or wooden spoon
· Measuring cups and spoons
· Fine-mesh sieve (optional, but recommended for ultimate smoothness)
· 9-inch pre-baked pie crust
· Wire cooling rack
—
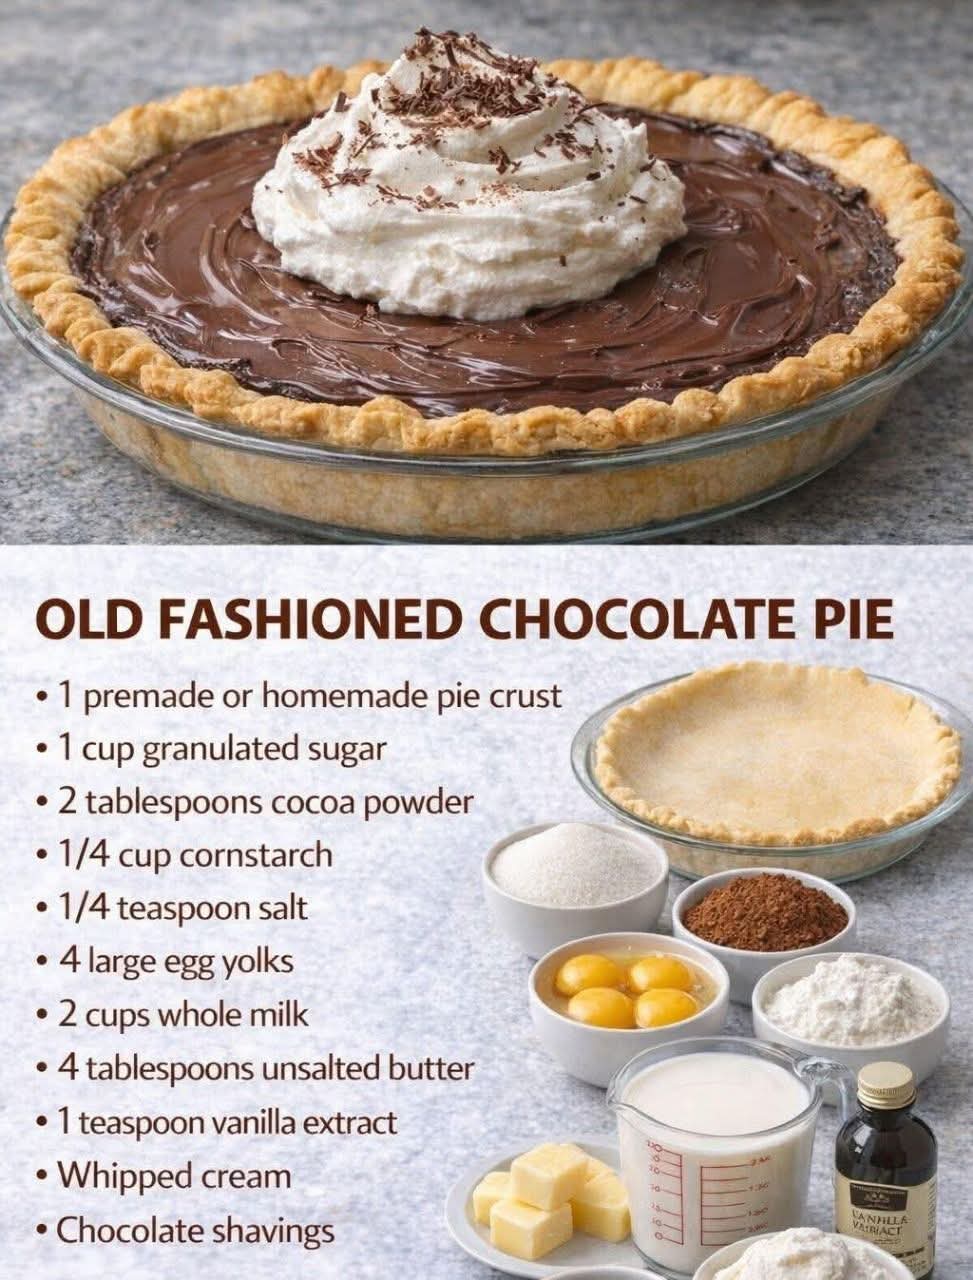
The Star Players (Ingredients)
· 1 ½ cups granulated sugar: Provides the essential sweetness that balances the bitter cocoa.
· ⅓ cup unsweetened cocoa powder: The heart and soul of the pie. Use a high-quality brand for the deepest flavor.
· ¼ cup cornstarch (or ⅓ cup all-purpose flour): The thickening agent. Cornstarch gives a glossier, more translucent set, while flour creates a slightly more opaque, pudding-like texture. Both are authentic.
· ¼ teaspoon salt: A crucial ingredient that enhances the chocolate flavor and balances the sweetness.
· 3 cups whole milk: For the richest, creamiest result, whole milk is non-negotiable. It provides the fat and body needed for that luxurious texture.
· 3 large egg yolks: These add richness, color, and help with thickening, creating a true “stirred custard.”
· 2 tablespoons unsalted butter: Adds a final touch of richness, shine, and a velvety smooth mouthfeel.
· 1 teaspoon pure vanilla extract: Enhances all the other flavors, adding warmth and depth.
· 1 pre-baked (blind-baked) 9-inch pie crust: A classic pastry crust or a crumbly graham cracker crust both work beautifully.
—
The Method: A Step-by-Step Guide to Perfection
1. Mise en Place & Prepare the Yolks: In your medium mixing bowl, gently whisk the three large egg yolks. Set them aside. This step is vital to prevent scrambling them later when we add the hot milk.
2. Whisk the Dry Ingredients: In your large, heavy-bottomed saucepan, combine the sugar, cocoa powder, cornstarch, and salt. Whisk them together thoroughly until no lumps of cocoa remain. This ensures a smooth filling.
3. Incorporate the Milk: Gradually pour about ½ cup of the cold milk into the dry ingredients and whisk to form a thick, smooth paste. This is called a “slurry” and prevents lumps from forming. Once smooth, slowly whisk in the remaining milk until everything is well combined.
4. Cook the Pudding Base: Place the saucepan over medium heat. Cook, stirring constantly with your spatula or wooden spoon, paying special attention to the corners of the pan. This is the most important step! Constant stirring prevents the mixture from scorching and ensures even thickening. After about 5-8 minutes, the mixture will begin to thicken and will eventually come to a gentle bubble. Once it’s bubbling, cook and stir for exactly one full minute to cook out the starchiness.
5. Temper the Egg Yolks: Remove the saucepan from the heat. Now, we need to gently raise the temperature of the egg yolks so they don’t scramble. While whisking the yolks constantly, slowly drizzle about 1 cup of the hot chocolate mixture into them. This is tempering.
6. Combine and Finish Cooking: Pour the tempered yolk mixture back into the saucepan with the rest of the hot pudding. Return the pan to medium heat and bring it back to a gentle bubble, stirring constantly. Cook for another 1-2 minutes, until it is very thick. You’ll feel it become heavy on the spoon.
7. The Final Enrichment: Remove the pan from the heat. Stir in the butter and vanilla extract, mixing until the butter is completely melted and incorporated. For an even silkier texture, you can now pour the filling through a fine-mesh sieve into a bowl to catch any potential tiny lumps.
8. Fill the Crust: Pour the hot, glorious filling directly into your pre-baked pie crust. Gently shake the pie or tap it on the counter to settle the filling evenly.
9. Prevent a Skin: To prevent a skin from forming on the surface as it cools, press a piece of plastic wrap directly onto the surface of the warm filling. This is essential for a perfect texture.
10. Chill to Perfection: Place the pie on a wire rack to cool to room temperature. Once cool, transfer it to the refrigerator and chill for at least 4-6 hours, or preferably overnight. This allows the pie to fully set.
—
The Grand Finale: Serving & Presentation
Once thoroughly chilled and set, the pie is ready for its debut. Remove the plastic wrap. For a classic touch, you can top it with a generous layer of lightly sweetened whipped cream, a classic meringue, or simply leave it bare to showcase its beautiful, shiny surface. Use a sharp knife, dipped in hot water and wiped dry, to slice clean pieces.
—
Nutritional Snapshot (Per Serving – Approximate)
Note: This is an estimate and will vary based on specific ingredients and crust.
· Calories: ~450-550
· Fat: ~20-25g
· Carbohydrates: ~60-70g
· Protein: ~8-10g
—
A Final Word (Conclusion)
This Old Fashioned Chocolate Pie is more than a recipe; it’s an experience. It’s the joy of stirring a pot and watching simple ingredients transform into magic. It’s the anticipation as it chills in the fridge. And it’s the pure, unadulterated bliss of that first perfect bite. It’s a dessert made for sharing, for celebrating, and for reminding ourselves of the sweet, simple things in life. Go on, make one. And remember, don’t lose this recipe.