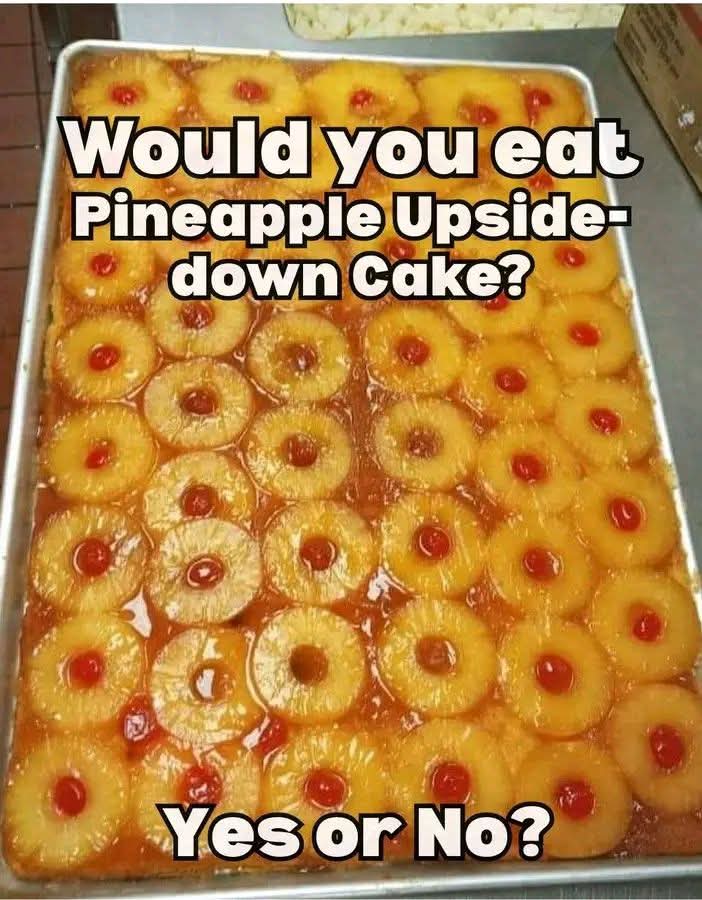
Here is a comprehensive guide to the cake that graced tables from the 1950s through the 1970s: the legendary Pineapple Upside-Down Cake.
This recipe is a complete package, including its history, a detailed method, nutritional information, and why it remains a beloved classic.
—
The Sunshiny Classic: Pineapple Upside-Down Cake
Introduction
If you grew up in the 50s, 60s, or 70s, this cake isn’t just a dessert; it’s a time machine. It’s the glistening, caramelized centerpiece of church potlucks, family reunions, and Sunday dinners. With its signature ring of golden pineapple, a bright maraschino cherry in each slice, and a moist, buttery yellow cake, the Pineapple Upside-Down Cake is a nostalgic icon of mid-20th-century America. It was a showstopper that, thanks to the magic of canned pineapple, felt both special and achievable for the home baker. Today, we’re not just making a cake; we’re baking a piece of history.
The History
While the concept of “upside-down” cakes has existed for centuries (cooked in skillets over open fires), the version we know and love was born in the 1920s. The Hawaiian Pineapple Company (now known as Dole) was looking for creative ways to increase canned pineapple consumption. They held a contest for pineapple recipes, and the upside-down cake became a national sensation. It remained a staple through the Great Depression and WWII due to the availability of canned goods. However, it reached its peak of popularity in the prosperous 1950s and 60s, becoming a symbol of suburban comfort and convenience.
—
The Formation & Method
This cake is unique because the topping is placed in the pan before the batter. During baking, the butter, brown sugar, and pineapple juices meld together to create a rich, sticky caramel. When the cake is inverted, the topping becomes a beautiful, glossy crown.
Yields: One 9-inch or 10-inch cake (8-10 servings)
Prep time: 20 minutes
Cook time: 40-45 minutes
Ingredients
For the Topping:
· 1/4 cup (60g) unsalted butter
· 1 cup (200g) packed light brown sugar
· 1 can (20 oz / 567g) pineapple slices in juice (not syrup, for best results)
· 10-12 maraschino cherries (without stems)
For the Cake:
· 1 1/2 cups (190g) all-purpose flour
· 1 teaspoon baking powder
· 1/4 teaspoon salt
· 1/2 cup (115g) unsalted butter, softened
· 3/4 cup (150g) granulated sugar
· 2 large eggs, at room temperature
· 1 teaspoon vanilla extract
· 1/2 cup (120ml) reserved pineapple juice (from the can)
—
Instructions / Method
1. Preheat and Prepare: Preheat your oven to 350°F (175°C). Open the can of pineapple slices over a bowl to reserve 1/2 cup of the juice. Pat the pineapple slices dry with a paper towel to remove excess moisture.
2. Create the Glaze: Place your 10-inch cast-iron skillet (or a 9-inch round cake pan) over low heat. Add the 1/4 cup of butter and let it melt. Sprinkle the brown sugar evenly over the melted butter. Stir gently with a fork until the sugar is combined and the mixture is bubbly. Remove from heat. (If using a cake pan, melt the butter in the microwave and pour it into the pan, then sprinkle with brown sugar).
3. Arrange the Topping: Place one pineapple slice in the center of the sugar mixture. Arrange the remaining slices around it in a concentric circle. Place a maraschino cherry in the center of each pineapple ring and in the center of any gaps along the edge.
4. Make the Cake Batter:
· In a medium bowl, whisk together the flour, baking powder, and salt.
· In a large bowl, using an electric mixer, beat the 1/2 cup of softened butter and granulated sugar until light and fluffy (about 3-5 minutes).
· Beat in the eggs, one at a time, then stir in the vanilla extract.
· Gradually add the flour mixture to the butter mixture, alternating with the reserved 1/2 cup of pineapple juice. Begin and end with the flour mixture. Mix until just combined—do not overmix.
5. Assemble and Bake: Carefully spoon the batter over the pineapple slices in the skillet and spread it evenly.
· Bake for 40 to 45 minutes, or until a toothpick inserted into the center of the cake comes out clean.
6. The Flip (Crucial Step!): Remove the cake from the oven and let it cool in the pan for only 5-10 minutes. This allows the caramel to set slightly. Run a knife around the edge of the pan to loosen the cake. Place a large serving plate (with a lip to catch any syrup) upside down over the skillet. Using oven mitts, grasp the skillet and plate firmly together and quickly invert them. Leave the pan in place for a minute to let all the caramel drizzle down onto the cake. Then, carefully lift the pan off. If any pineapple slices stick, just nudge them back into place with a spatula.
7. Serve: This cake is best served warm, often with a dollop of whipped cream or a scoop of vanilla ice cream.
—
The Lovers
This cake is for the nostalgic, the retro enthusiast, and anyone who appreciates simple, comforting desserts. It’s beloved by:
· The Church Potluck Queen: It was her guaranteed hit.
· The Mid-Century Modern Fan: It perfectly embodies the era’s aesthetic.
· The Home Baker: It requires no fancy decorating skills, yet yields a stunning result.
· Pineapple Fans: The fruit is the undeniable star of the show.
—
The Benefits (The “Retro” Rationale)
While not a health food, this cake does offer some… let’s call them “vintage virtues.”
· Mood Booster: It’s a “sunshine cake.” The bright colors and sweet, caramelized flavor are an instant pick-me-up.
· Comfort Food: It provides the profound psychological comfort of a classic, well-loved family recipe.
· Ingenuity: It’s a testament to the clever marketing and home-cooking ingenuity of its time, turning a canned good into a spectacular dessert.
· Contains Fruit: Well, technically, it has pineapple, which is a source of Vitamin C and manganese. (We’ll focus on the joy it brings!).
—
Nutrition (Per Serving – Approximate)
Note: This is an estimate and will vary based on specific ingredients.
· Calories: ~380-450
· Fat: ~15-20g
· Carbohydrates: ~60-70g
· Sugar: ~45-55g
· Protein: ~4-5g
—
Conclusion
The Pineapple Upside-Down Cake is more than just a recipe; it’s a cherished memory baked into existence. It represents a time of drive-in movies, formica tables, and the simple joy of a homemade dessert. Each bite offers a perfect harmony of buttery caramel, tangy-sweet pineapple, and soft cake. Whether you’re revisiting your childhood or discovering it for the first time, making this cake is a delicious way to connect with the past. So go ahead, preheat your oven, and take a delicious trip back in time. You won’t regret it.