Absolutely! Let’s make this Easter Chocolate Chip Cookie recipe big, festive, and full of detail—covering everything from history to methods, with some “cookie lovers’” flair sprinkled in. Here’s the full version:
🐣 Easter Chocolate Chip Cookies – A Celebration in Every Bite
Spring is here, the flowers are blooming, and the sweet scent of freshly baked cookies fills the kitchen. There’s something magical about Easter treats, and what better way to celebrate than with soft, chewy chocolate chip cookies, kissed with pastel colors that make every bite feel like a holiday hug? These Easter Chocolate Chip Cookies combine the classic comfort of chocolate chips with a playful, festive twist. Perfect for cookie exchanges, Easter baskets, or simply treating yourself! 🌸🍫
🌟 Ingredients
Dry Ingredients:
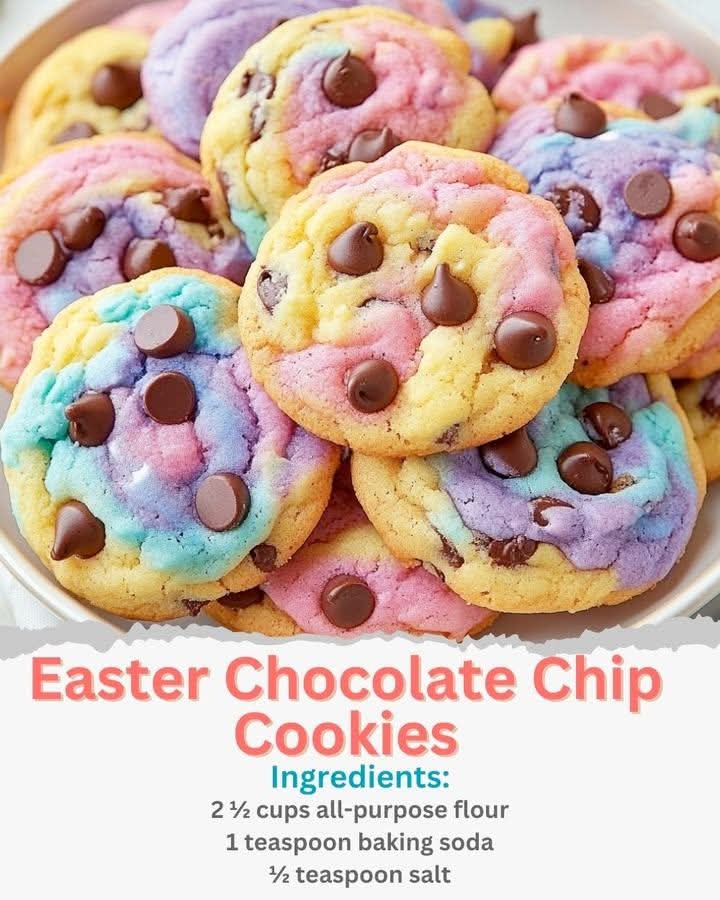
- 2 ½ cups all-purpose flour
- 1 teaspoon baking soda
- ½ teaspoon salt
Wet Ingredients:
- 1 cup unsalted butter, softened
- ¾ cup granulated sugar
- ¾ cup packed brown sugar
- 2 large eggs
- 2 teaspoons vanilla extract
Decorative & Fun Additions:
- Gel food coloring (pastel pink, purple, yellow, and blue)
- 2 cups chocolate chips
🥄 Instructions & Methods
1️⃣ Prep Your Kitchen
- Preheat your oven to 350°F (175°C).
- Line baking sheets with parchment paper or silicone baking mats.
- Set aside separate small bowls for pastel color mixing.
2️⃣ Mix the Dry Ingredients
- In a medium bowl, whisk together flour, baking soda, and salt until fully combined.
- Set aside.
3️⃣ Cream Butter and Sugars
- In a large bowl, beat the softened butter, granulated sugar, and brown sugar until light and fluffy (about 2-3 minutes with a hand or stand mixer).
- Add eggs, one at a time, beating well after each addition.
- Mix in vanilla extract.
4️⃣ Combine Wet & Dry Ingredients
- Gradually add the flour mixture to the butter mixture, mixing until just combined. Avoid overmixing—nobody likes tough cookies!
5️⃣ Divide and Color the Dough
- Divide dough evenly into four bowls.
- Add a drop or two of each gel food coloring to each bowl to create pastel pink, purple, yellow, and blue dough. Mix until the color is uniform.
6️⃣ Add Chocolate Chips
- Gently fold ½ cup chocolate chips into each colored dough portion.
7️⃣ Form the Cookies
- Scoop dough (about 2 tablespoons per cookie) onto prepared baking sheets.
- Lightly swirl two colors together in some cookies for a marbled pastel effect—playful and Easter-ready!
8️⃣ Bake to Perfection
- Bake for 10–12 minutes, or until edges are slightly golden but centers remain soft.
- Let cookies cool on the baking sheet for 5 minutes, then transfer to wire racks to cool completely.
📜 History & Formation
Chocolate chip cookies were invented in 1938 by Ruth Graves Wakefield at the Toll House Inn in Massachusetts. Originally, these cookies were a happy accident when she chopped up a Nestlé semi-sweet chocolate bar, expecting it to melt but instead it stayed in chunks—creating the first chocolate chip cookie. Over decades, this beloved cookie evolved into countless variations, including fun holiday twists like Easter-themed pastel versions. The combination of buttery dough, sweet chocolate, and colorful pastel hues makes these cookies a festive staple for spring celebrations.
🍪 Lovers’ Notes & Tips
- Texture Tip: For extra soft cookies, chill dough for 30 minutes before baking.
- Chocolate Lover’s Tip: Mix milk, dark, or white chocolate chips for more variety.
- Decorative Tip: Sprinkle tiny pastel sugar pearls or mini Easter candy on top before baking for extra flair.
- Storage: Store in an airtight container at room temperature for up to 5 days. Freeze dough for longer-lasting cookie magic.
🎉 Conclusion
Easter Chocolate Chip Cookies are more than just desserts—they’re a celebration of spring, color, and joy. Soft, chewy, and bursting with chocolate, each cookie brings a smile to cookie lovers of all ages. Whether you’re sharing them at a family gathering, hiding them in Easter baskets, or savoring a quiet moment with a cup of milk, these cookies embody the warmth and sweetness of the season.
💖 Methods for Cookie Lovers
- Mixing Love: Cream butter and sugar until airy—this is where magic begins.
- Color Play: Don’t be shy with pastel gels; swirl them for artful fun.
- Chocolate Hug: Folding in chips gently ensures every bite has chocolatey love.
- Baking Patience: Slightly underbake for soft, chewy perfection.
- Cooling Ritual: Let cookies rest on wire racks; it’s worth the wait!
These cookies are a rainbow of happiness on a baking sheet, perfect for sharing or indulging. 🐰🍪💛
If you want, I can also make a step-by-step photo-style guide for these Easter cookies with swirls, pastel patterns, and chocolate melty moments—it’ll look like a full bakery tutorial! Do you want me to do that?