Here is a comprehensive guide to creating decadent Cherry Cheesecake Brownies, complete with everything you requested.
—
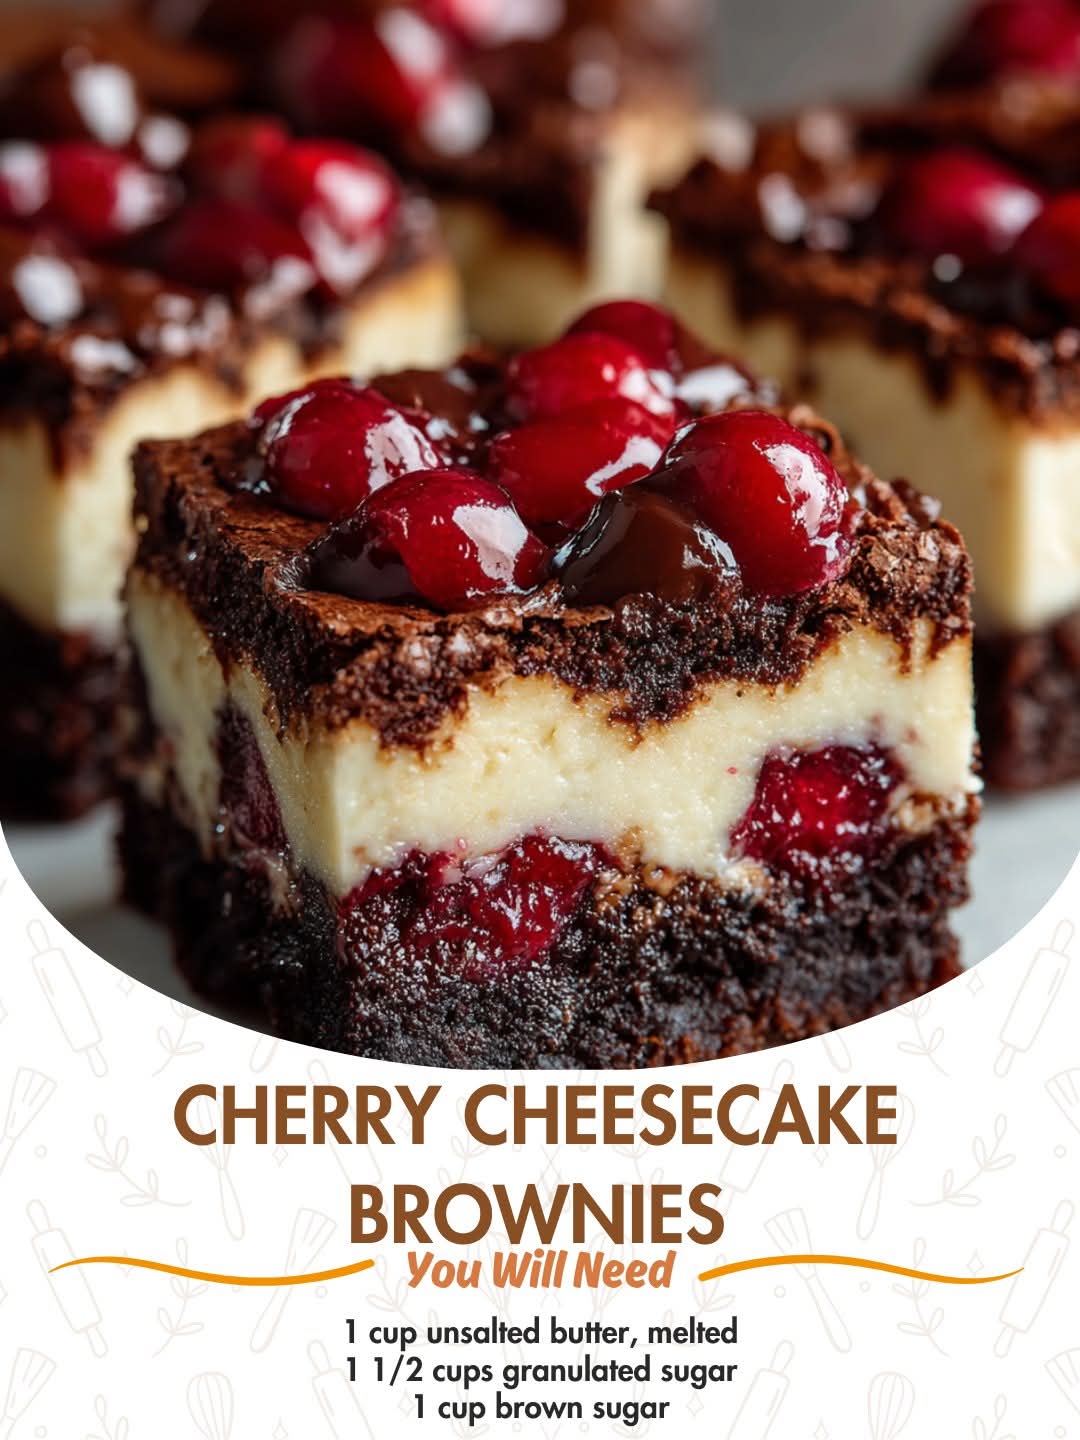
The Ultimate Cherry Cheesecake Brownies
Introduction
Welcome to a dessert that truly has it all: the ultimate Cherry Cheesecake Brownie. This isn’t just any brownie; it’s a luxurious triple-layer experience. We start with a fudgy, rich chocolate brownie base that is dense and deeply satisfying. Swirled into that is a creamy, tangy cheesecake layer, creating the perfect flavor contrast. Finally, to cut through the richness and add a burst of fruity flavor, we stud the top with sweet, tart cherries. The result is a dessert that is as beautiful as it is delicious—a perfect showstopper for potlucks, holidays, or simply a special weekend baking project. Each bite offers a symphony of textures and flavors: the crackly brownie top, the velvety cheesecake, and the juicy pop of cherry.
History
The brownie itself is a beloved American classic, with its first known recipes appearing in cookbooks at the turn of the 20th century. The cheesecake brownie, or “marble brownie,” is a more modern innovation, born from the mid-20th century desire to combine two favorite desserts into one. The addition of cherries is a natural and brilliant evolution. Cherries have a long-standing, sophisticated partnership with chocolate (think Black Forest Cake) and a bright, fruity affinity with creamy cheesecake. This recipe brings these three beloved elements together, creating a new classic that honors the history of each component while forging a delicious identity of its own.
Benefits (The Joy of Baking)
While we don’t bake brownies for their health benefits, we bake them for the benefits they bring to our souls and our social lives.
· Stress Relief: The process of measuring, mixing, and creating can be a wonderfully mindful and therapeutic activity.
· Creativity: Swirling the cheesecake and arranging the cherries allows for a personal, artistic touch.
· Connection: Sharing a batch of homemade brownies is a simple and powerful way to show love, celebrate with friends, and create sweet memories.
· Pure Joy: The undeniable pleasure of biting into a rich, flavorful, homemade treat is a benefit in itself!
Formation (Building the Perfect Bite)
The magic of this dessert lies in its layered construction.
1. The Foundation: A dense, fudgy brownie layer provides a sturdy, not-too-sweet base that can support the weight of the toppings. The high butter and sugar content ensures a moist, rich texture with that coveted crackly top.
2. The Heart: The cheesecake layer is a simple mixture of cream cheese, sugar, and egg. Its tanginess is the perfect counterpoint to the sweet chocolate and fruit. It remains soft and creamy after baking, creating a luxurious middle.
3. The Crown: The cherries are the final flourish. They provide a burst of bright, acidic juice that cuts through the richness, and their deep red color makes the dessert visually stunning.
Lovers
This brownie is for the:
· Chocolate Devotee: Who will adore the deep, fudgy foundation.
· Cheesecake Aficionado: Who will swoon over the creamy, tangy swirls.
· Fruit-in-Dessert Enthusiast: Who appreciates how a pop of tartness can elevate a sweet treat.
· The Undecided: For those who can never choose just one dessert at a bakery counter. This is the solution to their dilemma.
· The Host/Hostess: Who needs a reliable, impressive dessert that can be made ahead of time.
—
The Big Recipe
Yields: 24 brownies
Prep time: 25 minutes
Bake time: 35-40 minutes
Ingredients:
For the Brownie Layer:
· 1 cup (2 sticks) unsalted butter, melted and slightly cooled
· 1 ½ cups granulated sugar
· 1 cup packed light brown sugar
· 4 large eggs, at room temperature
· 1 tablespoon vanilla extract
· 1 ¼ cups unsweetened cocoa powder
· 1 cup all-purpose flour
· 1 teaspoon salt
For the Cheesecake Layer:
· 16 oz (two 8-oz blocks) full-fat cream cheese, softened to room temperature
· ½ cup granulated sugar
· 1 large egg yolk, at room temperature
· 1 ½ teaspoons vanilla extract
For the Cherry Swirl:
· 1 ½ cups pitted fresh or frozen (and thawed) cherries, roughly chopped
· 1 tablespoon granulated sugar
· 1 teaspoon lemon juice
· 1 tablespoon cornstarch
Instructions & Methods:
1. Preheat and Prepare: Preheat your oven to 350°F (175°C). Line a 9×13-inch baking pan with parchment paper, leaving an overhang on the two long sides. This will create “handles” to easily lift the brownies out later. Lightly grease the parchment.
2. Prepare the Cherry Swirl: In a small bowl, combine the chopped cherries, 1 tablespoon of sugar, lemon juice, and cornstarch. Stir to coat the cherries evenly. Set aside while you prepare the other batters. This will help release their juices and thicken them slightly.
3. Make the Brownie Batter: In a very large mixing bowl, whisk together the melted butter, 1 ½ cups granulated sugar, and brown sugar until well combined. Add the 4 eggs, one at a time, whisking well after each addition until the batter is glossy and smooth. Whisk in the 1 tablespoon of vanilla extract.
4. Add Dry Ingredients: Sift the cocoa powder, flour, and salt directly into the wet ingredients. This prevents lumps. Fold the dry ingredients into the wet with a rubber spatula until just combined. Be careful not to overmix. The batter will be thick and fudgy.
5. Make the Cheesecake Batter: In a separate, medium-sized bowl, beat the softened cream cheese with an electric hand mixer (or in a stand mixer with the paddle attachment) until it is completely smooth and free of lumps. Add the ½ cup of sugar and beat until creamy and well incorporated. Add the egg yolk and 1 ½ teaspoons of vanilla extract, and beat on low speed just until combined. Be careful not to over-beat the cheesecake batter.
6. Assemble the Layers: Pour the thick brownie batter into the prepared pan and spread it into an even layer.
7. Add the Cheesecake Layer: Drop spoonfuls of the cheesecake mixture all over the top of the brownie batter. It won’t cover it completely, and that’s perfect.
8. Add the Cherries: Using a spoon, distribute the prepared cherry mixture evenly over the cheesecake dollops and brownie batter.
9. Create the Swirl: Take a butter knife or a skewer and gently drag it through the layers in a swirling motion. Go from one end of the pan to the other, and then again in the opposite direction. Be careful not to over-swirl, or the layers will become muddy. You want distinct ribbons of cheesecake and cherries.
10. Bake: Place the pan in the preheated oven and bake for 35-40 minutes. The brownies are done when the edges are set and a toothpick inserted into the center comes out with a few moist crumbs (and perhaps a little melted chocolate), but not wet batter.
11. Cool Completely: This is the most important step! Place the pan on a wire rack and let the brownies cool to room temperature. Then, refrigerate them for at least 2-3 hours, or preferably overnight. This allows the cheesecake layer to set properly, making them much easier to slice into clean squares.
12. Slice and Serve: Once thoroughly chilled, use the parchment paper handles to lift the entire block of brownies out of the pan. Place on a cutting board and use a large, sharp knife to slice into squares. For the cleanest cuts, wipe the knife clean between each slice.
Nutrition (Approximate, per brownie, based on 24 servings)
· Calories: ~320
· Fat: ~18g
· Carbohydrates: ~38g
· Protein: ~5g
· Sugar: ~28g
(Note: This is an estimate and will vary based on specific ingredient brands and measurements.)
Conclusion
These Cherry Cheesecake Brownies are more than just a recipe; they are an experience. From the moment you pull them from the oven, with their tantalizing aroma, to the first perfect, creamy, chocolatey, fruity bite, they deliver pure dessert bliss. They are a testament to the magic that happens when you don’t settle for just one good thing, but instead combine them to create something truly extraordinary. Whether you’re a seasoned baker or a passionate beginner, this recipe is sure to become a cherished favorite. So go ahead, preheat your oven, and create a little masterpiece. Your friends, your family, and your taste buds will thank you.