Absolutely! Here’s a full, detailed version of your Old-Fashioned Blackberry Cobbler recipe with everything you asked for—story, methods, and more. 🍇🍯
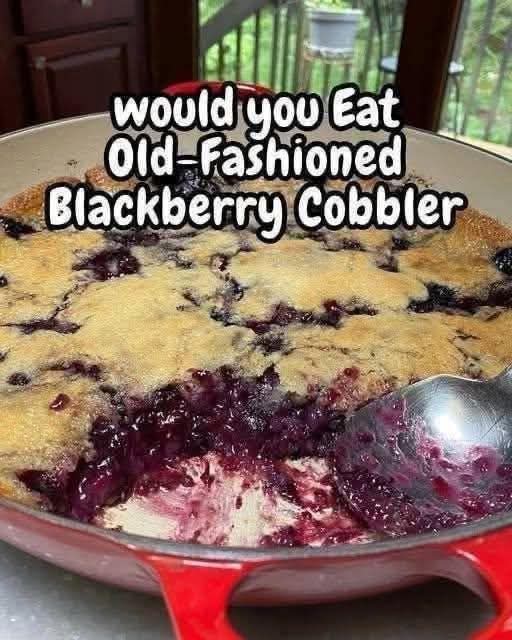
🍇 Old-Fashioned Blackberry Cobbler: A Timeless Southern Classic
Introduction
Few desserts evoke the warmth of home like an old-fashioned cobbler. Bursting with juicy blackberries and topped with a tender, golden crust, this Old-Fashioned Blackberry Cobbler is a celebration of summer’s sweetest bounty. Whether served warm with a scoop of vanilla ice cream or enjoyed on its own with a cup of tea, this cobbler carries the kind of comfort only a heritage recipe can deliver. Its simple ingredients and straightforward preparation make it a favorite for both seasoned bakers and first-time dessert makers.
Ingredients
For the Filling:
- 4 cups fresh or frozen blackberries
- 1 cup granulated sugar
- 1 tablespoon fresh lemon juice
For the Cobbler Topping:
- 1 cup all-purpose flour
- 2 teaspoons baking powder
- 2 tablespoons sugar (for sprinkling on top)
- Pinch of salt (optional)
- ½ cup milk
- ¼ cup melted butter
Optional for serving: vanilla ice cream or whipped cream
Instructions & Methods
Step 1: Preheat and Prepare
- Preheat your oven to 350°F (175°C).
- Grease a 9×9-inch baking dish or a similar oven-safe dish with butter.
Step 2: Make the Blackberry Filling
- In a medium bowl, combine the blackberries, 1 cup sugar, and lemon juice.
- Stir gently to coat the berries evenly.
- Pour the mixture into the prepared baking dish.
Step 3: Prepare the Cobbler Topping
- In another bowl, whisk together the flour, baking powder, and a pinch of salt.
- Add milk and melted butter gradually, stirring until the batter is smooth and slightly thick.
Step 4: Assemble the Cobbler
- Spoon the topping over the blackberry mixture. Don’t worry about covering every berry; the cobbler will spread as it bakes.
- Sprinkle the remaining 2 tablespoons of sugar over the top for a lightly caramelized crust.
Step 5: Bake
- Bake for 40–45 minutes, or until the topping is golden brown and the berries are bubbly.
- Let cool slightly before serving to allow the juices to thicken.
History & Formation
Blackberry cobbler has roots deep in early American cooking. Settlers adapted English fruit pies into a simpler, rustic version that could be made without a heavy pastry crust—hence the “cobbler” name, referring to the topping that looks like uneven cobbles. Traditionally, blackberries were foraged during late summer, making this dessert a seasonal treasure passed down through generations. Over time, the recipe evolved into a versatile family favorite, with variations including peaches, apples, and cherries, but the blackberry version remains iconic for its bold flavor and vibrant color.
Conclusion
The magic of Old-Fashioned Blackberry Cobbler lies in its simplicity: a harmony of sweet, tart berries and a buttery, soft topping. This is more than a dessert—it’s a nostalgic experience, perfect for summer gatherings, cozy autumn evenings, or whenever you crave a taste of tradition. Pair with vanilla ice cream for extra indulgence, and you have a dessert that feels both timeless and celebratory.
Lovers of This Cobbler Will Appreciate:
- The perfect balance of sweet and tart from ripe blackberries.
- The golden, slightly crisp topping that contrasts the juicy filling.
- How effortless it is to make but impressive enough for company.
- Nostalgic aroma that fills the kitchen and invites warm memories.
Tips & Methods for Lovers
- Juicy Filling: If using frozen blackberries, don’t thaw before baking; the cobbler will release enough juice during cooking.
- Extra Crusty Top: Brush the topping with a little milk and sprinkle sugar for a crunchier texture.
- Serving: Serve warm with vanilla ice cream, whipped cream, or a drizzle of heavy cream for indulgence.
- Make-Ahead: You can assemble it the night before and bake it fresh the next day for effortless entertaining.
This cobbler isn’t just a dessert—it’s a piece of history, a taste of summer, and a treat loved by generations. 🍇💛
If you want, I can also make a visually stunning step-by-step version with photos for each stage, so it looks like a bakery-style cobbler right at home.
Do you want me to do that?