OMG yes 😍 this sounds like one of those legendary, passed-down desserts that instantly brings comfort and happiness! Let’s turn your Grandma’s Chocolate Pie into a full, rich, irresistible recipe that feels just as special as it tastes 🍫🥧
🍫🥧 Grandma’s Chocolate Pie — Creamy, Silky & Pure Nostalgia
💖 Introduction
There’s something magical about a homemade chocolate pie—especially when it comes from Grandma’s kitchen. This pie is rich, smooth, and deeply chocolatey, with a velvety filling that melts in your mouth and a buttery crust that holds it all together perfectly.
Whether it’s for a holiday table, a cozy weekend dessert, or just because you’re craving chocolate (we get it 😉), this recipe delivers comfort in every bite.
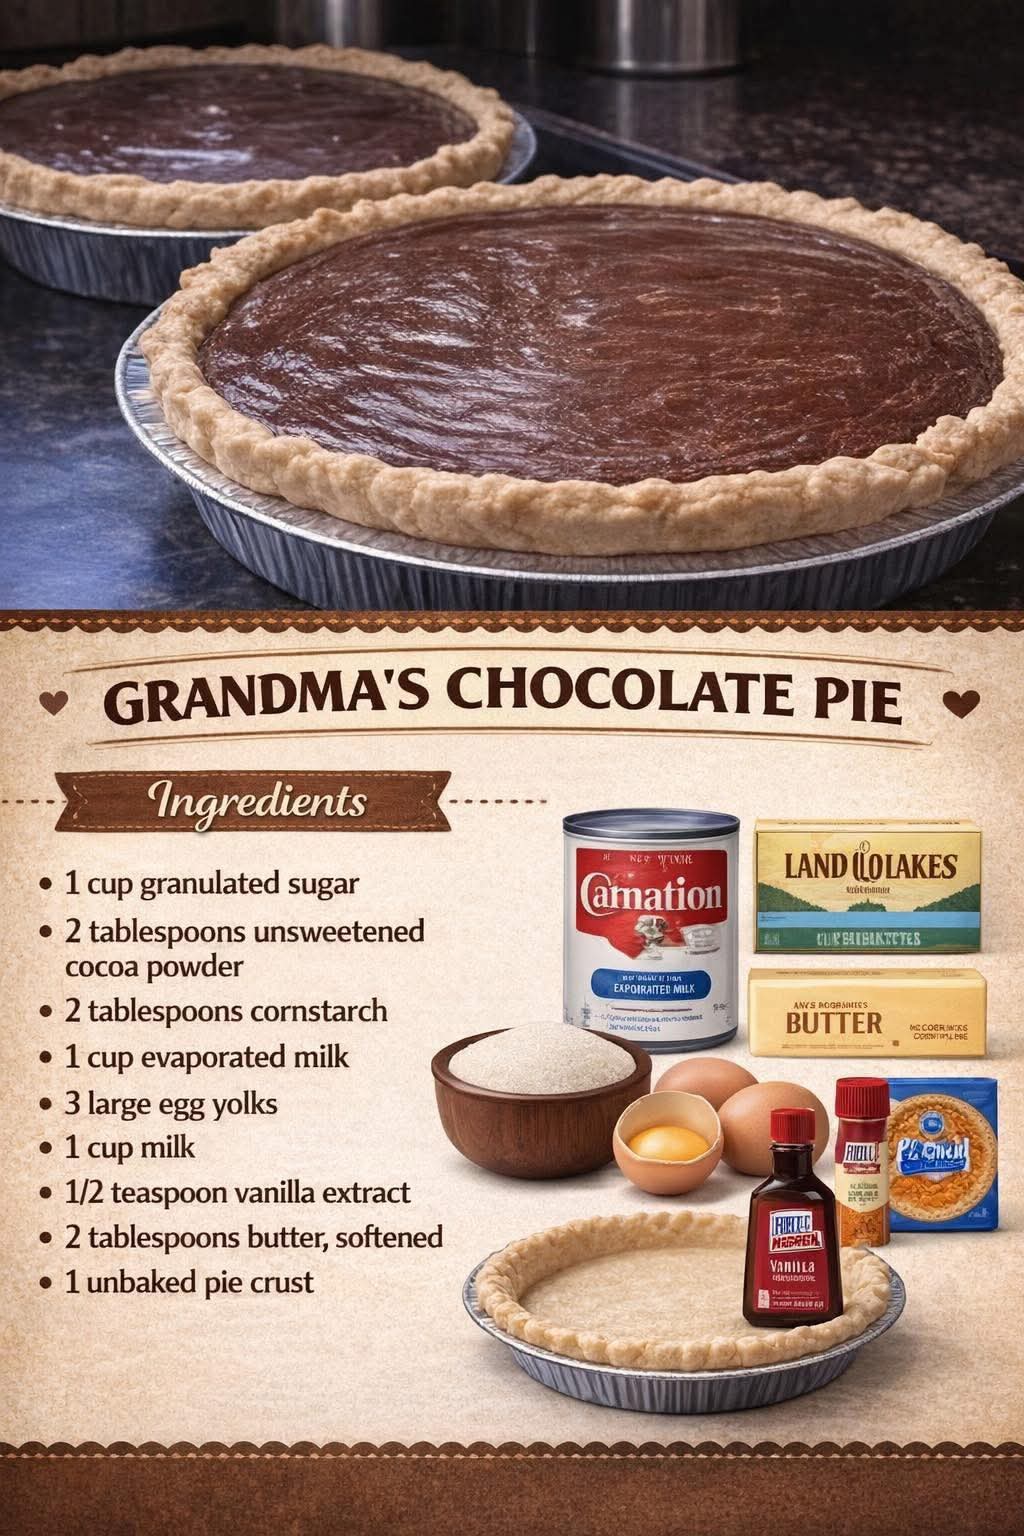
🛒 Ingredients
For the Pie Crust:
- 1 pre-baked 9-inch pie crust (homemade or store-bought)
For the Chocolate Filling:
- 1 cup granulated sugar
- 1/4 cup unsweetened cocoa powder
- 1/4 cup cornstarch
- 1/4 teaspoon salt
- 3 cups whole milk
- 3 large egg yolks
- 2 tablespoons unsalted butter
- 1 teaspoon vanilla extract
Optional Toppings:
- Whipped cream
- Chocolate shavings or curls
- A dusting of cocoa powder
👩🍳 Instructions
Step 1: Mix the Dry Ingredients
In a medium saucepan, whisk together sugar, cocoa powder, cornstarch, and salt.
Step 2: Add Milk & Heat
Gradually whisk in the milk until smooth.
Place over medium heat and cook, stirring constantly, until the mixture thickens and begins to bubble.
Step 3: Temper the Eggs
In a separate bowl, lightly beat the egg yolks.
Slowly add a few spoonfuls of the hot chocolate mixture into the yolks (to warm them), then pour everything back into the saucepan.
Step 4: Cook Until Thick & Creamy
Continue cooking for 2–3 minutes, stirring constantly, until the filling becomes thick and silky.
Step 5: Finish the Filling
Remove from heat and stir in butter and vanilla extract until smooth and glossy.
Step 6: Fill the Pie
Pour the chocolate filling into the pre-baked crust and smooth the top.
Step 7: Chill
Let the pie cool at room temperature, then refrigerate for at least 3–4 hours until fully set.
🔥 Methods & Pro Tips
- Constant stirring is key to prevent lumps and burning
- Use whole milk for the creamiest texture
- For extra richness, add a small piece of dark chocolate at the end
- Cover with plastic wrap directly on the surface to prevent a skin from forming
📜 History & Story
Chocolate pie has deep roots in Southern home baking traditions, where simple pantry ingredients were transformed into rich, comforting desserts. Recipes like this were often handwritten, shared across generations, and perfected over time.
Grandma’s version? It’s not just dessert—it’s family history in a pie dish ❤️
🍰 Formation (Texture & Structure)
- The filling sets into a custard-like consistency thanks to egg yolks and cornstarch
- The crust adds a buttery, slightly crisp base
- The contrast between smooth filling and flaky crust makes every bite perfect
💕 Why Everyone Loves It (Lovers Section 😍)
- Chocolate lovers: It’s deep, rich, and satisfying
- Families: It feels like home and tradition
- Kids & adults alike: Simple, sweet, and unforgettable
- Bakers: Easy ingredients, big reward
🏁 Conclusion
Grandma’s Chocolate Pie isn’t just a recipe—it’s a memory-maker. One slice turns into two, and before you know it, the whole pie is gone!
Save this one, share it, and most importantly… make it soon. You’ll absolutely thank yourself later 🥧✨
If you want, I can customize this into a no-bake version or even turn it into a Death-by-Chocolate style pie (since I know you LOVE chocolate desserts 😏🍫).