Absolutely! What you’re describing sounds like a Pineapple Sweet Bread, a soft, tender, and slightly sweet bread studded with pineapple chunks and glazed for that melt-in-your-mouth effect. Let’s make it a full, detailed recipe with everything you asked for:
Grandma’s Pineapple Sweet Bread
Introduction
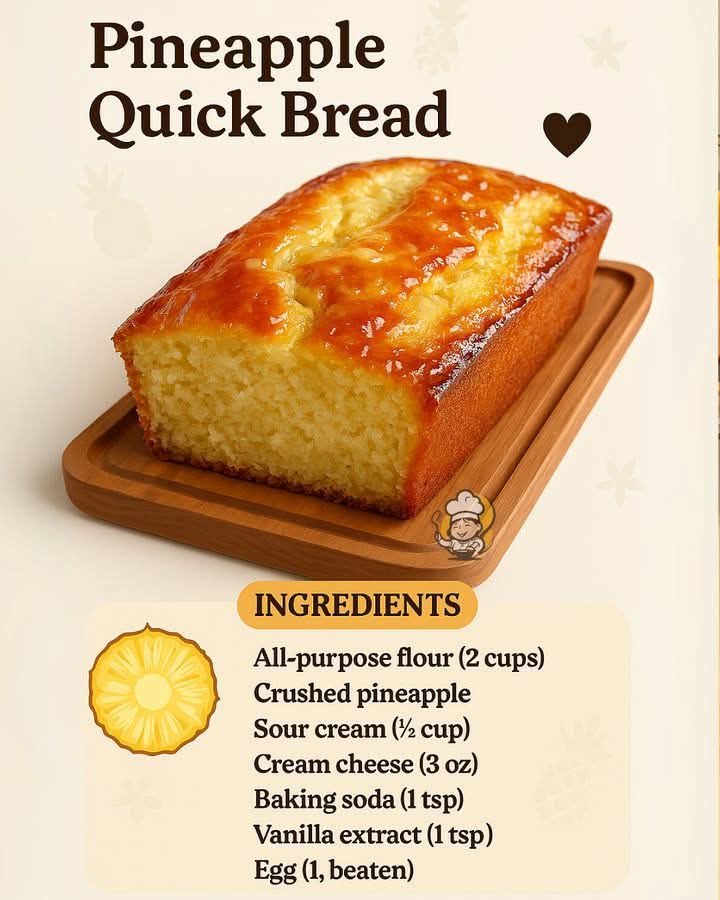
There’s something magical about bread that smells of sugar and fruit while it’s still warm. This Pineapple Sweet Bread is exactly that: soft, pillowy, and packed with juicy pineapple bits that give a natural sweetness in every bite. The light glaze seeps into the bread, creating a tender, almost custardy finish. It’s the kind of bread that makes you think of cozy kitchens, foil-wrapped slices for lunchboxes, and family gatherings. Perfect for breakfast, brunch, or an afternoon treat with tea or coffee.
History
Sweet breads have been part of home baking traditions for centuries, often made for holidays or special occasions. Adding fruit—like pineapple—became popular in mid-20th century America, especially after canned pineapple became widely available. This style of bread evokes the warmth of a grandmother’s kitchen, combining practicality (easy to slice and share) with indulgence (sweet, soft, and flavorful).
Ingredients
For the Bread
- 3 ½ cups all-purpose flour
- 1/3 cup granulated sugar
- 1 packet (2 ¼ tsp) active dry yeast
- ½ tsp salt
- ½ cup warm milk (110°F / 43°C)
- ¼ cup unsalted butter, melted
- 2 large eggs, room temperature
- 1 tsp vanilla extract
- 1 cup crushed pineapple, drained
For the Glaze
- ½ cup powdered sugar
- 1–2 tbsp pineapple juice (or milk)
- ½ tsp vanilla extract
Instructions
Step 1: Activate Yeast
- In a small bowl, combine warm milk, 1 tsp sugar (from the ⅓ cup), and yeast.
- Let it sit for 5–10 minutes until foamy.
Step 2: Make the Dough
- In a large mixing bowl, combine flour, remaining sugar, and salt.
- Add the yeast mixture, melted butter, eggs, and vanilla extract.
- Mix until a sticky dough forms.
Step 3: Add Pineapple
- Gently fold in the drained crushed pineapple.
- Knead lightly for 5–7 minutes until the dough is smooth and elastic.
Step 4: First Rise
- Place dough in a lightly greased bowl, cover with a damp cloth or plastic wrap.
- Let it rise in a warm spot for 1–2 hours, or until doubled in size.
Step 5: Shape the Bread
- Punch down the dough to release air.
- Transfer to a lightly floured surface and shape into a loaf or braid if desired.
- Place in a greased 9×5-inch loaf pan.
Step 6: Second Rise
- Cover and let rise again for 30–45 minutes until puffy.
Step 7: Bake
- Preheat oven to 350°F (175°C).
- Bake the bread for 30–35 minutes, or until golden brown.
- If the top browns too fast, cover lightly with foil.
Step 8: Glaze
- Mix powdered sugar, pineapple juice, and vanilla extract until smooth.
- Brush over warm bread immediately after removing from the oven.
- Let cool slightly before slicing.
Methods & Tips
- Soft bread: Don’t over-knead after adding pineapple; you want tender chunks.
- Even sweetness: Make sure pineapple is well-drained to avoid soggy bread.
- Flavor boost: Add ¼ tsp cinnamon or nutmeg to the dough for extra warmth.
- Storage: Wrap cooled bread in foil or store in an airtight container. It’s best eaten within 2–3 days, though it can be lightly toasted if older.
Formation
- The dough is enriched with eggs, butter, and sugar, making it soft and pillowy.
- Pineapple adds natural moisture and sweetness.
- The glaze forms a thin, sweet coating that melts into the bread as it cools, creating a tender, almost custard-like crumb around each slice.
Conclusion
Grandma’s Pineapple Sweet Bread is more than just a treat; it’s nostalgia baked into every bite. The soft, airy texture combined with bursts of pineapple and a delicate glaze makes it irresistible. Perfect for gifting, breakfast, or simply sharing with loved ones—this bread brings joy with every slice.
For Bread Lovers
- Enjoy warm slices straight from the oven.
- Pair with a pat of butter or cream cheese.
- Ideal with coffee, tea, or even a cold glass of milk.
- Makes a delightful brunch centerpiece or homemade gift.
If you want, I can also make a step-by-step photo-style guide for this bread, showing the kneading, shaping, and glazed finish so it looks exactly like grandma’s secret recipe.
Do you want me to do that?