Absolutely! Let’s expand your Frozen Greek Yogurt Peanut Butter Chocolate Swirl Dessert Cups into a full, rich, article-style recipe with all the history, methods, and dessert-lover tips.
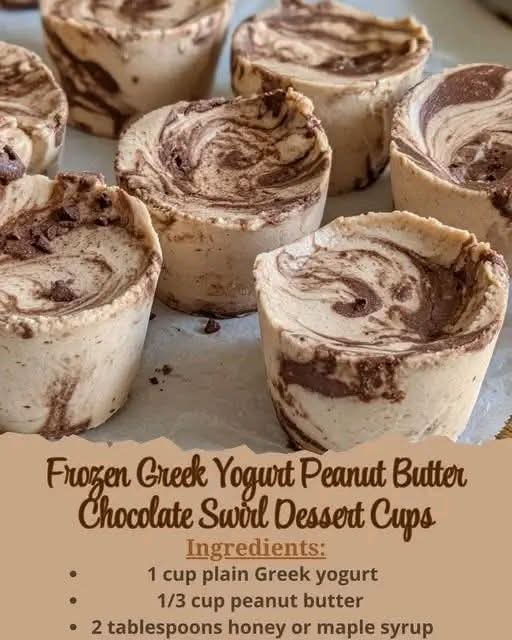
🍫🥜 Frozen Greek Yogurt Peanut Butter Chocolate Swirl Dessert Cups
Creamy, Indulgent, and Perfectly Healthy Treats in Every Bite
If you’re looking for a dessert that’s both indulgent and wholesome, these Frozen Greek Yogurt Peanut Butter Chocolate Swirl Cups are your answer. Combining the creamy tang of Greek yogurt, the comforting richness of peanut butter, and the decadent allure of chocolate swirls, each bite is a perfectly balanced treat. Light enough to enjoy guilt-free but satisfying enough to feel like a special indulgence, these dessert cups are ideal for warm weather, after-dinner treats, or whenever you crave something sweet yet refreshing.
Ingredients
Yogurt Base:
- 1 cup plain Greek yogurt
- 1/3 cup peanut butter (creamy or natural)
- 2 tablespoons honey or maple syrup (adjust to taste)
- 1 teaspoon vanilla extract
Chocolate Swirl:
- 2 tablespoons unsweetened cocoa powder
- 2–3 tablespoons milk of choice (dairy, almond, oat, etc.)
Instructions & Methods
1️⃣ Prepare the Yogurt Base
- In a medium bowl, combine Greek yogurt, peanut butter, honey (or maple syrup), and vanilla extract.
- Mix thoroughly until the mixture is smooth, creamy, and fully blended. A whisk works well for achieving a uniform texture.
2️⃣ Make the Chocolate Swirl
- In a small bowl, mix cocoa powder with 2–3 tablespoons of milk until a thick, pourable chocolate sauce forms. Adjust milk gradually to get the perfect consistency for swirling—thick enough to stay distinct but soft enough to blend slightly with the yogurt.
3️⃣ Assemble the Dessert Cups
- Spoon the yogurt-peanut butter mixture into silicone cupcake liners or small cups, filling them about 3/4 full.
- Drizzle the chocolate sauce over the top. Using a toothpick or butter knife, gently swirl the chocolate into the yogurt to create a marbled effect.
4️⃣ Freeze and Serve
- Place the cups in the freezer for at least 2–3 hours until fully set.
- Remove from the freezer and let them sit for 1–2 minutes before serving to make them easier to eat.
History & Formation
Frozen yogurt desserts have been popular since the 1970s as a healthier alternative to ice cream. Greek yogurt, with its rich texture and high protein content, became a modern favorite for frozen treats because it balances sweetness with tangy creaminess. Combining peanut butter and chocolate in frozen desserts has roots in classic American flavors—think peanut butter cups and chocolate swirls. This recipe modernizes that timeless combination into a portion-controlled, nutrient-packed dessert perfect for today’s health-conscious dessert lovers.
Tips & Methods for Dessert Lovers
- Peanut Butter Variations: Natural, crunchy, or flavored peanut butter can be used for different textures and tastes.
- Sweetener Adjustments: Adjust honey or maple syrup depending on the sweetness of your peanut butter or personal taste.
- Chocolate Swirl Tricks: Warm the chocolate slightly to make swirling easier if it’s too thick. For an extra decadent twist, add a pinch of cinnamon or espresso powder to the cocoa.
- Serving Ideas: Top with chopped nuts, chocolate chips, or coconut flakes for extra texture and visual appeal.
Conclusion
These Frozen Greek Yogurt Peanut Butter Chocolate Swirl Dessert Cups are the perfect union of indulgence and health. Creamy, rich, and visually stunning, they are easy to make yet feel like a special treat. Ideal for dessert lovers of all ages, they satisfy cravings while being light enough for guilt-free enjoyment. Whether it’s a hot summer day, a family gathering, or a late-night snack, these frozen cups bring joy in every spoonful.
For the True Dessert Lovers 💖
- Pair with a drizzle of caramel or extra chocolate sauce for a more decadent experience.
- Experiment with other nut butters like almond or cashew for a flavor twist.
- Serve in mini cups for portion-controlled treats that are perfect for parties or gift boxes.
If you want, I can also make a “step-by-step visual guide” version with layered swirls, topping ideas, and tips to make them look like a professional dessert. It would make these cups irresistible to look at and eat.
Do you want me to do that next?