Absolutely! Let’s turn your simple butter cookies into a full, rich, story-like recipe with all the extras you asked for: introduction, history, method, and even a nod to cookie lovers. Here’s a “big” version:
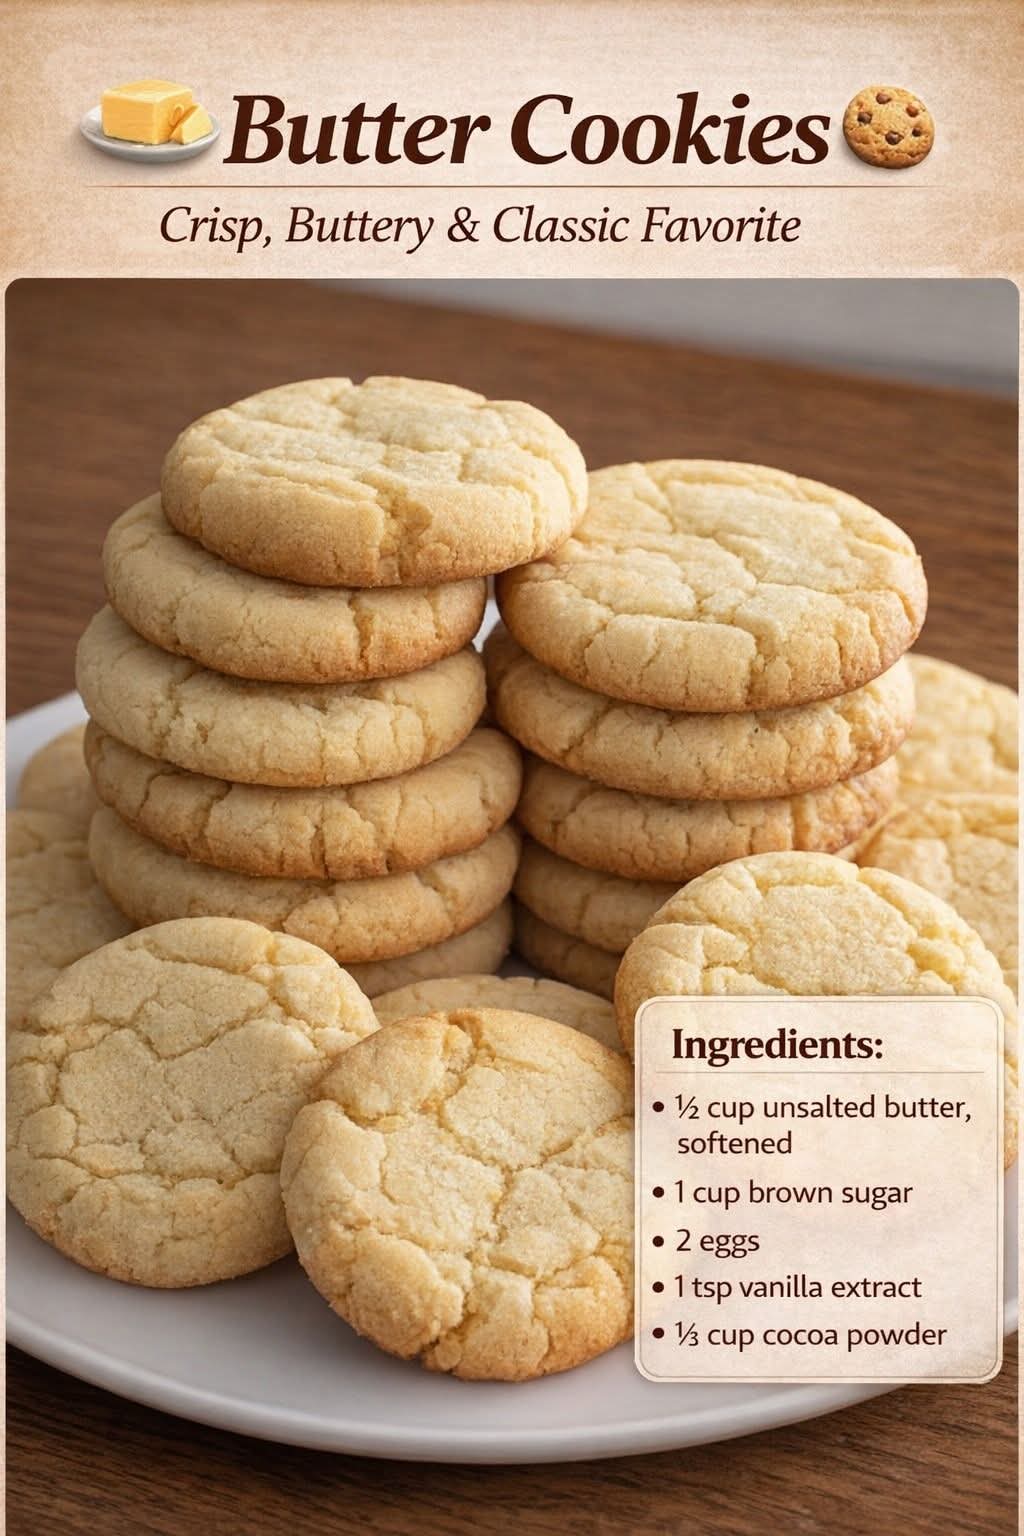
🧈 Classic Butter Cookies — Crisp, Buttery, Timeless Delight
Butter cookies are one of the simplest yet most beloved treats in the world. With a delicate crisp exterior and a melt-in-your-mouth interior, these cookies are a perfect companion to coffee, tea, or just a quiet moment of indulgence. They are a celebration of simplicity — where a handful of ingredients come together to create pure joy.
Whether it’s the nostalgia of a grandmother’s kitchen or the comfort of a homemade treat on a rainy day, butter cookies have held a special place in hearts worldwide for centuries.
🌟 Ingredients
- 1/2 cup unsalted butter, softened
- 1/2 cup granulated sugar
- 1 tsp pure vanilla extract
- 1 cup all-purpose flour
- Optional: a pinch of salt (if using unsalted butter)
- Optional toppings: sugar crystals, chocolate drizzle, or jam centers
🏛 History & Formation
Butter cookies, also known as Danish cookies in some parts of the world, trace their origins to European kitchens of the 17th century. Originally, they were made as rich, buttery treats for celebrations, using simple ingredients: flour, sugar, and butter. Over time, they became a staple across Europe and later America, adapting into various shapes — twists, rounds, or pretzels — but always maintaining their signature crisp, buttery taste.
The magic of butter cookies lies in their formation. Creaming butter and sugar introduces air, giving the cookies a light, delicate structure. Gentle folding of flour ensures tenderness, and chilling the dough allows the cookies to hold their shape when baked.
🍪 Instructions & Methods
Step 1: Cream Butter and Sugar
- In a medium bowl, beat the softened butter and sugar together using a hand mixer or whisk until the mixture is light, fluffy, and pale in color (about 2–3 minutes). This step is key to achieving a tender, airy cookie.
Step 2: Add Vanilla
- Mix in the vanilla extract until fully incorporated. The aroma of vanilla is what gives these cookies their comforting, timeless flavor.
Step 3: Incorporate Flour
- Gradually sift in the flour (and a pinch of salt if using) and gently fold with a spatula or wooden spoon until the dough just comes together. Avoid overmixing, as this can make the cookies tough.
Step 4: Shape the Cookies
- Roll the dough into small balls (about 1 inch in diameter) and place them on a baking sheet lined with parchment paper. Flatten slightly with the back of a fork or leave as small mounds for a puffier texture.
Step 5: Optional Chill
- For perfectly uniform cookies, chill the dough for 20–30 minutes before baking. This prevents spreading and enhances flavor.
Step 6: Bake
- Preheat the oven to 350°F (175°C). Bake the cookies for 12–15 minutes or until the edges just begin to turn golden.
Step 7: Cool & Enjoy
- Let the cookies cool on the baking sheet for 5 minutes, then transfer to a wire rack to cool completely. Enjoy them warm or store in an airtight container for up to a week.
💡 Tips & Lover’s Methods
- Flavor Lovers: Add a teaspoon of almond extract or a pinch of cinnamon for a subtle twist.
- Texture Lovers: Press chocolate chips or jam centers into the cookies before baking.
- Shape Lovers: Use a piping bag with a star tip to create classic Danish shapes.
- Presentation Lovers: Dust with powdered sugar or drizzle melted chocolate for a café-style treat.
🎉 Conclusion
Butter cookies are proof that simplicity can be extraordinary. With minimal ingredients and a few careful steps, you create a timeless cookie that evokes warmth, comfort, and joy. Loved by cookie enthusiasts across generations, these crisp, buttery delights are perfect for sharing with friends, gifting during holidays, or savoring solo with a cup of tea.
Once you master the basic butter cookie, endless variations await — chocolate-dipped, jam-filled, or spiced — but the classic version will always hold a special place in the hearts of cookie lovers everywhere.
If you want, I can also make a visual, step-by-step guide with tips for shapes, textures, and flavor twists to make it extra “big” and Instagram-ready.
Do you want me to do that?