Absolutely! Let’s make this a full, indulgent, nostalgic recipe post for Old-Fashioned Pineapple Pie 🥧, just like you asked—complete with intro, ingredients, history, methods, and a little love for the dessert fans. Here we go:
Old-Fashioned Pineapple Pie 🥧
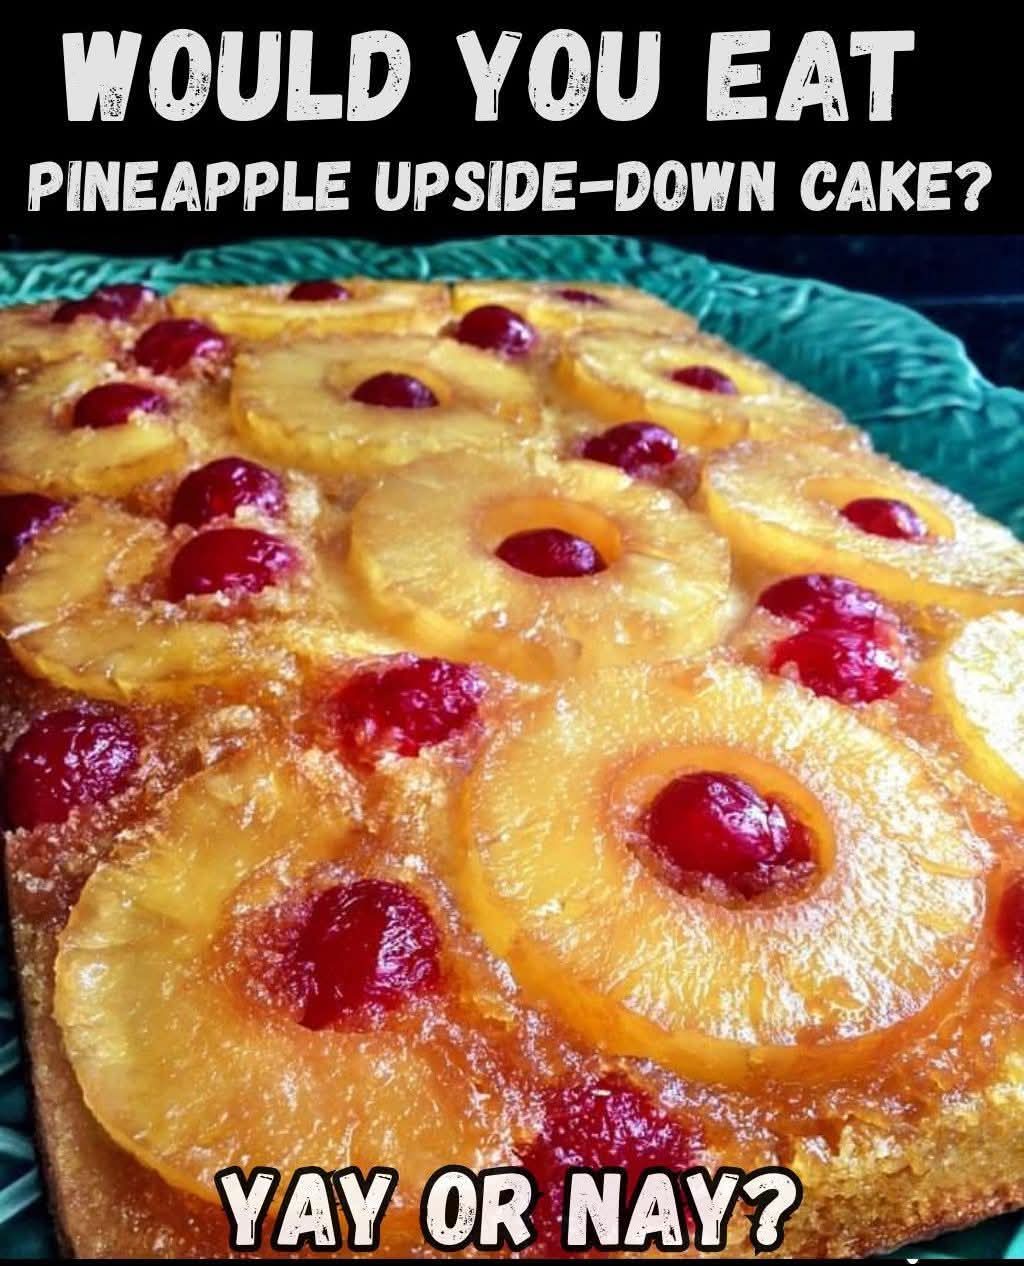
Yay or Nay?
If you grew up with homemade pies cooling on the windowsill, this one will take you straight back to grandma’s kitchen. Sweet, tangy pineapple nestled in a flaky buttery crust—simple, comforting, and timeless. It’s the kind of pie that makes the house smell like love, summer, and Sunday mornings.
Ingredients
For the crust:
- 2 ½ cups all-purpose flour
- 1 tsp salt
- 1 cup (2 sticks) unsalted butter, cold and cubed
- 6–8 tbsp ice water
For the pineapple filling:
- 1 (20 oz) can crushed pineapple, drained (reserve juice)
- ¾ cup granulated sugar
- 3 tbsp cornstarch
- 2 tbsp butter, cut into small pieces
- 1 tsp vanilla extract
- 1/4 tsp salt
Optional topping:
- Whipped cream or vanilla ice cream
Instructions & Methods
Step 1: Make the crust
- In a large bowl, whisk together flour and salt.
- Cut in cold butter using a pastry cutter or your fingers until the mixture resembles coarse crumbs.
- Add ice water, 1 tbsp at a time, until dough just comes together.
- Divide dough into two discs, wrap in plastic, and chill for 30–60 minutes.
Method note: This is a classic cold-butter method—keeps your crust flaky and tender.
Step 2: Prepare the pineapple filling
- In a medium saucepan, combine sugar, cornstarch, and salt.
- Stir in reserved pineapple juice (about ½ cup) and cook over medium heat until mixture thickens, stirring constantly.
- Remove from heat, stir in drained crushed pineapple and vanilla. Let cool slightly.
Method note: Thickening with cornstarch gives that nostalgic, gel-like texture old-fashioned pies are known for.
Step 3: Assemble the pie
- Preheat oven to 375°F (190°C).
- Roll out one disc of dough to line a 9-inch pie pan.
- Pour pineapple filling into the crust. Dot with butter.
- Roll out the second disc and place on top. Crimp edges to seal and cut slits for steam.
- Optional: brush top with a little milk and sprinkle sugar for a golden, sweet finish.
Step 4: Bake
- Bake for 45–50 minutes or until crust is golden and filling bubbly.
- Cool completely before slicing to let the filling set.
A Little History
Pineapple pie hails from classic American kitchens of the 1940s and ’50s. Pineapple was exotic yet widely available in cans, making it a special treat. The pie’s sweet-tart flavor and gel-like filling became a staple at potlucks, Sunday dinners, and holiday tables. It’s nostalgic comfort in every bite.
Formation & Tips
- Use chilled butter for a flakier crust.
- Let the pie cool fully; warm pineapple filling is delicious, but slices hold better when cooled.
- For extra flair, lattice the top crust or add a sprinkle of toasted coconut.
Conclusion & Lovers
Old-Fashioned Pineapple Pie isn’t just dessert—it’s a hug on a plate. It’s for the pie lovers, the nostalgia seekers, the ones who live for a flaky crust and that sweet, tangy pineapple goodness. Serve with whipped cream or ice cream and watch hearts melt.
For the lovers of this pie:
- Best enjoyed with family around the table.
- Pairs perfectly with hot coffee or a chilled glass of milk.
- Every bite brings back childhood memories and kitchen laughter.
🍍🥧 So, is it a Yay or Nay? If you love simple, classic desserts that taste like home, this is an undeniable YAY.
If you want, I can also create a fun visual “step-by-step” version with photos for each stage—perfect for social media drops that make mouths water instantly.
Do you want me to do that next?