Of course! Here is a comprehensive, detailed recipe and guide for Cheesecake Brownies, complete with history, benefits, and more.
—
Introduction: The Ultimate Fusion Dessert
The Cheesecake Brownie is a masterpiece of dessert fusion, a harmonious marriage of two iconic treats. Imagine the dense, fudgy, and chocolatey intensity of a classic brownie colliding with the creamy, tangy, and luxuriously smooth layer of New York-style cheesecake. The result is a textural and flavorful symphony in every bite—a rich, dark base topped with a beautiful, marbled cream cheese swirl. This recipe is designed for both novice and experienced bakers to create a show-stopping dessert that is as impressive to look at as it is divine to eat.
The History: A Tale of Two Classics
· Brownies: Born in the United States at the end of the 19th century, legend has it a chef in Chicago accidentally created a “cake” that was too dense while trying to make a chocolate cake for a ladies’ luncheon. The first published recipe for a “brownie” appeared in the 1897 Sears, Roebuck catalogue.
· Cheesecake: With ancient roots tracing back to Greece, modern cream cheese-based cheesecake is an American innovation, made possible by the creation of Philadelphia cream cheese in the late 1800s.
· The Fusion: The Cheesecake Brownie is a child of 20th-century American baking creativity, a product of the mid-century love for convenient, rich, and indulgent desserts. It represents the joyful experimentation of home bakers who dared to combine two beloved favorites.
The Benefits & Appeal
· Textural Paradise: Offers a perfect contrast between the fudgy brownie and the creamy cheesecake.
· Visual Elegance: The marbled top is naturally artistic, making it look professionally crafted.
· Crowd-Pleaser: Satisfies both chocolate and cheesecake lovers in one dessert, ideal for potlucks and parties.
· Versatile: Perfect for holidays, birthdays, or a sophisticated weekend baking project.
The Formation: Understanding the Layers
Success lies in the strata:
1. The Brownie Base: A dense, moist foundation that can support the cheesecake layer without becoming soggy.
2. The Cheesecake Layer: A sweetened, vanilla-infused cream cheese mixture that bakes to a firm-yet-creamy consistency.
3. The Marbling: The strategic swirling of the two batters creates integrated flavor pockets and the signature look.
—
The Grand Recipe: Cheesecake Brownies
Ingredients
For the Brownie Layer:
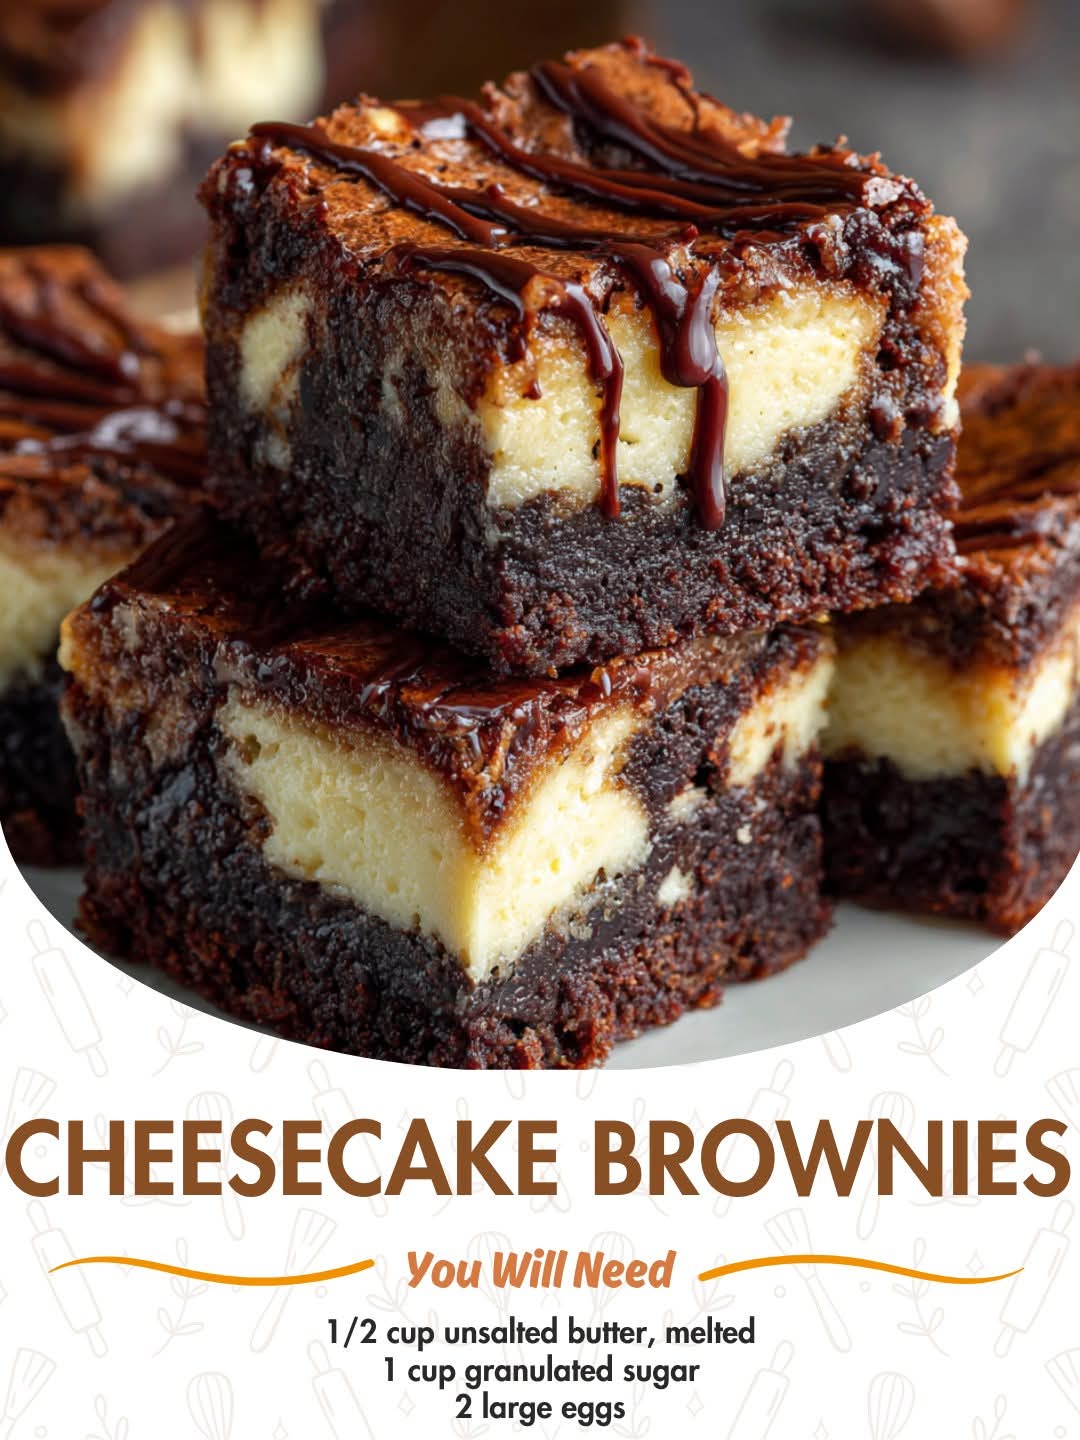
· 1/2 cup (115g) unsalted butter, melted and slightly cooled
· 1 cup (200g) granulated sugar
· 2 large eggs, at room temperature
· 1 teaspoon pure vanilla extract
· 1/3 cup (30g) unsweetened cocoa powder (Dutch-process or natural)
· 1/2 cup (65g) all-purpose flour
· 1/4 teaspoon salt
· 1/4 teaspoon baking powder
· 1/2 cup (85g) semi-sweet chocolate chips (optional, for extra fudginess)
For the Cheesecake Layer:
· 1 package (8 oz/225g) full-fat cream cheese, softened to room temperature
· 1/3 cup (65g) granulated sugar
· 1 large egg, at room temperature
· 1/2 teaspoon pure vanilla extract
Equipment
· 8×8 inch (20×20 cm) square baking pan
· Parchment paper
· Two medium mixing bowls
· Hand mixer or stand mixer (can be mixed by hand with vigor)
Instructions & Methods
Method 1: Preparation
1. Preheat & Prep: Preheat your oven to 350°F (175°C). Line the baking pan with parchment paper, leaving an overhang on two sides for easy removal. Lightly grease the paper.
2. Softening is Key: Ensure cream cheese and eggs are at room temperature. This prevents lumps in the cheesecake layer and ensures even mixing.
Method 2: Making the Brownie Batter
1. In a medium bowl, whisk together the melted butter and sugar until combined.
2. Add the two eggs and one teaspoon of vanilla extract, whisking vigorously for about 1 minute until the mixture is smooth and slightly shiny.
3. Sift in the cocoa powder, flour, salt, and baking powder. Use a spatula to fold the dry ingredients into the wet until just combined. Do not overmix. If using, fold in the chocolate chips. Set aside.
Method 3: Making the Cheesecake Batter
1. In another bowl, beat the softened cream cheese with a hand mixer on medium speed until completely smooth and creamy (about 1 minute).
2. Add the 1/3 cup sugar and beat until combined.
3. Scrape down the sides. Add the one egg and 1/2 teaspoon vanilla extract, and beat on low-medium until the mixture is uniform and smooth. Set aside.
Method 4: Assembly & Marbling
1. Base Layer: Spread about 3/4 of the brownie batter into the prepared pan. It will be a thin layer; use a spatula to push it to the edges.
2. Cheesecake Layer: Pour all of the cheesecake batter over the brownie base. Spread it evenly to cover.
3. Top Layer: Dollop the remaining brownie batter randomly over the cheesecake layer.
4. The Artistic Swirl: Use the tip of a knife or a toothpick. Drag it through the two batters in a zig-zag, figure-eight, or swirling pattern across the entire pan. Don’t over-swirl, or the layers will muddle.
Method 5: Baking & Cooling
1. Bake for 30-35 minutes, or until the edges are set and the center has only a slight, barely perceptible jiggle. A toothpick inserted will come out with moist crumbs (not wet batter).
2. CRUCIAL STEP: Let the pan cool completely on a wire rack at room temperature. Then, refrigerate for at least 3-4 hours, or ideally overnight. This sets the cheesecake layer and makes for clean, sharp cuts.
Nutritional Information (Per serving, approx. 1/16 of pan)
· Calories: ~220 kcal
· Carbohydrates: 24g
· Protein: 3g
· Fat: 13g (Saturated: 8g)
· Cholesterol: 65mg
· Sugar: 18g
· Note: This is a rich, indulgent dessert. Enjoy in moderation as part of a balanced diet.
For the Lovers: Variations & Tips
· Chocolate Lovers: Add a chocolate ganache drizzle after cooling.
· Fruit Lovers: Swirl in 2 tablespoons of raspberry or strawberry jam before baking for a fruity twist.
· Nut Lovers: Fold 1/3 cup of chopped walnuts or pecans into the brownie batter.
· Savvy Tip: For ultra-clean cuts, run a sharp knife under hot water, wipe dry, and cut. Repeat between each slice.
Conclusion: A Dessert to Cherish
The Cheesecake Brownie is more than just a bar cookie; it is a celebration of texture, taste, and baking joy. Its rich history and universal appeal make it a timeless addition to any recipe collection. By following these detailed methods, you will achieve a dessert with a perfect balance—deep chocolate notes punctuated by bursts of creamy vanilla. Whether shared with loved ones over coffee, presented at a celebration, or enjoyed as a personal moment of indulgence, this marbled marvel is sure to earn its place as a requested favorite for years to come. Happy Baking!