Here’s a big, nostalgic peanut butter fudge recipe that matches that “Grandma’s secret stash” vibe — no baking, no fuss, just smooth, creamy sweetness that disappears quietly.
🍯 Old-School Peanut Butter Fudge (No-Bake, Grandma-Style)
Introduction
This is the kind of fudge that doesn’t make noise when it vanishes.
It’s the classic no-bake peanut butter fudge that Grandma would make when company was coming—or when she just wanted a secret treat in the fridge.
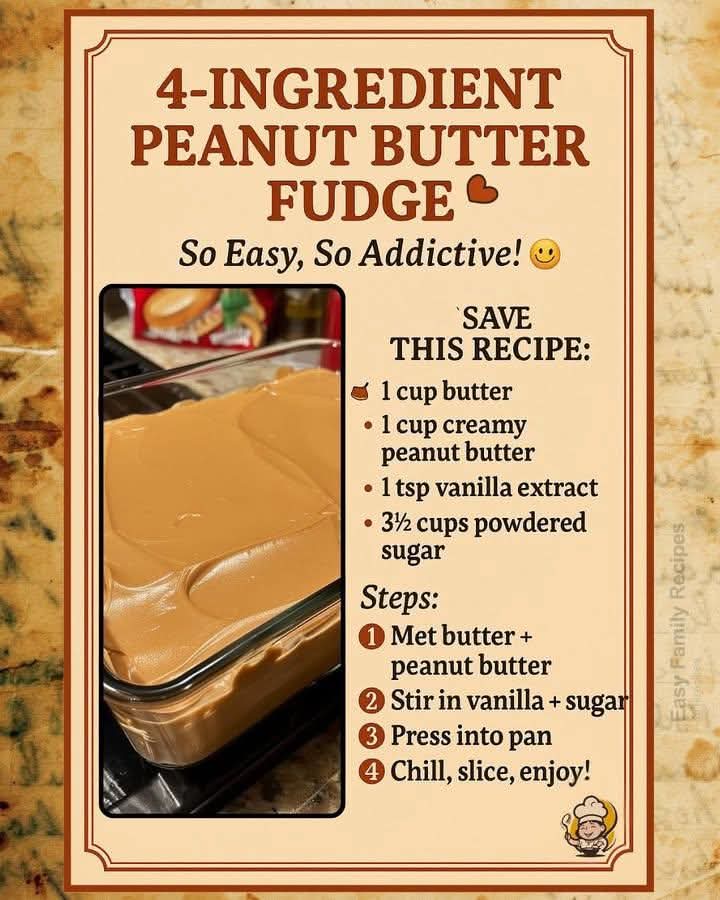
It starts with simple pantry ingredients: sugar, peanut butter, butter, and milk.
You melt them together, pour into a pan, and wait for that creamy, firm texture to set.
It sets up firm but stays creamy, and once it’s chilled, you can slice it into perfect squares that melt in your mouth.
Ingredients (Makes about 24 pieces)
- 2 cups granulated sugar
- 1/2 cup milk
- 1/2 cup unsalted butter
- 1 cup creamy peanut butter
- 1 teaspoon vanilla extract
- Pinch of salt (optional, but recommended)
Instructions
Step 1: Prepare Your Pan
Line an 8×8 inch pan with parchment paper or wax paper.
Leave some paper hanging over the sides so you can lift the fudge out later.
Step 2: Heat the Base
In a medium saucepan, combine:
- sugar
- milk
- butter
Bring to a rolling boil over medium heat, stirring constantly.
Step 3: Boil to Soft Ball Stage
Continue boiling for about 2–3 minutes until it reaches a soft-ball stage (235–240°F / 113–116°C).
If you don’t have a thermometer:
Drop a tiny bit of the mixture into cold water.
If it forms a soft ball that flattens easily—you’re there.
Step 4: Add Peanut Butter
Remove the saucepan from heat and immediately stir in:
- 1 cup peanut butter
- 1 teaspoon vanilla
- Pinch of salt
Mix until smooth and glossy.
Step 5: Pour & Set
Pour into your prepared pan and spread evenly.
Let it cool at room temperature for about 30 minutes, then place in the fridge for 2–3 hours.
Step 6: Slice & Disappear
Once set, lift the fudge out using the parchment paper and slice into squares.
Methods (Grandma’s Secrets)
Here’s what makes this fudge special:
Method 1: Soft Ball Boil
This is the old-school way to get that firm-but-creamy texture.
Method 2: Stirring Off Heat
You add peanut butter after removing from heat so it stays smooth and glossy.
Method 3: Chill to Firm
This fudge sets in the fridge, and becomes perfectly sliceable without being crumbly.
History & Formation
Peanut butter fudge has roots in mid-20th-century America, when peanut butter became a popular pantry staple.
It grew in popularity because:
- it was cheap
- it was easy
- it was no-bake
- it was comfort food
Grandma’s kitchens loved it because it was fast to make, yet tasted like a special treat.
It was a common dessert for holidays, family gatherings, and school lunches.
Conclusion
This fudge is the definition of simple, familiar, and dangerously delicious.
It doesn’t need fancy ingredients or complicated steps—just the kind of comfort that sticks to your memories.
For the Lovers of Fudge
If you’re the kind of person who lives for fudge, this one is for you:
- creamy, not grainy
- firm, not hard
- peanut buttery, not too sweet
- the kind that disappears before you even notice
More Methods for Lovers
Here are a few upgrades for true fudge lovers:
Method: Add Chocolate Swirl
Swirl in 1/2 cup melted chocolate before it sets.
Method: Add Crunch
Mix in 1/2 cup chopped peanuts.
Method: Salted Finish
Sprinkle flaky sea salt on top before chilling.
If you want, I can also give you: ✅ a microwave version,
✅ a dark chocolate peanut butter version,
or
✅ a vegan / dairy-free version
Just say the word.