Absolutely! Let’s make your chocolate cupcake dream extra indulgent. Here’s a full, detailed recipe with everything you asked for: introduction, ingredients, methods, history, and even a bit of chocolate-loving romance. 🍫💖
Ultimate Chocolate Brownie Cupcakes with Whipped Ganache
Introduction
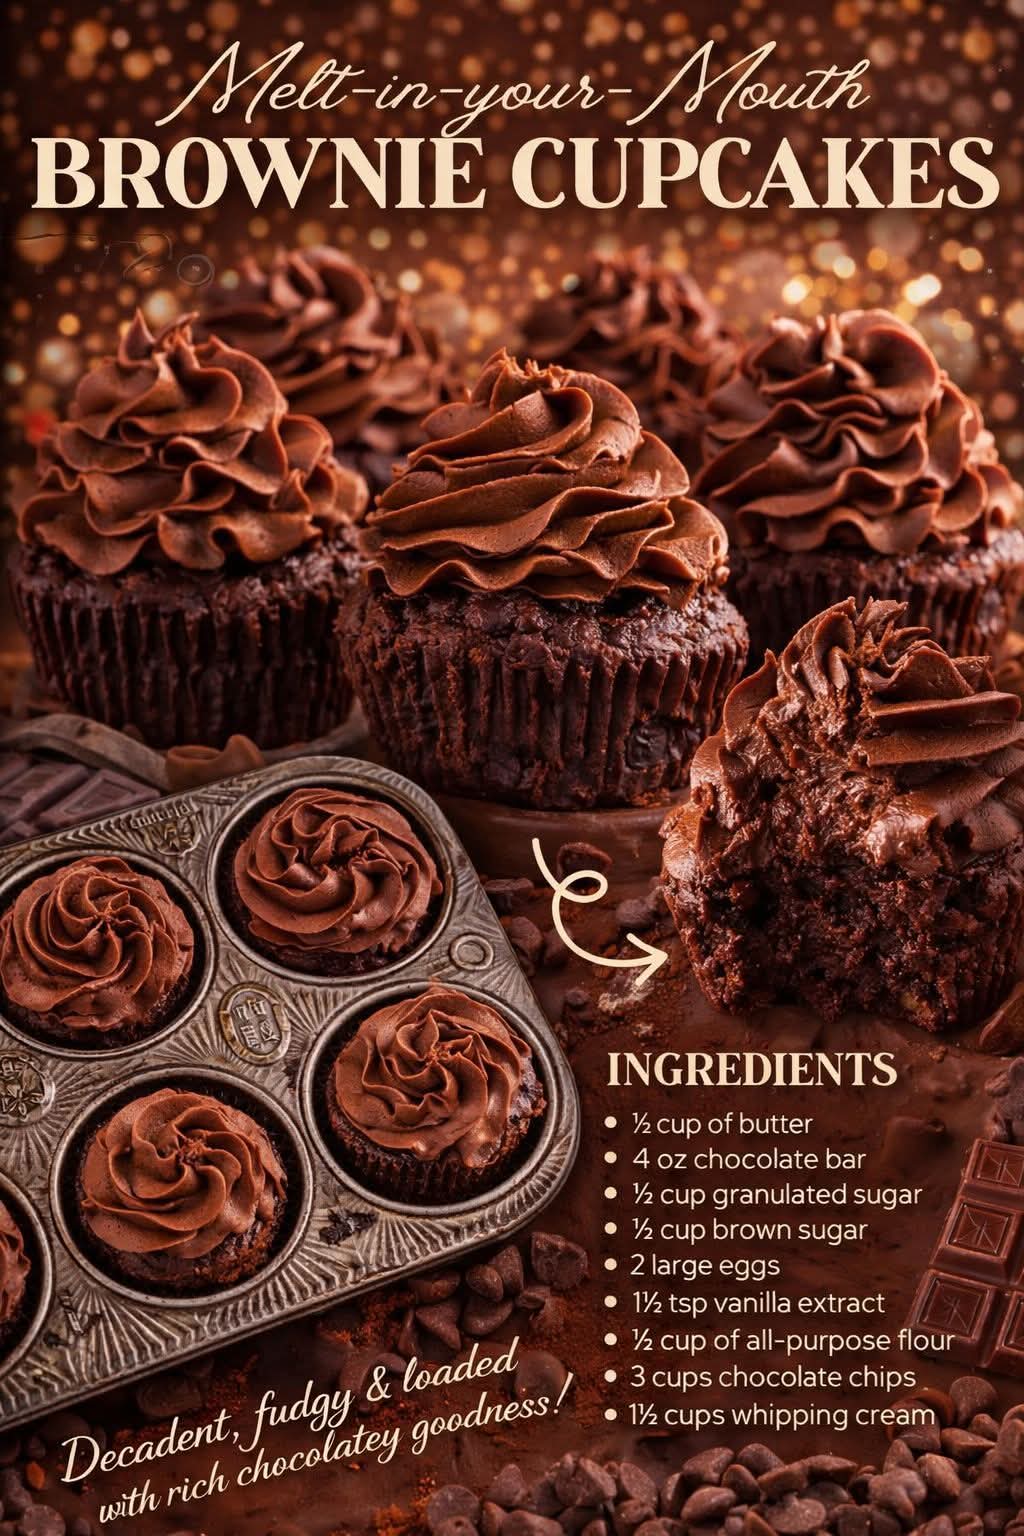
Imagine the fudgy, rich, melt-in-your-mouth goodness of a classic brownie—but perfectly portioned in a cupcake liner, topped with luscious whipped chocolate ganache that practically begs you to take a second (or third) bite. These cupcakes are perfect for birthdays, holidays, or any moment that deserves a little chocolate love.
Whether you’re making them for family, friends, or just yourself, this recipe balances the deep, bittersweet flavor of chocolate with the soft sweetness of sugar and the creamy touch of ganache. Let’s dive into chocolate heaven! 🍫✨
Ingredients
For the Brownie Cupcakes
- ½ cup (1 stick) unsalted butter
- 4 oz semisweet or dark chocolate bar, chopped
- ½ cup granulated sugar
- ½ cup brown sugar, packed
- 2 large eggs
- 1½ tsp vanilla extract
- ½ cup all-purpose flour
- 1½ cups chocolate chips
For the Whipped Chocolate Ganache
- 1½ cups heavy whipping cream
- 1½ cups chocolate chips or chopped chocolate
Instructions
Step 1: Prep the Oven & Pan
- Preheat your oven to 350°F (175°C).
- Line a 12-cup muffin tin with cupcake liners or lightly grease each cup.
Step 2: Melt Butter & Chocolate
- In a medium saucepan over low heat, melt ½ cup butter and 4 oz chopped chocolate together, stirring constantly until smooth.
- Remove from heat and let cool slightly.
Step 3: Mix the Batter
- Stir in ½ cup granulated sugar and ½ cup brown sugar until fully combined.
- Add the eggs one at a time, mixing well after each addition.
- Stir in 1½ tsp vanilla extract.
- Gently fold in ½ cup flour until just combined.
- Fold in 1½ cups chocolate chips for an extra chocolate kick.
Step 4: Bake the Cupcakes
- Divide the batter evenly among the cupcake liners.
- Bake for 18–22 minutes, or until a toothpick inserted in the center comes out mostly clean (a few fudgy crumbs are okay!).
- Allow cupcakes to cool completely on a wire rack.
Step 5: Make Whipped Ganache
- Heat 1½ cups heavy cream in a saucepan until just boiling, then pour over 1½ cups chocolate chips in a heatproof bowl.
- Let sit for 1–2 minutes, then whisk until smooth.
- Refrigerate for 30–45 minutes until firm but not hardened.
- Whip ganache with an electric mixer until light and fluffy.
Step 6: Assemble
- Using a spoon or piping bag, generously top each cooled brownie cupcake with whipped ganache.
- Optional: sprinkle with chocolate shavings, cocoa powder, or crushed nuts for extra flair.
Method & Tips
- Double Chocolate: Add a mix of dark and milk chocolate chips for a richer taste.
- Fudgy Texture: Don’t overbake—brownie cupcakes are best slightly underbaked in the center.
- Flavor Boost: A pinch of espresso powder in the batter enhances the chocolate flavor without tasting like coffee.
- Storage: Keep in an airtight container in the fridge for up to 4 days.
History & Formation
Brownies originated in the United States in the late 19th century and became a dessert icon due to their simple preparation and rich, chocolatey taste. Over time, bakers innovated by miniaturizing them into cupcakes for portion control and added versatility. These brownie cupcakes are a modern spin—perfect for celebrations, individual desserts, or anytime chocolate cravings strike.
Conclusion
These brownie cupcakes are more than just a dessert—they’re a chocolate experience. Soft, fudgy, and decadently topped with whipped ganache, they satisfy every craving and look stunning on a dessert table.
Whether you’re gifting them, serving at a party, or sneaking one for yourself at midnight, these cupcakes deliver pure chocolate bliss. 💕
For the Chocolate Lovers
- Pair with a glass of cold milk or a warm cup of coffee.
- Share with a friend and watch their eyes light up—this is love in dessert form.
- Perfect for Valentine’s Day, birthdays, or “just because” moments.
I can also make a version with step-by-step photos or a frosting swirl tutorial if you want it to look extra professional and drool-worthy.
Do you want me to do that next?