Of course. Here is a full, lovingly detailed presentation of your grandmother’s timeless recipe, expanded into a complete culinary profile.
—
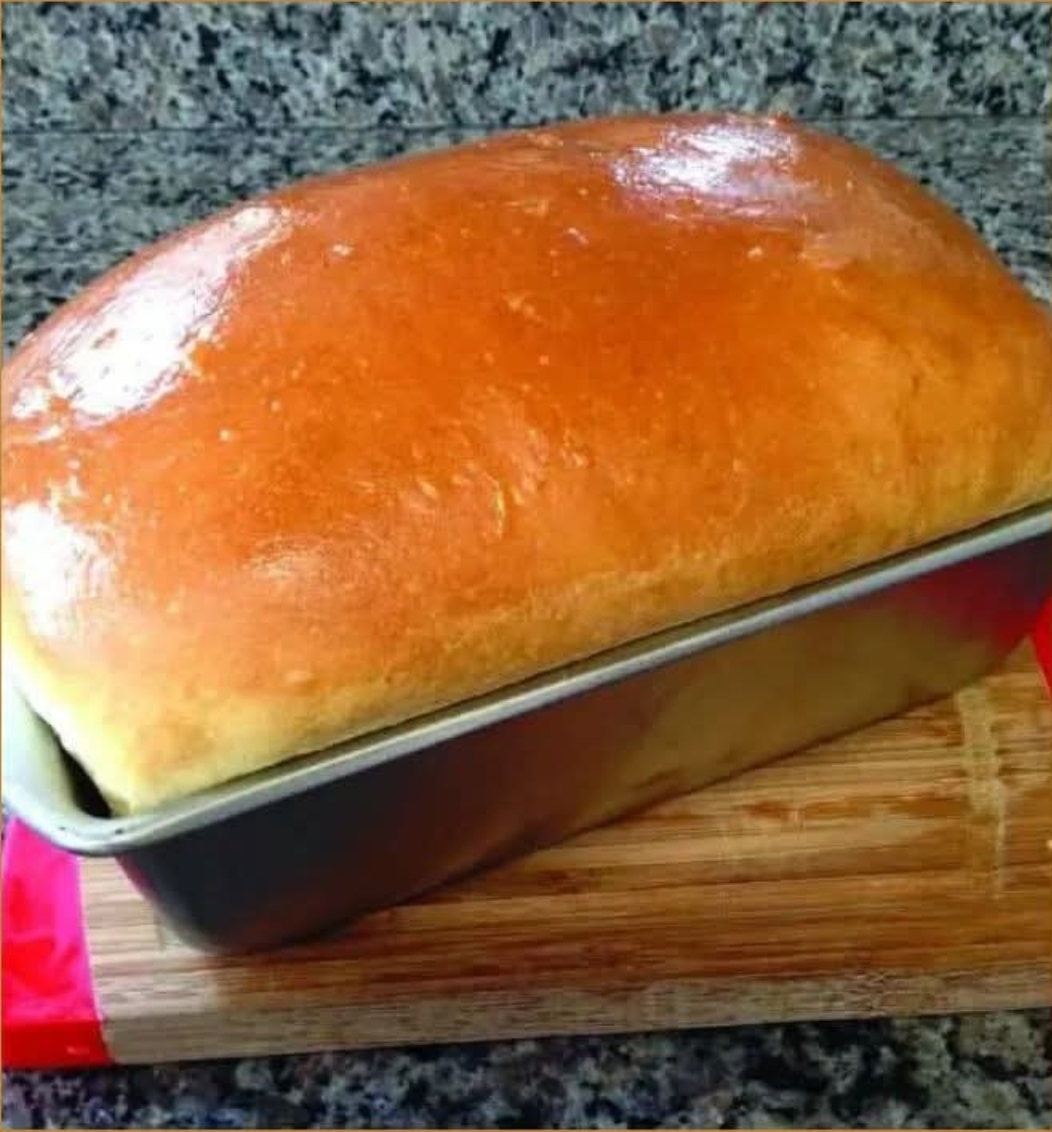
Grandma’s Country White Bread: A Loaf of Love and Simplicity
There’s a special alchemy in a grandmother’s kitchen. It’s where simple ingredients—flour, water, yeast, salt—are transformed not just into food, but into a tangible expression of care, comfort, and tradition. This Country White Bread recipe is exactly that: a perfect, pillowy-soft, subtly sweet loaf with a golden crust that crackles as it cools. It’s the bread of childhood sandwiches, of toast slathered with homemade jam, and of warm slices buttered straight from the oven. More than just a recipe, it’s a heirloom, passed down to nourish both body and soul. It reminds us that the simplest things, made with attention and love, are often the most extraordinary.
—
The Humble History of White Bread
For centuries, white bread was considered the bread of the affluent, as producing finely sifted white flour required more labor and resources. By the 20th century, with the industrialization of milling, it became a staple in households across America. The “country white” style represents the home baker’s ideal: a balanced, reliable, and versatile loaf that is soft enough for children yet sturdy enough for toasting. It’s the centerpiece of countless family meals, a testament to domestic craftsmanship and the heart of the home: the kitchen.
—
Why We Love It: The Benefits of Homemade Bread
· Control & Purity: You know every single ingredient that goes into your loaf—no preservatives, no unpronounceable additives.
· The Therapy of Process: The rhythmic kneading, the patient waiting for the rise, the anticipation of the bake—it’s a mindful, rewarding practice.
· Superior Flavor & Texture: The taste of warm, fresh-bread is incomparable to store-bought. The crust is crisper, the crumb is tender and fragrant.
· A Living Tradition: Baking this bread connects you to your grandmother, to countless home bakers before you, and to the fundamental human art of creating sustenance.
—
Formation: The Science of a Perfect Loaf
This recipe follows the classic straight-dough method, where ingredients are combined in one session. The key stages are:
1. Activation: The yeast feeds on the warm liquid and sugar, becoming frothy and alive.
2. Mixing & Kneading: Gluten proteins in the flour develop into a strong, elastic network that will trap the yeast’s gases.
3. First Rise (Bulk Fermentation): The yeast multiplies and ferments, causing the dough to double in size and develop flavor.
4. Shaping: The dough is formed into loaves, creating surface tension for an even rise.
5. Proofing: The final rise where the shaped loaves relax and expand.
6. Baking: The heat sets the structure, creates the crust, and produces the beautiful golden-brown color.
—
Grandma’s Country White Bread Recipe
Ingredients:
· 2 cups warm water (105°F-115°F / 40°C-46°C)
· 2 tablespoons granulated sugar
· 1 tablespoon active dry yeast (or 2 ¼ teaspoons)
· 1 tablespoon salt
· ¼ cup neutral oil (like vegetable or canola)
· 5 ½ to 6 cups all-purpose flour (bread flour can be used for a chewier texture)
· 2 tablespoons butter, melted (for brushing after baking)
Equipment:
· Large mixing bowl
· Stand mixer with dough hook (optional, but helpful)
· Clean kitchen towel or plastic wrap
· 2 x 9×5 inch loaf pans
· Pastry brush
—
Method & Instructions
Step 1: Activate the Yeast
In a large bowl or the bowl of a stand mixer,combine the warm water and sugar. Sprinkle the yeast over the top and let it sit for 5-10 minutes until it becomes frothy and bubbly. This “proofs” the yeast, ensuring it’s active.
Step 2: Make the Dough
To the yeast mixture,add the salt, oil, and 3 cups of the flour. Mix until a shaggy batter forms. Gradually add the remaining flour, ½ cup at a time, until the dough begins to pull away from the sides of the bowl. You may not need all 6 cups; stop when the dough is soft and slightly tacky, but not sticky.
Step 3: Knead to Perfection
Turn the dough onto a lightly floured surface.Knead by hand for 8-10 minutes (or with a dough hook on medium-low for 5-7 minutes) until the dough is smooth, elastic, and springs back slowly when you poke it.
Step 4: First Rise
Place the kneaded dough in a lightly oiled bowl,turning once to coat. Cover with a damp towel or plastic wrap. Let rise in a warm, draft-free place for 1 to 1 ½ hours, or until doubled in size.
Step 5: Shape the Loaves
Punch down the risen dough to release air.Turn it out onto a surface and divide it into two equal pieces. Shape each into a tight loaf by flattening into a rectangle, folding the long sides in, and rolling tightly from one short end. Pinch the seam and ends to seal. Place each loaf, seam-side down, into a greased 9×5 inch loaf pan.
Step 6: Final Proof
Cover the pans with the towel and let the loaves rise again for 30-45 minutes,until they crest about 1 inch above the rim of the pan. Preheat your oven to 375°F (190°C).
Step 7: Bake
Bake the loaves in the preheated oven for 30-35 minutes.They are done when the tops are deep golden brown, the loaves sound hollow when tapped on the bottom, and the internal temperature registers 190°F (88°C).
Step 8: The Finishing Touch
Immediately upon removing from the oven,brush the tops with melted butter. This gives the crust a beautiful sheen, extra flavor, and keeps it soft. Let the loaves cool in the pans for 5 minutes, then transfer to a wire rack to cool completely (if you can wait!).
—
For the True Bread Lovers: Pro-Tips & Variations
· The Windowpane Test: To check gluten development, stretch a small piece of dough. If you can stretch it thin enough to see light through it without tearing, it’s perfectly kneaded.
· Overnight Flavor: For deeper flavor, let the shaped loaves do their final proof slowly in the refrigerator overnight. Bake cold the next morning.
· Variations: Add a handful of oats or seeds to the dough. Brush with an egg wash (1 egg + 1 tbsp water) before baking for a glossy, crisp crust. For a stunning “braid,” divide one portion of dough into three strands and braid before the final proof.
—
A Note on Nutrition (Per Slice, approx.)
Nutrient Approx. Amount
Calories 120-140 kcal
Carbohydrates 23-25 g
Protein 3-4 g
Fat 2-3 g
Fiber <1 g
This is a celebratory, traditional bread. Its value lies in its wholesome ingredients and the joy of sharing, making it a nourishing choice for the spirit as well as the body.
—
Conclusion: A Legacy in Every Loaf
Grandma’s Country White Bread is more than sustenance; it’s a sensory experience—the smell that fills the house, the warm weight of a fresh loaf in your hands, the quiet satisfaction of a perfect crumb. This recipe is a gift, a thread connecting generations. In a world of complexity, it returns us to the fundamentals, proving that with a few simple ingredients and a bit of patience, we can create something truly wonderful. It is a humble, glorious testament to the fact that the greatest recipes are those shared with love. So bake it, share it, and pass it on.