Absolutely! Let’s create a full, engaging, detailed article about your no-bake peanut butter balls recipe. I’ll include all the sections you requested, and I’ll make it reader-friendly, fun, and share-worthy.
No-Bake Peanut Butter Balls: A Sweet Treat You Can’t Resist
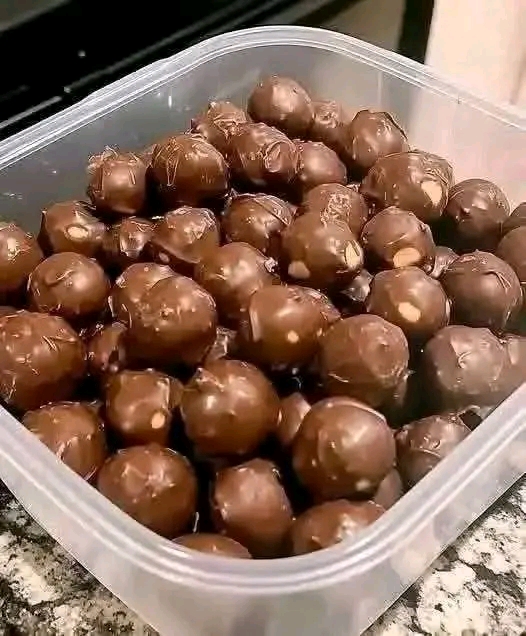
If you’re looking for a simple, indulgent treat that satisfies your sweet tooth without firing up the oven, no-bake peanut butter balls are your perfect match. These little delights are creamy, chocolaty, and downright addictive. Whether for holidays, parties, or a cozy night in, they are always a hit!
History of Peanut Butter Balls
The love affair between chocolate and peanut butter goes back over a century. Peanut butter balls, also known as “buckeyes” in Ohio, were originally inspired by the nutty candies of the early 1900s. The “buckeye” name comes from the resemblance of the candies to the nut of the Ohio buckeye tree. Over time, these treats evolved into the easy, no-bake versions we enjoy today, making them a staple in American kitchens, especially around the holidays.
Ingredients
Here’s what you’ll need to make approximately 30-35 peanut butter balls:
- 1 cup creamy peanut butter – the star of the show.
- 1/2 cup unsalted butter, softened – adds richness and smoothness.
- 1 tsp vanilla extract – for a hint of aromatic sweetness.
- 3 cups powdered sugar – for the perfect sweet, firm texture.
- 2 cups chocolate chips (milk or semi-sweet) – to coat your peanut butter balls in chocolatey goodness.
Optional: Sprinkles, crushed nuts, or coconut flakes for decorating.
Formation: How These Balls Come Together
The magic of no-bake peanut butter balls is in their simplicity. The creamy peanut butter mixes with soft butter, vanilla, and powdered sugar to create a pliable dough. Then, small portions are rolled into balls, chilled, and dipped in melted chocolate. With just a few steps, you transform a handful of basic ingredients into a decadent treat that looks and tastes impressive.
Method: Step-by-Step Instructions
1. Make the Peanut Butter Mixture
- In a large mixing bowl, combine 1 cup creamy peanut butter and 1/2 cup softened butter.
- Add 1 tsp vanilla extract and mix until smooth.
- Gradually add 3 cups powdered sugar, mixing until the dough is firm enough to roll.
2. Shape the Balls
- Scoop out small portions of the dough (about 1 inch each).
- Roll each portion into a smooth ball with your hands.
- Place the balls on a parchment-lined baking sheet.
3. Chill
- Refrigerate the peanut butter balls for at least 30 minutes so they firm up.
4. Coat in Chocolate
- Melt 2 cups chocolate chips in a microwave or double boiler until smooth.
- Using a fork or toothpick, dip each ball into the melted chocolate, ensuring it’s fully coated.
- Place back on the parchment paper to set.
5. Serve and Enjoy
- Allow the chocolate to harden completely. Store in an airtight container in the fridge.
Lovers of Peanut Butter Balls
Peanut butter balls are beloved by chocolate lovers, peanut butter fans, and busy bakers alike. They are a favorite among kids for their bite-sized appeal, among adults for their nostalgic flavor, and among anyone who appreciates an effortless, indulgent treat.
Tips & Tricks for Perfect Peanut Butter Balls
- Use creamy peanut butter for smooth consistency; chunky works too if you like texture.
- Adjust powdered sugar for your desired sweetness.
- For a festive twist, sprinkle crushed nuts or coconut on the chocolate before it sets.
- Keep them refrigerated, especially if the weather is warm.
Conclusion
No-bake peanut butter balls are proof that simple ingredients can create extraordinary treats. They combine the classic flavors of peanut butter and chocolate in a fun, easy-to-make candy. Perfect for holidays, parties, or just a cozy night at home, these little delights will always bring smiles and satisfied taste buds.
💌 Stay tuned for more recipes, tips, and sweet inspirations! Keep following us so you never miss a treat that melts hearts and taste buds alike.
If you want, I can also make a visually formatted, “print-ready” version with photos, serving suggestions, and extra tips to really make this recipe shine for readers.
Do you want me to do that next?