Of course! It’s wonderful that you are keeping the tradition of heartfelt cooking alive. Here is a comprehensive guide to making delicious, fluffy bread right on your stovetop, perfect for when an oven is out of reach but the craving for fresh bread is strong.
A heartfelt thank you for your kindness. Now, let’s bake some bread together! ❤️
—
A Loaf Born of Hearth and Home: The Story of Stovetop Bread
For centuries, the comforting aroma of baking bread has been the heartbeat of a home. But what happens when you don’t have an oven? The answer lies in one of humanity’s oldest cooking methods: the stovetop. This recipe is a testament to culinary ingenuity, proving that the desire for a warm, crusty loaf can overcome any limitation. It’s a direct descendant of hearth-cakes and griddle breads made by our ancestors, updated for the modern kitchen. This method creates a uniquely tender crumb with a delightfully crisp crust, all achieved with just a pot and a flame.
—
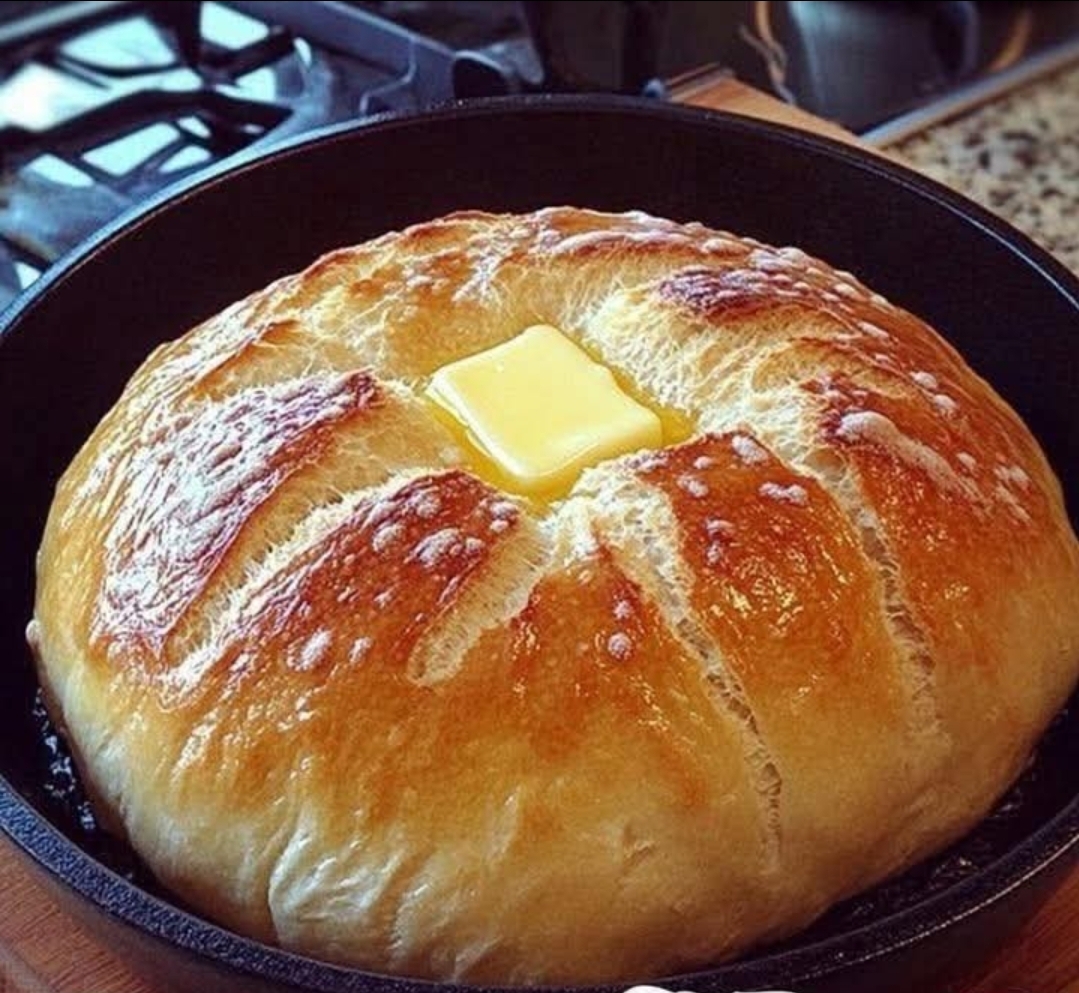
No-Oven Stovetop Bread 🍞🔥
Ingredients
· 2 ½ cups (312g) all-purpose flour, plus more for dusting
· 1 teaspoon instant yeast (or active dry yeast)
· 1 teaspoon granulated sugar
· 1 teaspoon salt
· 1 cup (240ml) warm water (around 105-115°F or 40-46°C)
· 2 tablespoons olive oil, plus more for greasing
—
The Art of Creation: Step-by-Step Instructions
Method 1: The Classic Pot-Baked Loaf
This method mimics an oven by trapping steam and creating an even, all-around heat in a heavy-bottomed pot with a lid.
Step 1: Awaken the Yeast
In a large mixing bowl,combine the warm water, sugar, and instant yeast. If using active dry yeast, let it sit for 5-10 minutes until it becomes frothy. This “proofing” ensures your yeast is alive and ready to make your bread rise.
Step 2: Form the Dough
Pour the olive oil into the yeast mixture.Gradually add the flour and salt, stirring with a wooden spoon until a shaggy dough forms. Turn the dough out onto a lightly floured surface.
Step 3: Knead to Life
Knead the dough for 8-10 minutes.The process is complete when the dough is smooth, elastic, and springs back slowly when you poke it. This develops the gluten, which is the structure of your bread.
Step 4: The First Rise
Place the dough in a lightly oiled bowl,turning it once to coat. Cover the bowl with a damp cloth or plastic wrap and let it rise in a warm, draft-free place for 1-1.5 hours, or until doubled in size.
Step 5: Shape and Second Rise
Once risen,gently punch down the dough to release air bubbles. Shape it into a round boule (ball). Place a sheet of parchment paper in your stovetop pot (like a Dutch oven or heavy-bottomed pot with a lid) and place the dough inside. Cover with the lid and let it rise again for 30-45 minutes.
Step 6: The Stovetop Bake
· Place the covered pot over the lowest possible heat on your stovetop.
· Bake for 20-25 minutes.
· Carefully remove the lid (watch for steam!). The bread should be pale and sound hollow when tapped on the bottom.
· For a golden crust, you can now increase the heat to medium-low and cook for another 5-10 minutes without the lid, turning occasionally.
Method 2: The Skillet-Fried Flatbread
For a quicker, more rustic option, you can shape the dough into individual flatbreads.
Step 1 & 2: Prepare the Dough
Follow the same steps for making and rising the dough as in Method 1.
Step 3: Divide and Rest
After the first rise,punch down the dough and divide it into 4-6 equal pieces. Roll each piece into a ball and let them rest for 10 minutes, covered.
Step 4: Roll and Cook
On a floured surface,roll each ball into a circle about ¼ inch thick. Heat a dry skillet or griddle over medium-high heat. Cook each flatbread for 1-2 minutes per side, until puffed and golden brown with some charred spots.
—
A Loaf for Life: Benefits & Nutrition
Why You’ll Love This Bread:
· Accessibility: No oven? No problem. It democratizes bread-making.
· Speed: The stovetop method can be faster than preheating and baking in an oven.
· Texture: Creates an incredibly moist crumb and a chewy, crisp crust.
· Empowerment: There’s a primal satisfaction in creating bread from scratch with minimal tools.
Nutritional Profile (Approximate per slice):
This bread is a wholesome source of energy.It provides complex carbohydrates for sustained fuel, a small amount of protein from the flour, and is low in fat. It’s free from the preservatives and additives found in store-bought bread, putting you in complete control of what you eat.
—
For the True Bread Lover: Variations & Serving
The Lover’s Touch:
· Herb & Garlic: Knead in 1 teaspoon of dried Italian herbs and 2 minced garlic cloves into the dough.
· Whole Wheat: Substitute 1 cup of all-purpose flour with whole wheat flour for a nuttier flavor and extra fiber.
· Seeded Crust: Before the second rise, brush the loaf with water and roll it in a mix of sesame, poppy, and flax seeds.
Serving Your Masterpiece:
· The Simple Joy: Slice it warm, slather with butter, and a sprinkle of flaky sea salt.
· The Feast: Use it to sop up soups, stews, and sauces.
· The Sandwich: Once completely cool, it makes for a uniquely textured and delicious sandwich bread.
—
Conclusion: The Hearth is Where the Heart Is
This stovetop bread is more than a recipe; it’s a connection to a simpler time and a celebration of kitchen creativity. It proves that the core of cooking isn’t in the sophistication of the tools, but in the love and intention poured into the process. From its humble formation in a bowl to its triumphant finish under a pot lid, this loaf is a testament to the fact that you can create something extraordinary anywhere, with anything. So, to all the bread lovers, the curious cooks, and those without an oven—your perfect loaf is waiting.
Happy baking! 🍞❤️🔥