Sure, I can help with that! Here’s a big, detailed recipe for Soft Milk Bread Rolls, which includes an introduction, ingredients, instructions, methods, history, and conclusion. I’ve woven in the charm of “lovers” to make it extra special.
Soft Milk Bread Rolls: A Heartfelt Delight for Every Occasion
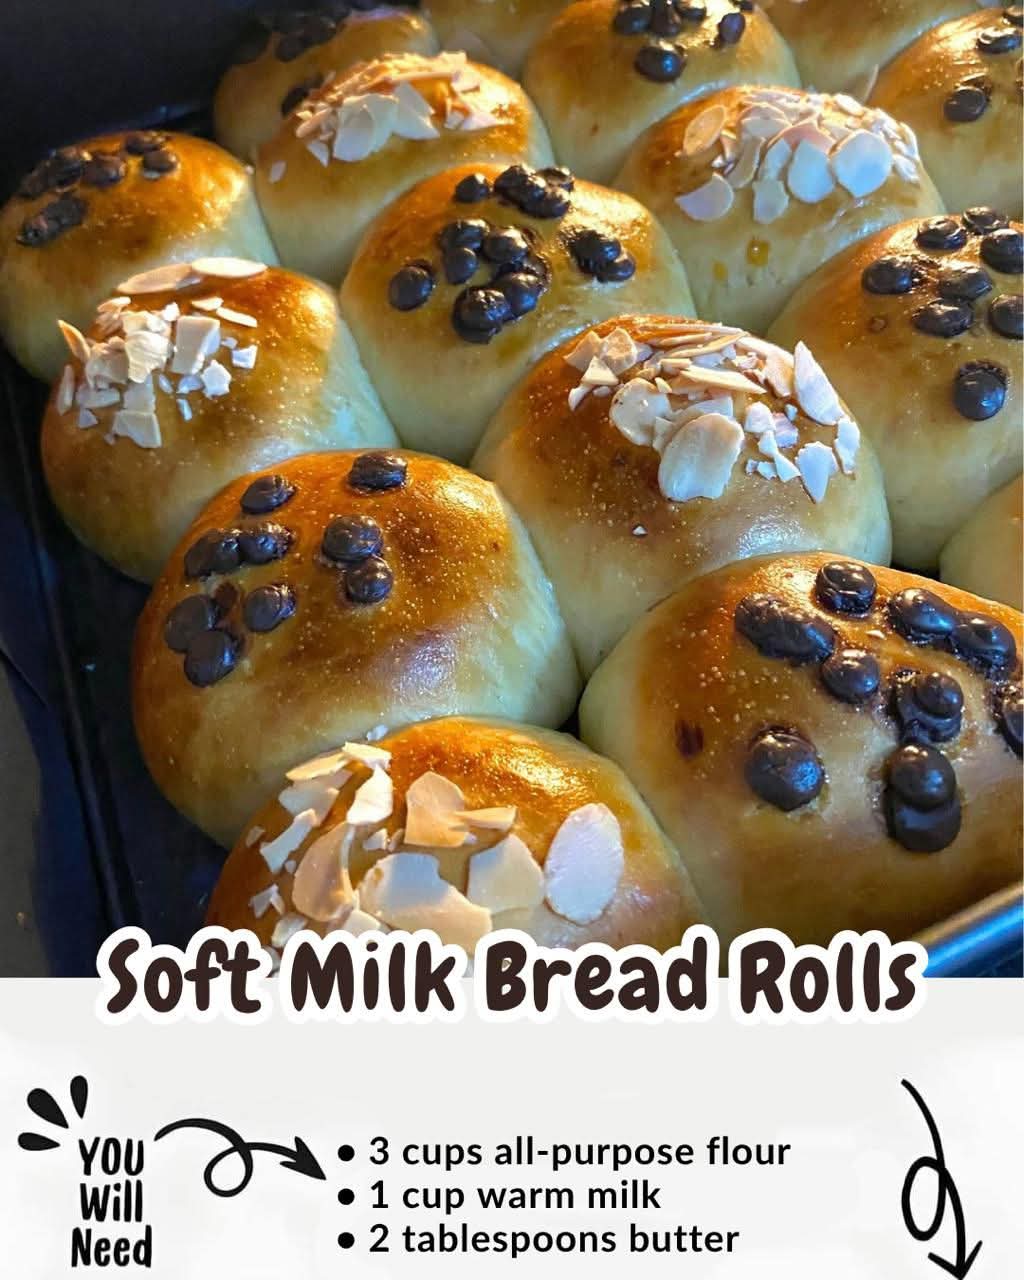
Introduction: Soft milk bread rolls are a comfort food for the soul—perfectly fluffy, lightly sweet, and with a golden-brown crust that makes them irresistible. Whether you’re making them for a cozy dinner at home, a holiday feast, or sharing with your loved ones, these rolls are sure to bring a smile to everyone’s face. The tender crumb and subtle milky sweetness have the magical ability to warm your heart, just like a homemade hug from a loved one.
Bread has long been a symbol of love and care in many cultures, and these soft milk rolls are no different. They require a little patience and attention, but the end result is totally worth it—just like any relationship worth nurturing.
Ingredients:
- 2 cups all-purpose flour (plus extra for dusting)
- 1/2 cup warm milk (not too hot, just warm enough to activate the yeast)
- 1/4 cup sugar (adds that sweet touch to balance the milk)
- 1/4 teaspoon salt (to enhance the flavors)
- 1/4 teaspoon active dry yeast (for the fluffiness you crave)
- 1 large egg (to enrich the dough and help with rise)
- 2 tablespoons unsalted butter, melted (to make the rolls tender and buttery)
- 1 tablespoon honey (optional, for an extra hint of sweetness)
Instructions:
Step 1: Activate the Yeast
In a small bowl, combine the warm milk, sugar, and yeast. Stir gently and let it sit for about 5-10 minutes, or until it becomes frothy and bubbly. This is the moment when the yeast wakes up and starts its magic. Think of it as a little love affair between the yeast and the milk!
Step 2: Mix the Wet Ingredients
In a large mixing bowl, whisk together the egg and melted butter. Once the yeast mixture is ready, pour it into the bowl with the egg and butter. Add the honey if you’re using it. Stir until well combined, creating a rich, inviting mixture.
Step 3: Combine the Dry Ingredients
In a separate bowl, sift together the all-purpose flour and salt. Slowly add the flour mixture to the wet ingredients, stirring as you go. You’ll notice the dough coming together, and soon enough, it will form a sticky but manageable dough.
Step 4: Knead the Dough
Turn the dough out onto a floured surface and knead for about 8-10 minutes until the dough is smooth, elastic, and slightly tacky to the touch. You may need to add a bit of extra flour if it’s too sticky, but be careful not to add too much—it should remain soft and slightly sticky.
Step 5: Let It Rise
Place the dough in a lightly greased bowl, cover it with a damp cloth or plastic wrap, and let it rise in a warm spot for about 1 to 1.5 hours, or until it doubles in size. This is the quiet, intimate moment where the dough is given space to grow and develop.
Step 6: Shape the Rolls
Once the dough has risen, punch it down gently to release the air. Turn it out onto your floured surface again and divide it into 12 even portions. Shape each portion into a ball and place them closely together in a greased 9×13-inch baking dish, ensuring the rolls are just touching each other.
Step 7: Second Rise
Cover the shaped rolls with a clean kitchen towel and let them rise again for about 30-45 minutes, or until puffed and touching each other. This second rise gives the rolls a soft, pillowy texture that will melt in your mouth.
Step 8: Bake to Perfection
Preheat your oven to 350°F (175°C). Once the rolls have risen, pop them into the oven and bake for 20-25 minutes, or until golden brown on top. If you’d like an extra golden finish, brush the rolls with a little melted butter as soon as they come out of the oven.
History of Milk Bread Rolls:
Milk bread, known as “Hokkaido milk bread” in Japan, is deeply loved in many countries. Originally, this bread was inspired by the rich, soft loaves brought to Japan from the West in the late 19th century. It has since become a symbol of comfort and home baking in many cultures. The key to this bread’s signature softness is the use of a tangzhong method (a roux), but for this recipe, we keep things simple with a straightforward approach, letting the milk do the softening.
Methods with Lovers:
Making bread is a lot like being in a loving relationship. At first, it takes patience. You have to let things rise, nurture the dough, and give it time to grow. The dough is like a partner—you need to show it love and care, especially when kneading it into the perfect shape. When the rolls bake in the oven, you’ll see the results of that patience and effort. The rolls, golden and soft, just like the love you’ve invested in them, will be ready to share with your loved ones.
Conclusion:
These Soft Milk Bread Rolls are more than just a recipe—they’re a journey. From the first warm, comforting touch of the dough, to the tender rolls fresh from the oven, they’re a perfect way to share love and warmth with friends and family. Just like love itself, these rolls may take a little time and care to perfect, but the rewards are well worth the effort. Share them with your closest loved ones and see how they make every meal feel like a celebration.
Whether you’re baking with your partner, your family, or just for yourself, these rolls are a simple yet heartfelt way to spread some joy. So, what are you waiting for? Let’s get baking—and share the love! 💖