Of course! Here is a comprehensive, detailed guide to No-Bake Peanut Butter Cheesecake Balls, No-Bake Peanut Butter Cheesecake Balls,crafted to include all the elements you requested.
—
A Sweet Introduction to No-Bake Bliss
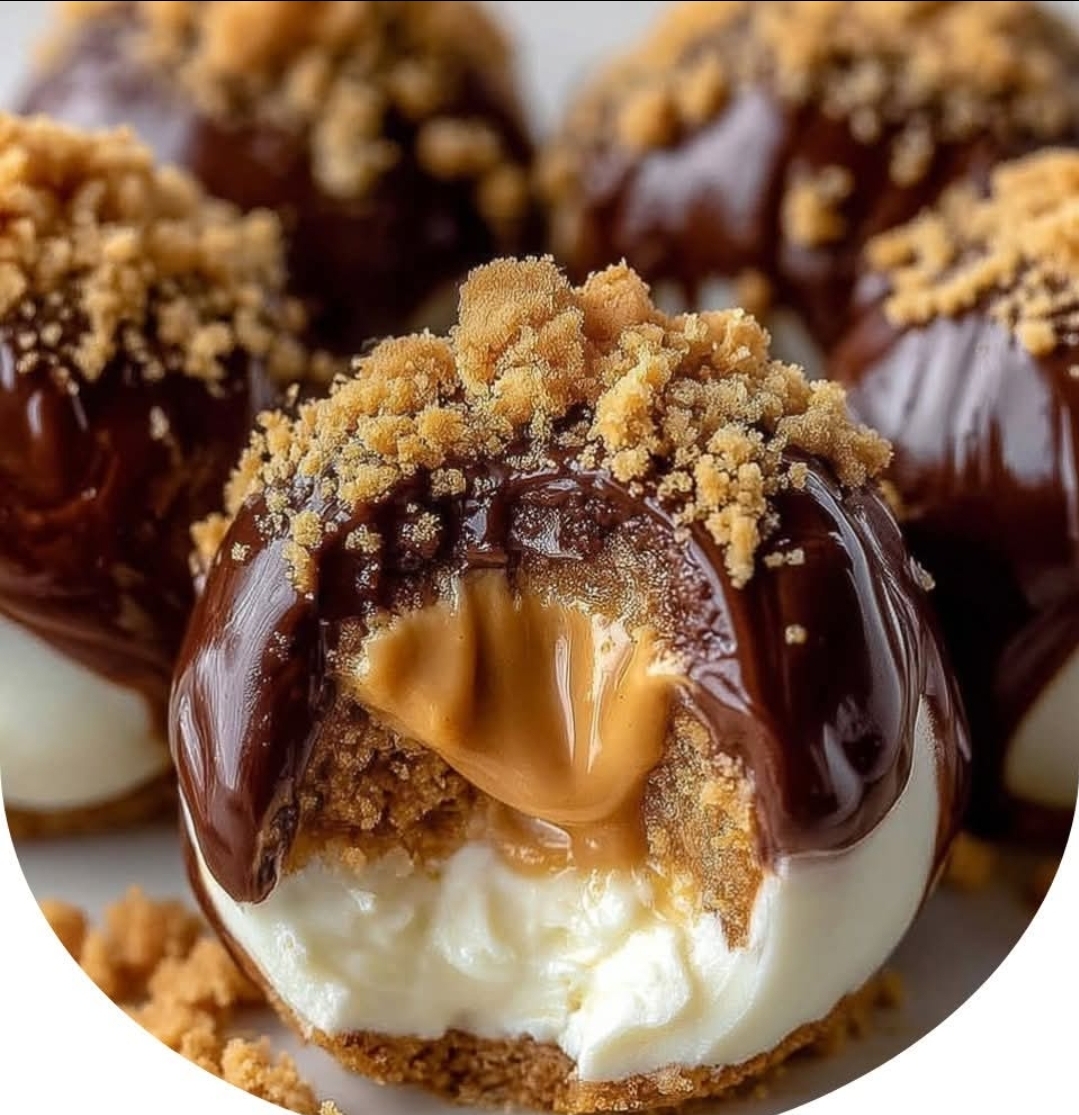
Imagine the rich, creamy heart of a peanut butter cheesecake, combined with the satisfying crunch of a graham cracker crust, all rolled into a single, irresistible, bite-sized ball. This is the magic of No-Bake Peanut Butter Cheesecake Balls. Perfect for potlucks, parties, or a simple treat to satisfy a sweet craving, these delights require no oven, minimal effort, and deliver maximum flavor. They are the ultimate fusion of convenience and decadence, a testament to the fact that the best desserts don’t always need to be baked.
—
The Historical Roots of a Modern Treat
The concept of the “cheesecake ball” is a relatively modern innovation, born from the no-bake dessert movement that gained popularity in the mid-20th century. Its ancestry, however, is deeply rooted in classic cheesecake.
· Ancient Origins: Cheesecake itself dates back to ancient Greece, where it was served to athletes at the first Olympic Games.
· The American Evolution: The creamy, rich cheesecake we know today was revolutionized in the United States with the invention of cream cheese by William Lawrence in 1872.
· The No-Bake Revolution: The mid-1900s saw a surge in recipes for “no-bake cheesecakes,” often using gelatin and relying on refrigeration to set. This was a game-changer for home cooks without easy access to an oven or those seeking quicker methods.
· The “Ball” Formation: The idea of forming cheesecake mixture into balls likely evolved from classic confections like rum balls and cake pops. It represents a desire for portion-controlled, portable, and visually appealing party food.
The No-Bake Peanut Butter Cheesecake Ball is a direct descendant of this culinary evolution, combining America’s love for peanut butter with the timeless appeal of cheesecake in a novel, no-fuss format.
—
The Benefits of Choosing This Delight
Why make this recipe? The benefits are numerous:
· Incredibly Easy: No baking skills required. It’s a foolproof recipe perfect for beginners.
· Time-Efficient: From start to finish, you can have a gourmet-level dessert ready in under an hour (plus chilling).
· Versatile: The coating can be customized with various crumbs, chopped nuts, or drizzles.
· Crowd-Pleasing: Its bite-sized nature and classic flavors make it a guaranteed hit at any gathering.
· Make-Ahead Friendly: These balls can be prepared days in advance, making party planning stress-free.
—
Gathering the Ingredients: The Foundation of Flavor
For the Cheesecake Base:
· 1 ½ cups (about 150g) graham cracker crumbs
· 6 tablespoons (85g) unsalted butter, melted
· 2 tablespoons granulated sugar
For the Cheesecake Filling:
· 8 ounces (225g) full-fat cream cheese, softened to room temperature
· 1 cup (about 260g) creamy peanut butter
· 1 cup (120g) powdered sugar, sifted
· 1 teaspoon pure vanilla extract
· A pinch of salt
For the Coating & Garnish:
· 1 cup (about 100g) finely chopped peanuts, graham cracker crumbs, or chocolate sprinkles
· 4 ounces (115g) semi-sweet or milk chocolate, melted (optional, for drizzling)
—
Crafting the Balls: A Step-by-Step Method
Method 1: The Foundation
1. Prepare the Base: In a medium bowl, combine the graham cracker crumbs, melted butter, and granulated sugar. Mix until the texture resembles wet sand.
2. Line a Tray: Line a large baking sheet or plate with parchment paper. Set aside.
Method 2: The Creamy Heart
1. Whip the Filling: In a large mixing bowl, using an electric hand mixer or a stand mixer with the paddle attachment, beat the softened cream cheese and peanut butter together on medium speed until completely smooth and creamy. Scrape down the sides of the bowl as needed.
2. Incorporate Sweetness: Add the sifted powdered sugar, vanilla extract, and pinch of salt. Start mixing on low speed to avoid a sugar cloud, then increase to medium-high until the mixture is fully combined and fluffy.
Method 3: The Union and Formation
1. Combine Mixtures: Add the prepared graham cracker base mixture to the peanut butter cream cheese filling. Mix on low speed until just combined and a uniform dough forms.
2. Chill the Dough: Cover the bowl with plastic wrap and refrigerate for at least 30-60 minutes. This crucial step firms up the mixture, making it easy to roll.
3. Form the Balls: Using a small cookie scoop or a tablespoon, portion out the dough. Roll each portion between your palms to form smooth, 1-inch balls. Place each ball on the prepared parchment-lined tray.
Method 4: The Final Coat
1. Prepare Coatings: Place your chosen coatings (chopped peanuts, graham cracker crumbs, etc.) in separate small bowls.
2. Roll and Coat: Roll each cheesecake ball in the coating until evenly covered. Return it to the tray.
3. Optional Drizzle: If using, place the melted chocolate in a small zip-top bag, snip off a tiny corner, and drizzle artistically over the coated balls.
4. Set Firmly: Place the tray back in the refrigerator for at least 1-2 hours, or until the balls are firm.
—
Nutritional Information (Per Ball, Approximate, makes ~30 balls)
Nutrient Amount
Calories ~150 kcal
Total Fat 11 g
Saturated Fat 4 g
Carbohydrates 11 g
Sugar 8 g
Protein 4 g
Sodium 85 mg
Note: This is an estimate. Actual values will vary based on specific ingredients used and portion size.
—
A Conclusion for Sweet Lovers
For true dessert lovers, these No-Bake Peanut Butter Cheesecake Balls are nothing short of a revelation. They capture the soul-satisfying essence of a classic dessert and present it in a fun, modern, and utterly addictive form. The contrast between the cool, creamy interior and the crunchy exterior is a textural dream, while the harmonious blend of sweet, salty, and nutty flavors is simply unforgettable.
They are a testament to the joy of homemade treats—a little project that yields a magnificent reward. So, gather your ingredients, and in less time than it takes to preheat an oven, you can be on your way to creating a dessert that will earn you the title of ultimate sweet treat provider among your family and friends. Enjoy the blissful, no-bake magic