Of course! Here is a comprehensive and detailed guide to the beloved No-Bake Lemon Pie, complete with all the sections you requested.
—
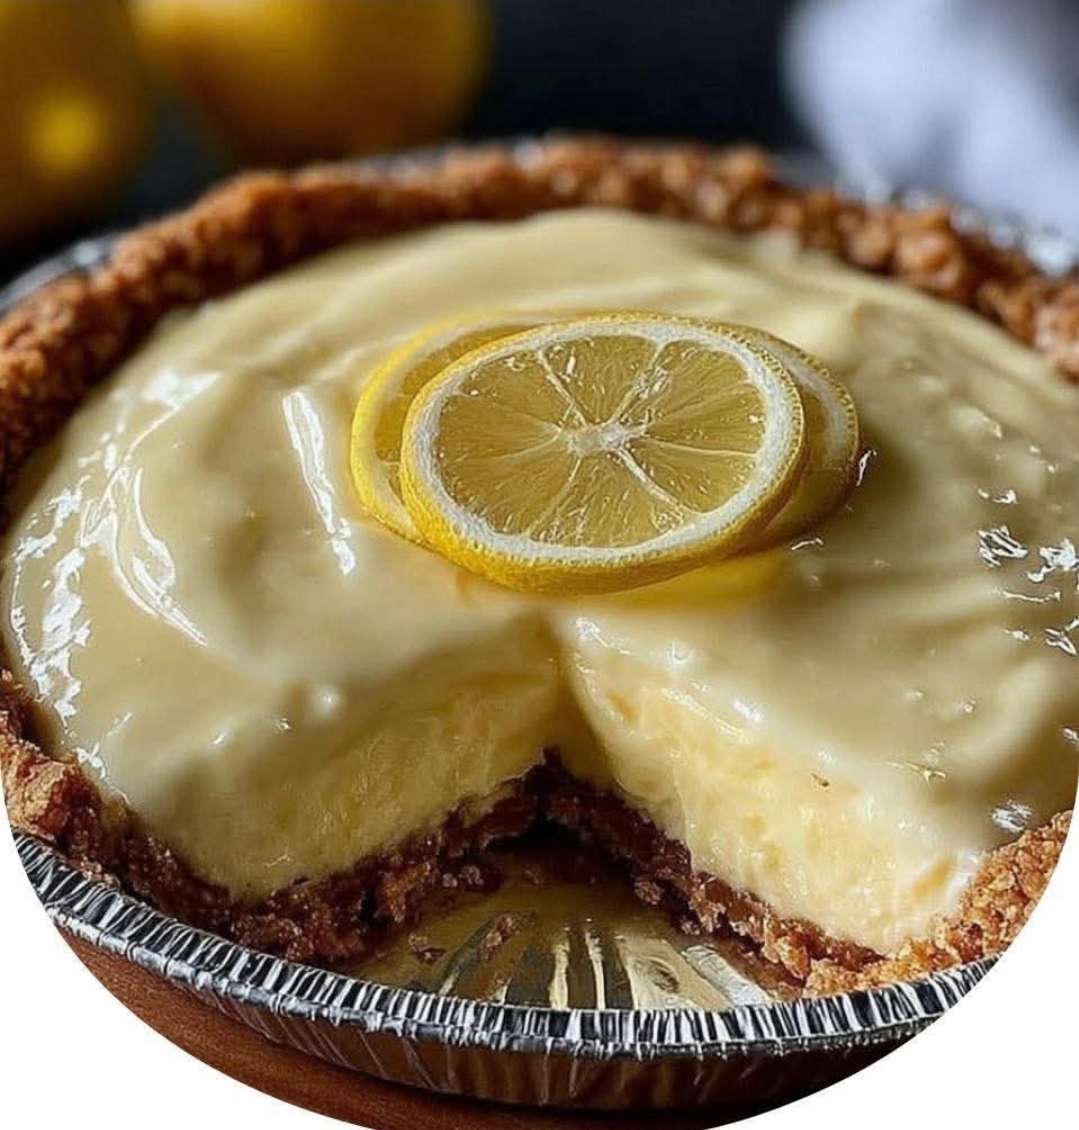
A Slice of Sunshine: The Ultimate No-Bake Lemon Pie
There are few desserts as universally refreshing as a classic lemon pie. It’s a perfect harmony of sweet and tart, creamy and crisp, all coming together in a dessert that feels both indulgent and bright. This no-bake version is a testament to simplicity and flavor, requiring no oven and just a bit of patience for chilling. It’s the perfect solution for a hot summer day, a last-minute gathering, or anytime you need a guaranteed crowd-pleaser that delivers a burst of sunny, citrus joy.
—
The Historical Roots of Lemon Pie
The love affair with lemon-flavored desserts dates back centuries, with lemon curd originating in England in the 19th century. The classic American lemon meringue pie, a baked cousin of this no-bake recipe, became a staple in the 20th century with the advent of sweetened condensed milk and reliable oven thermostats.
This no-bake version is a modern evolution, born from the mid-20th-century fascination with convenience foods and refrigerator desserts. It leverages the chemical magic of citrus juice reacting with dairy to create a firm, silky filling without the need for eggs or heat, making it accessible to bakers of all skill levels.
—
The Formation: Understanding the Recipe’s Structure
A great no-bake pie is built on a foundation of contrasting layers:
1. The Crust: Provides a sturdy, sweet, and crunchy base. We use graham crackers for their honeyed flavor and perfect crumb.
2. The Filling: This is the star. A creamy, tangy, and set filling achieved by combining citrus (lemon juice) with dairy and fat. The acid from the lemon juice thickens the mixture, giving it a lush, spoonable texture once chilled.
—
Ingredients & Their Benefits
For the Graham Cracker Crust:
· 2 cups (about 200g) Graham Cracker Crumbs: Made from about 14 full sheets. Graham flour offers a slight, wholesome sweetness and a fantastic crunchy texture.
· 1/2 cup (115g) Unsalted Butter, melted: Acts as the binding agent, turning the crumbs into a moldable, solid base. Using butter adds a rich, savory depth.
· 1/4 cup (50g) Granulated Sugar: Sweetens the crust to balance the tangy filling.
For the Lemon Filling:
· 1 can (14 oz or 396g) Sweetened Condensed Milk: The essential ingredient. It provides sweetness, a creamy base, and reacts with the lemon juice to thicken perfectly.
· 3/4 cup (180 ml) Fresh Lemon Juice (about 4-5 lemons): The key to the pie’s signature tang and the primary thickening agent. Fresh juice is highly recommended for its vibrant, non-bitter flavor.
· 1 tablespoon Lemon Zest: Intensifies the lemon flavor with aromatic citrus oils.
· 1 cup (240 ml) Heavy Whipping Cream: Whipped to soft peaks and folded in, this gives the filling an incredibly light, mousse-like texture.
· Optional Garnish: Additional whipped cream, thin lemon slices, or extra graham cracker crumbs.
—
Instructions & Methods
Method 1: Preparing the Crust
1. Crush the Graham Crackers: Place the graham cracker sheets in a sturdy zip-top bag and use a rolling pin to crush them into fine, even crumbs. Alternatively, pulse them in a food processor.
2. Combine: In a medium bowl, mix the graham cracker crumbs and granulated sugar. Pour the melted butter over the mixture and stir until the crumbs are uniformly moist and resemble wet sand.
3. Form the Crust: Transfer the mixture to a 9-inch pie dish. Press it firmly and evenly into the bottom and up the sides of the dish. Using the bottom of a flat glass or measuring cup helps create a compact, even layer.
4. Chill: Place the crust in the refrigerator for at least 30 minutes to firm up while you make the filling.
Method 2: Creating the Lemon Filling
1. Zest and Juice: Zest one or two of the lemons before juicing them to get your tablespoon of zest. Juice all lemons until you have 3/4 cup of fresh juice.
2. Whip the Cream: In a chilled bowl, using an electric mixer, whip the heavy whipping cream until it forms soft peaks. Be careful not to over-whip. Set aside.
3. Combine the Base: In a separate, large bowl, whisk together the sweetened condensed milk, fresh lemon juice, and lemon zest. The mixture will immediately begin to thicken due to the reaction between the acid and the milk.
4. Fold Gently: Add about one-third of the whipped cream to the lemon mixture and fold it in with a spatula to lighten it. Then, gently fold in the remaining whipped cream until no white streaks remain. Be gentle to maintain the airy texture.
Method 3: Assembling and Setting the Pie
1. Assemble: Remove the chilled crust from the refrigerator. Pour the finished lemon filling into the crust and spread it evenly with a spatula.
2. Chill to Set: Cover the pie with plastic wrap and refrigerate for at least 4 hours, but ideally overnight. This extended chilling is crucial for the filling to set firmly and for the flavors to fully meld.
3. Serve: Before serving, garnish with additional whipped cream, lemon zest, or a lemon slice. Use a sharp knife, dipped in hot water and wiped dry, for clean slices.
—
Nutritional Information (Per Slice, approx. 1/8 of pie)
· Calories: ~450-500 kcal
· Carbohydrates: ~55g
· Fat: ~25g
· Protein: ~7g
· Sugar: ~45g
Note: This is a rich, indulgent dessert. The primary nutritional benefit comes from the fresh lemon juice, which provides a dose of Vitamin C. Enjoy it in moderation as part of a balanced diet.
—
Conclusion: A Dessert for All Lovers
This No-Bake Lemon Pie is more than just a recipe; it’s a reliable delight. It’s for the beginner cook who wants an impressive result, the busy host who needs a make-ahead dessert, and the lemon lover who craves that perfect punch of citrus.
It’s a dessert that brings people together, evoking feelings of warmth and nostalgia with every creamy, tangy bite. Whether it’s the centerpiece of a family reunion, the sweet ending to a summer barbecue, or a simple treat to brighten a weekday, this pie is a testament to the fact that the most beloved dishes are often the simplest ones to create.
So, gather your ingredients, embrace the no-bake ease, and get ready to share a slice of pure, sunny happiness.