Of course! Here is a grand, detailed exploration of these delightful Raspberry Cheesecake Cookies, crafted to satisfy every curiosity.
—
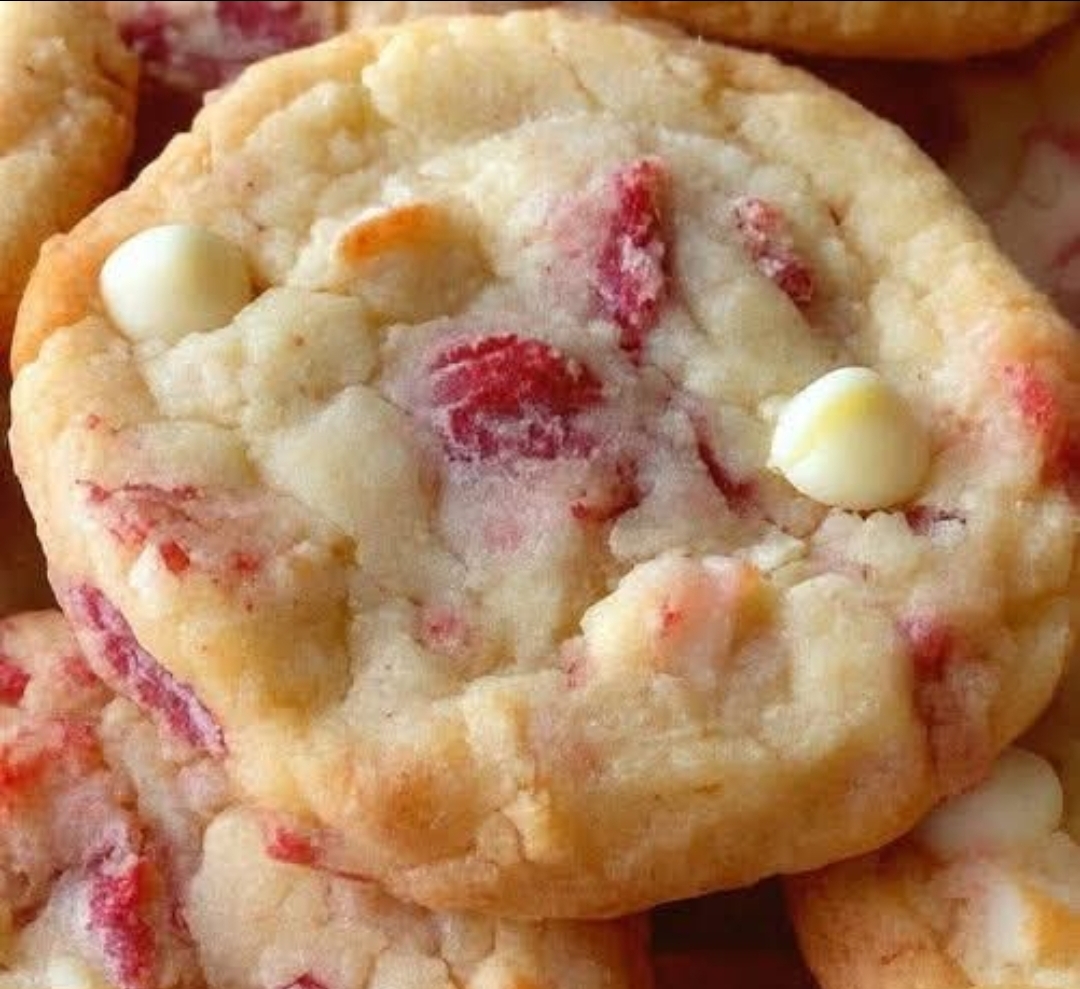
🍪💗 A Cookie Lover’s Dream: Raspberry Cheesecake Cookies ✨
Introduction:
Imagine the velvety, tangy richness of a New York cheesecake, swirled with a vibrant, sweet-tart raspberry ripple, all transformed into a soft, chewy, and utterly irresistible cookie. That is the magic of Raspberry Cheesecake Cookies. This recipe is a beautiful fusion of simplicity and decadence, using a clever shortcut to deliver gourmet flavor with home-baked comfort. They are the perfect treat for anyone who believes the best things in life come in cookie form.
—
The Historical Fusion
The concept of the “cake mix cookie” is a relatively modern innovation in the vast timeline of baking, a testament to the creative home baker. It likely emerged in the latter half of the 20th century as boxed cake mixes became pantry staples. This recipe is a brilliant evolution of that idea, merging the convenience of a mix with the sophisticated flavor profile of a classic dessert—cheesecake. By incorporating cream cheese and fruit preserves, it elevates a simple cookie into a portable, bite-sized version of a beloved classic.
—
The Nutritional Landscape
While these cookies are undoubtedly a treat, understanding their components allows for mindful enjoyment.
· Energy & Comfort: The carbohydrates from the cake mix and butter provide a quick source of energy, while the fats contribute to a feeling of satisfaction.
· Calcium & Protein: The cream cheese and egg offer a small amount of protein and calcium.
· Antioxidants: The raspberry preserves contribute fruit content and contain antioxidants like Vitamin C.
· Mindful Indulgence: As a dessert, they are high in sugar and saturated fat. The key is to savor them as part of a balanced diet, enjoying one or two with a glass of milk or a cup of tea for a moment of pure pleasure.
—
The Assembly: Ingredients & Formation
Ingredients:
· 1 box (approx. 15.25 oz) white cake mix
· 4 oz cream cheese, fully softened to room temperature
· ½ cup (1 stick) unsalted butter, fully softened to room temperature
· 1 large egg, at room temperature
· 1 teaspoon vanilla extract
· ½ cup raspberry preserves (or seedless raspberry jam)
· ½ cup white chocolate chips (optional, for extra decadence)
· ¼ cup powdered sugar or extra crushed graham crackers (for rolling/dusting)
Equipment:
· Electric hand mixer or stand mixer
· Large mixing bowl
· Medium mixing bowl
· Baking sheets
· Parchment paper or silicone baking mats
· #40 cookie scoop (about 1.5 tablespoons – highly recommended for even baking)
· Wire cooling rack
—
The Methods: A Step-by-Step Guide
Step 1: The Creamy Foundation
In the large bowl,combine the softened cream cheese and butter. Using an electric mixer on medium speed, beat them together for 1-2 minutes until the mixture is completely smooth, pale, and lump-free. This step is crucial for the right texture.
Step 2: Binding the Dough
Beat in the egg and vanilla extract until just combined.The mixture may look slightly curdled, which is normal.
Step 3: The Dry Embrace
Gradually add the entire box of white cake mix to the wet ingredients.Mix on low speed until a soft, sticky dough forms. Do not overmix. If using, gently fold in the white chocolate chips with a spatula.
Step 4: The Chill
Cover the bowl with plastic wrap and refrigerate the dough for at least 30 minutes(or up to 2 hours). This step is non-negotiable, as it firms up the dough, prevents excessive spreading, and allows the flavors to meld.
Step 5: Shaping & The Raspberry Heart
Preheat your oven to 350°F(175°C). Line baking sheets with parchment paper.
Place the powdered sugar(or crushed graham crackers) in a small bowl. Using your cookie scoop, portion out the dough. Roll each portion into a ball, then roll it in the powdered sugar to coat lightly.
Place the dough balls on the prepared baking sheet,about 2 inches apart. Use the back of a rounded ½ teaspoon measuring spoon or your thumb to make a deep indentation in the center of each cookie ball.
Step 6: The Fill & Bake
Fill each indentation with about ½ teaspoon of raspberry preserves.Be careful not to overfill.
Bake for 10-12 minutes,or until the edges are just set and lightly golden. The centers will still look soft—this is the secret to a chewy cookie!
Step 7: The Final Set
Allow the cookies to cool on the baking sheet for 5 minutes before transferring them to a wire rack to cool completely.The preserves will be extremely hot, so this resting period is essential.
—
For the True Cookie Lovers: Pro-Tips & Variations
· Texture is Key: Ensure your cream cheese and butter are truly softened. This prevents a greasy, overworked dough.
· The Jam Well: Don’t be shy with the indentation; it will puff up and bake around the jam, creating a perfect “well.”
· Flavor Twists:
· Lemon Bliss: Use lemon cake mix and lemon curd instead of raspberry.
· Salted Caramel: Use caramel bits and a sprinkle of flaky sea salt on top before baking.
· Mixed Berry: Substitute with blueberry, blackberry, or strawberry preserves.
· Gourmet Finish: Drizzle the cooled cookies with a simple white chocolate glaze for a bakery-style finish.
—
The Sweet Conclusion
The Raspberry Cheesecake Cookie is more than just a recipe; it’s a experience. It captures the essence of a luxurious dessert and packages it into a humble, shareable form. The tender, cake-like crumb, the tangy cream cheese undertone, and the bright, gooey raspberry center create a symphony of texture and flavor in every single bite. They are proof that great joy can be found in simple ingredients and a little bit of kitchen magic. Whether for a holiday platter, a heartfelt gift, or a quiet moment of self-care, these cookies are sure to capture the heart of any dessert lover.
Now, go forth and bake your way into someone’s heart! ✨🍪💗