Here’s a big, detailed recipe for Classic Apple Bars with everything you asked for—introduction, ingredients, instructions, methods, history, benefits, formation, nutrition, conclusion, and even a touch for apple lovers 🍎.
🍏 Classic Apple Bars RecipeClassic Apple Bars Recipe
🌟 Introduction
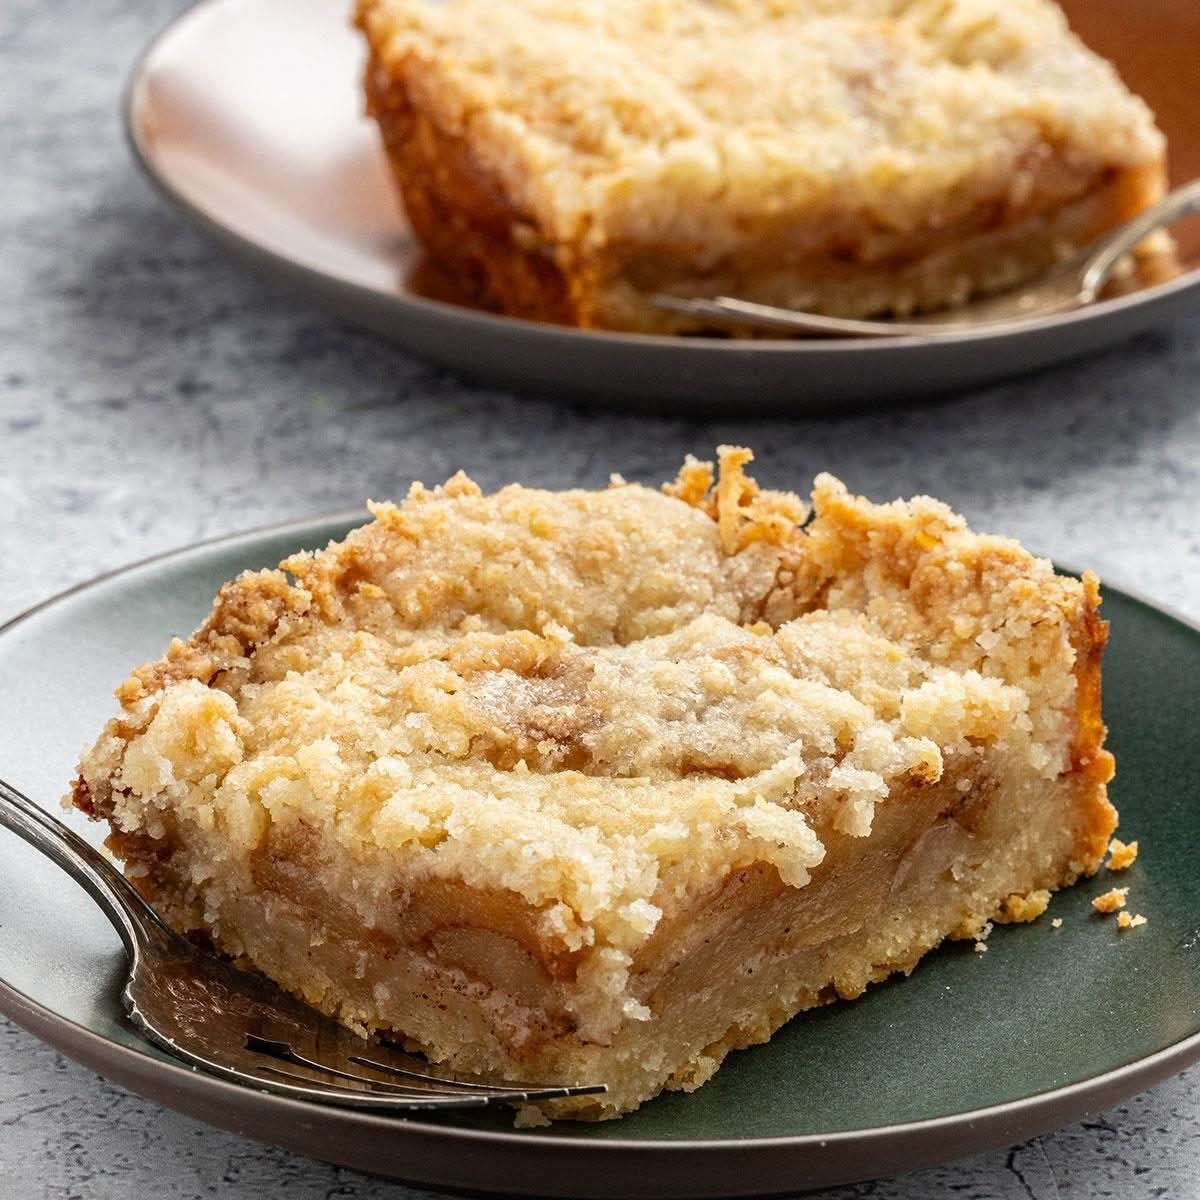
Classic Apple Bars are one of those timeless baked treats that bridge the gap between a pie and a cookie. They’re made with a buttery crust, spiced apple filling, and a golden topping that makes them perfect for sharing at family gatherings, bake sales, or cozy fall evenings. Every bite delivers the warmth of cinnamon and tender apples wrapped in a flaky pastry crust. Easy to cut into squares, they’re a fuss-free way to enjoy the flavors of apple pie in bar form.
🧾 Ingredients
For the Crust & Topping:
- 3 cups all-purpose flour
- 1 cup granulated sugar
- 1 tsp salt
- 1 tsp baking powder
- 1 cup unsalted butter (cold, cubed)
- 2 large eggs
For the Apple Filling:
- 6 cups apples (peeled, cored, sliced thin – Granny Smith or Honeycrisp recommended)
- 1 cup granulated sugar
- 2 tsp cinnamon
- 1/4 tsp nutmeg
- 2 tbsp all-purpose flour
- 1 tbsp lemon juice
Optional Glaze:
- 1 cup powdered sugar
- 2 tbsp milk
- 1/2 tsp vanilla extract
👩🍳 Instructions
- Prepare the Dough (Crust & Topping):
- In a large bowl, whisk together flour, sugar, salt, and baking powder.
- Cut in the cold butter until the mixture looks like coarse crumbs.
- Add the eggs and mix until a crumbly dough forms.
- Form the Base:
- Divide dough into two parts.
- Press half of the dough evenly into a greased 9×13-inch baking pan.
- Make the Apple Filling:
- In a mixing bowl, toss sliced apples with sugar, cinnamon, nutmeg, flour, and lemon juice.
- Spread evenly over the crust in the pan.
- Add the Topping:
- Crumble the remaining dough over the apple mixture.
- Bake:
- Preheat oven to 350°F (175°C).
- Bake for 40–45 minutes, until the top is golden brown and apples are tender.
- Optional Glaze:
- Mix powdered sugar, milk, and vanilla until smooth.
- Drizzle over cooled bars before cutting.
🥧 Methods
- Baking Method: Standard oven baking for a golden crust.
- Shortcut Method: Use canned apple pie filling if you’re short on time.
- Rustic Method: Mix oats into the topping for an apple crisp bar variation.
📜 History
Apple bars originated in American kitchens during the mid-20th century as a way to simplify the beloved apple pie into a handheld dessert. They became popular for school lunches, church gatherings, and bake sales. Their ease of transport and nostalgic flavor cemented them as a classic.
💪 Benefits
- Nutritional: Apples provide fiber, vitamin C, and natural sweetness.
- Practical: Easier than making a pie but just as delicious.
- Emotional: Brings warmth, comfort, and a sense of home with every bite.
🏗 Formation
- Base layer (dough crust) → supports the apples.
- Middle layer (spiced apple filling) → juicy and flavorful.
- Top layer (crumbly dough or glaze) → crunchy and sweet.
🍽 Nutrition (per bar, approx. based on 20 bars)
- Calories: 210
- Carbohydrates: 34g
- Sugars: 20g
- Protein: 2g
- Fat: 8g
- Fiber: 2g
❤️ Lovers of Apple Bars
- Apple Pie Lovers: Enjoy pie flavors without the hassle.
- Bake Sale Fans: Easy to portion and sell.
- Family Gatherers: A nostalgic dessert that pleases all ages.
🏁 Conclusion
Classic Apple Bars are a perfect balance of simplicity and tradition. They’re versatile, travel-friendly, and deliver the comfort of apple pie in every square. Whether for family, friends, or festive occasions, these bars are guaranteed to win hearts.
🍏 For apple lovers, this is more than just a dessert—it’s a little piece of home baked into every bite.
👉 Would you like me to also create a step-by-step “Grandma-style” version with pictures/illustrations of each stage (dough, apple mix, layering, baking, glazing)? That way, it feels like a cookbook page.